Experience, Wooden stick house
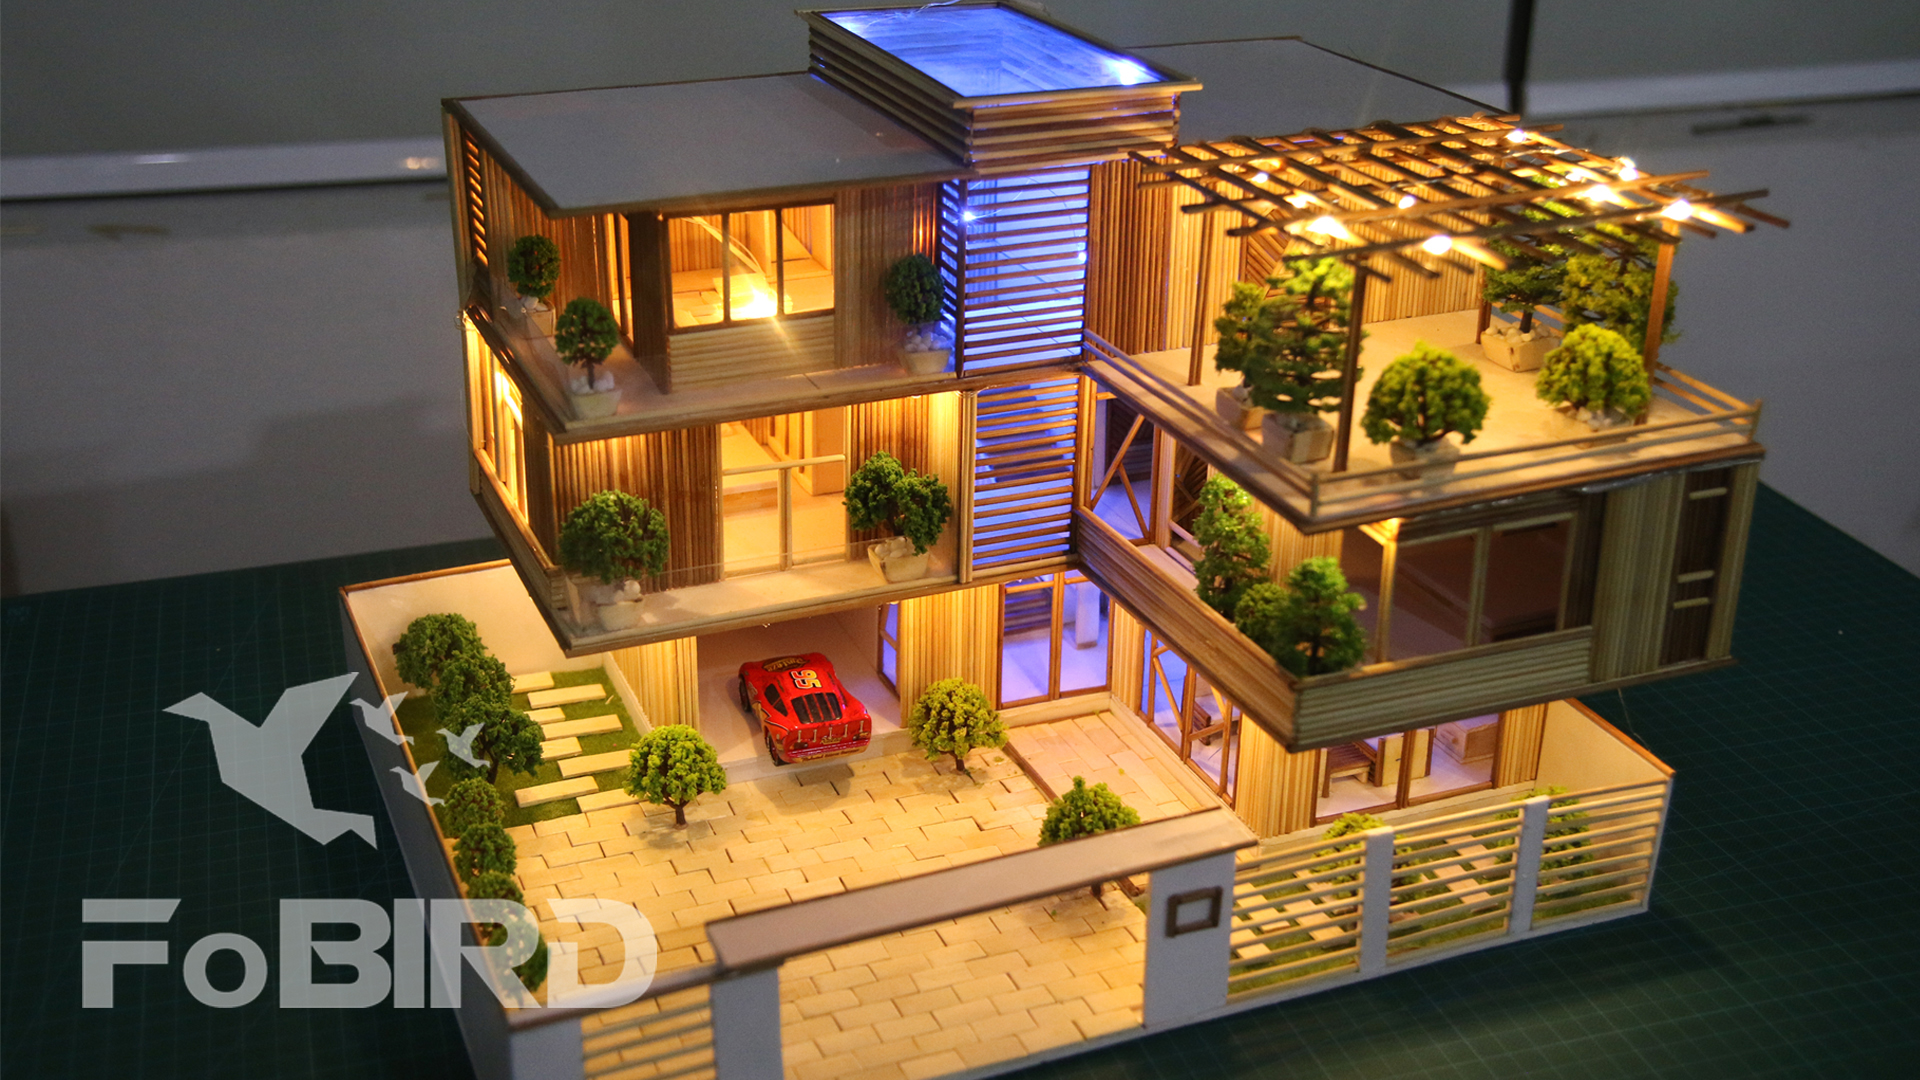
How to make a Wooden Stick House with LED light
It was by chance that I pick up an architecture book and find these beautiful mansion models, modernly designed. Instantly, I thought of a new wooden sticks models, recreating that modernity. In the end, a sketch was made and followed by a replica base on that very idea. Hopefully, with this prototype, you will have more options when constructing wooden sticks models as well as inspirations for handmade projects.
Link to buy the drawing: https://fobird.com/product/stick-house-led-light-drawing/
Link to buy the KIT: https://fobird.com/product/wooden-stick-house-with-led-light-kit/
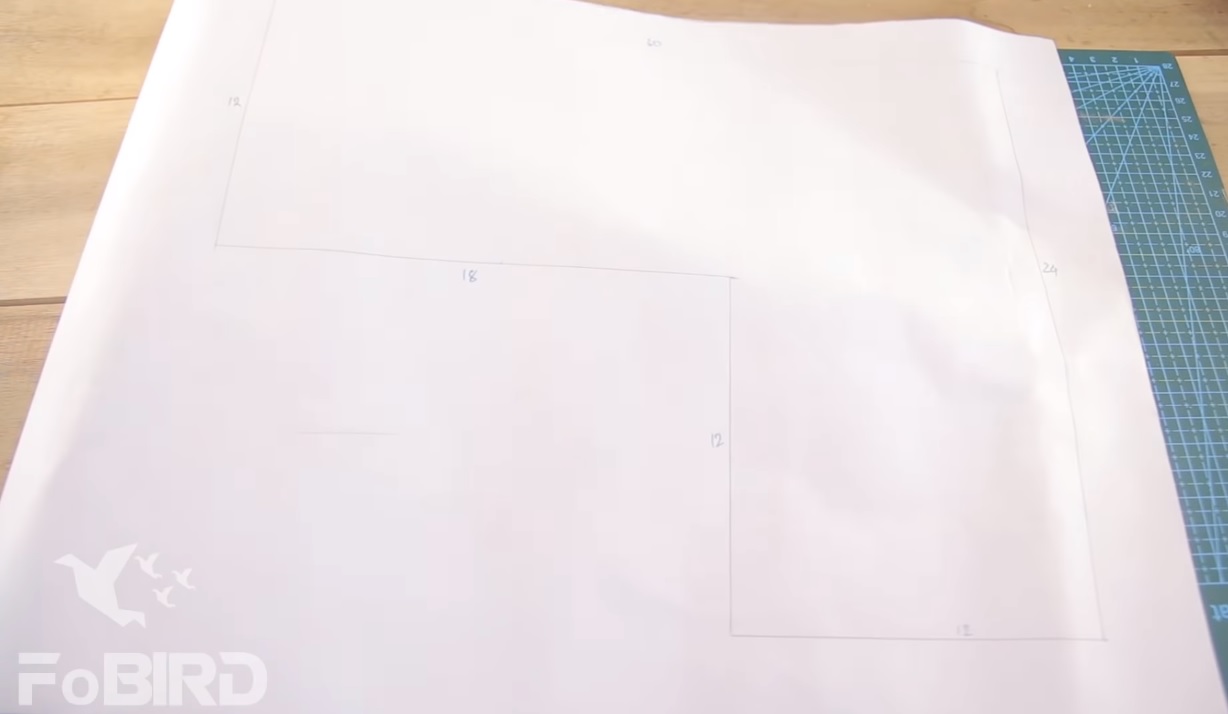
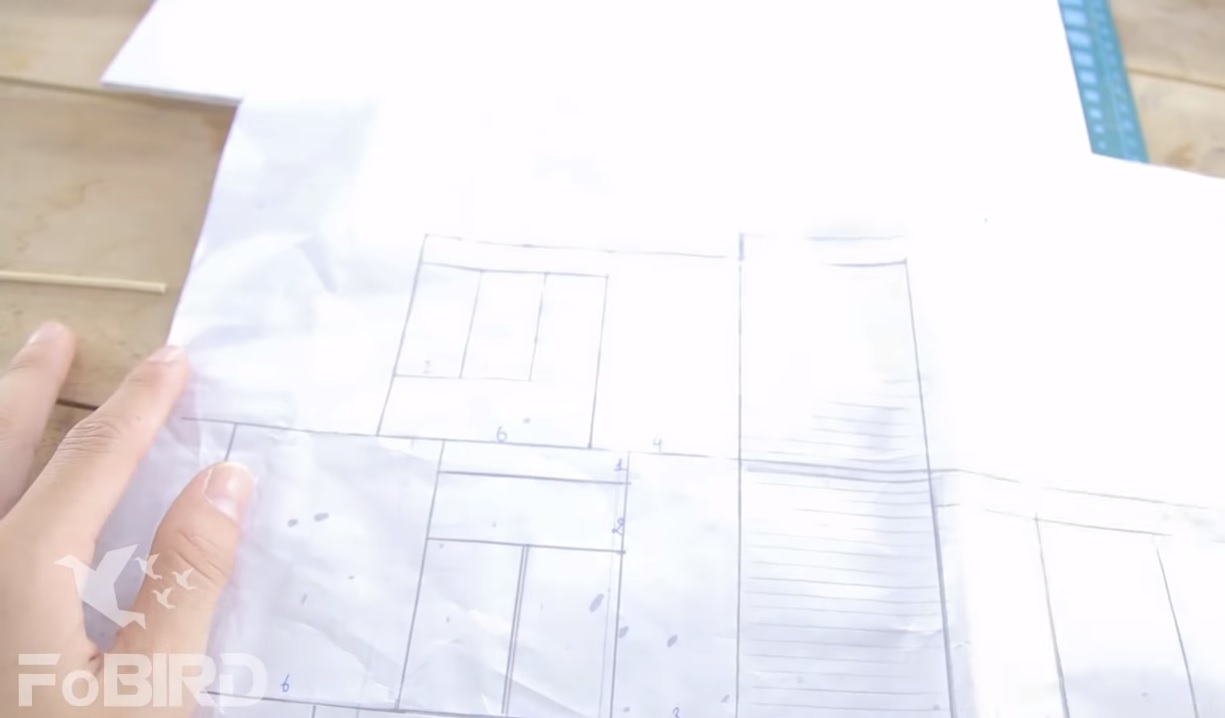
Step 1. Buy and download the drawing
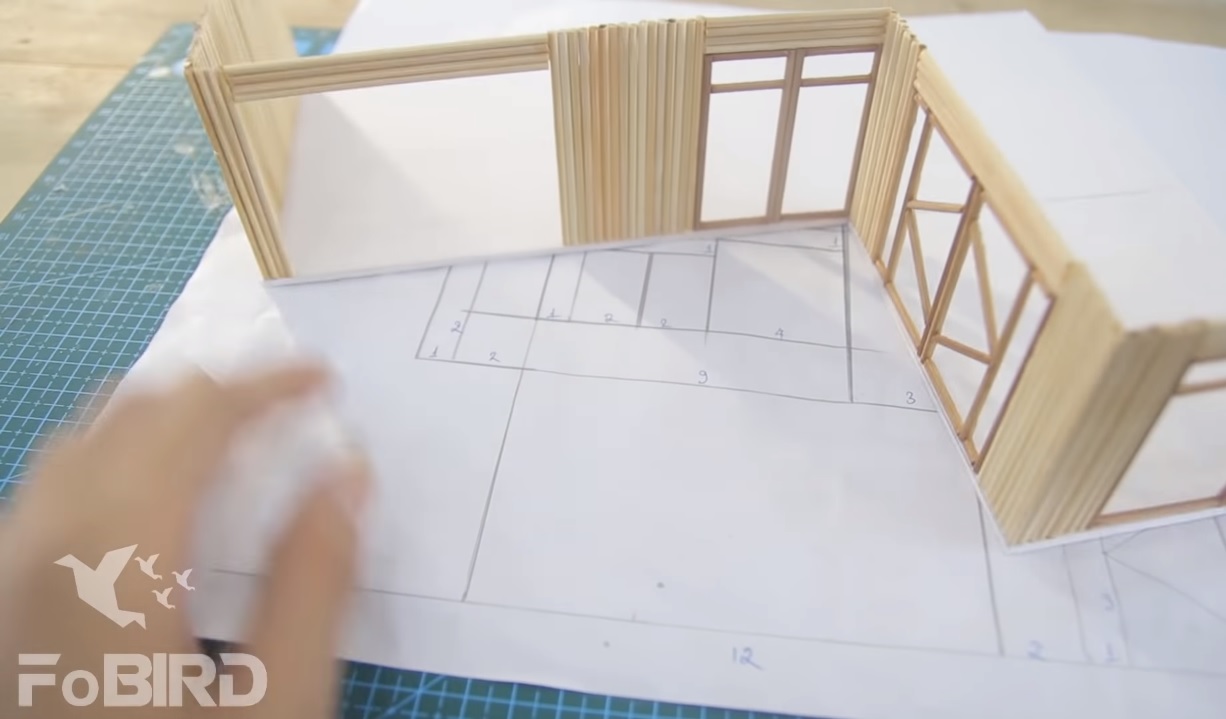
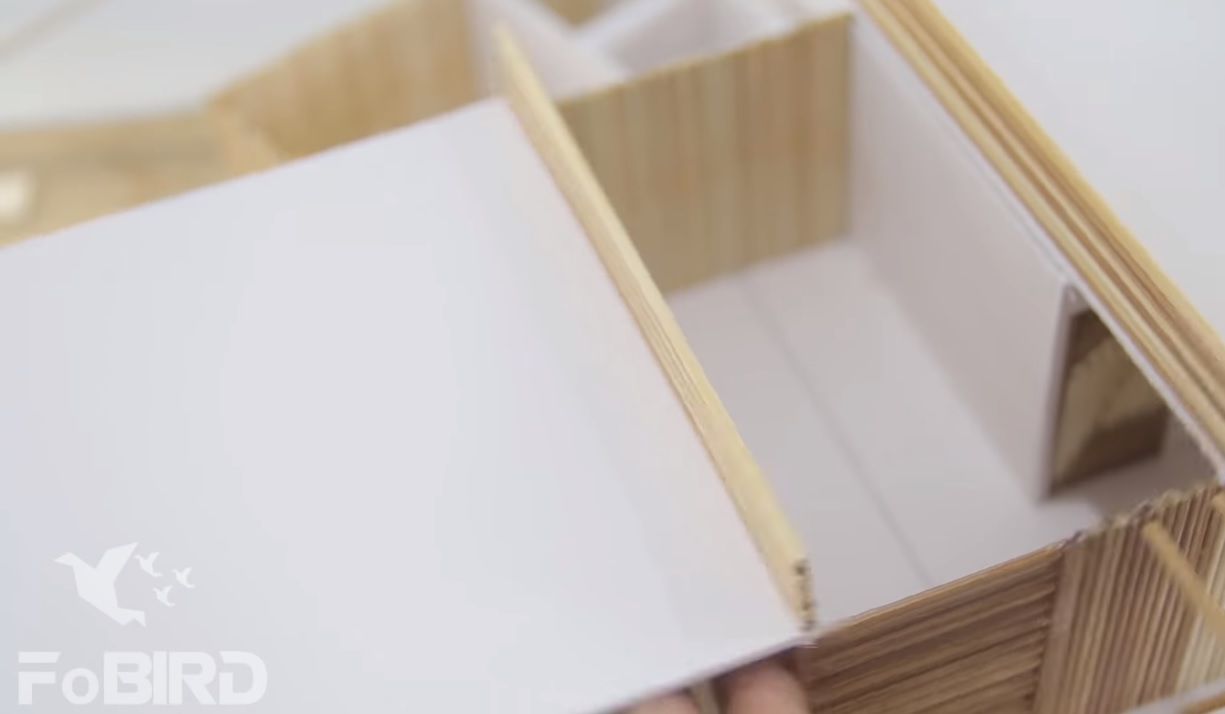
Step 2. Erecting the 1st floor’s frame
Cut the cardboard base on the size on the sketch
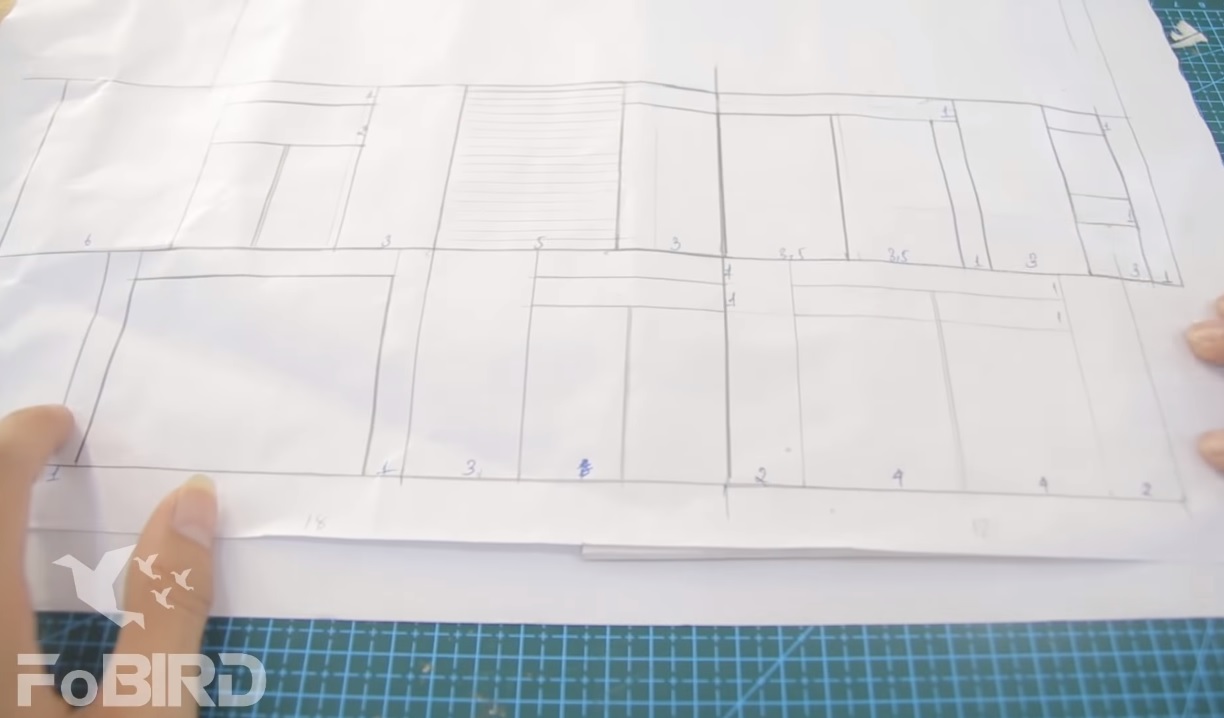
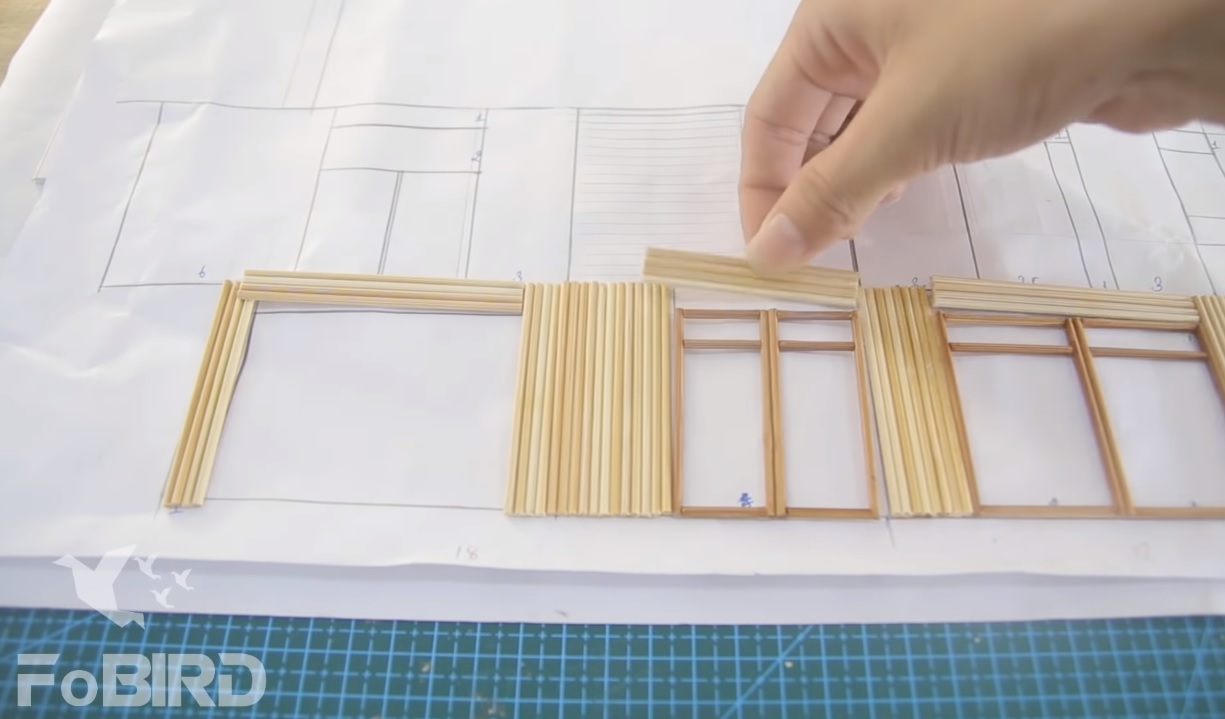
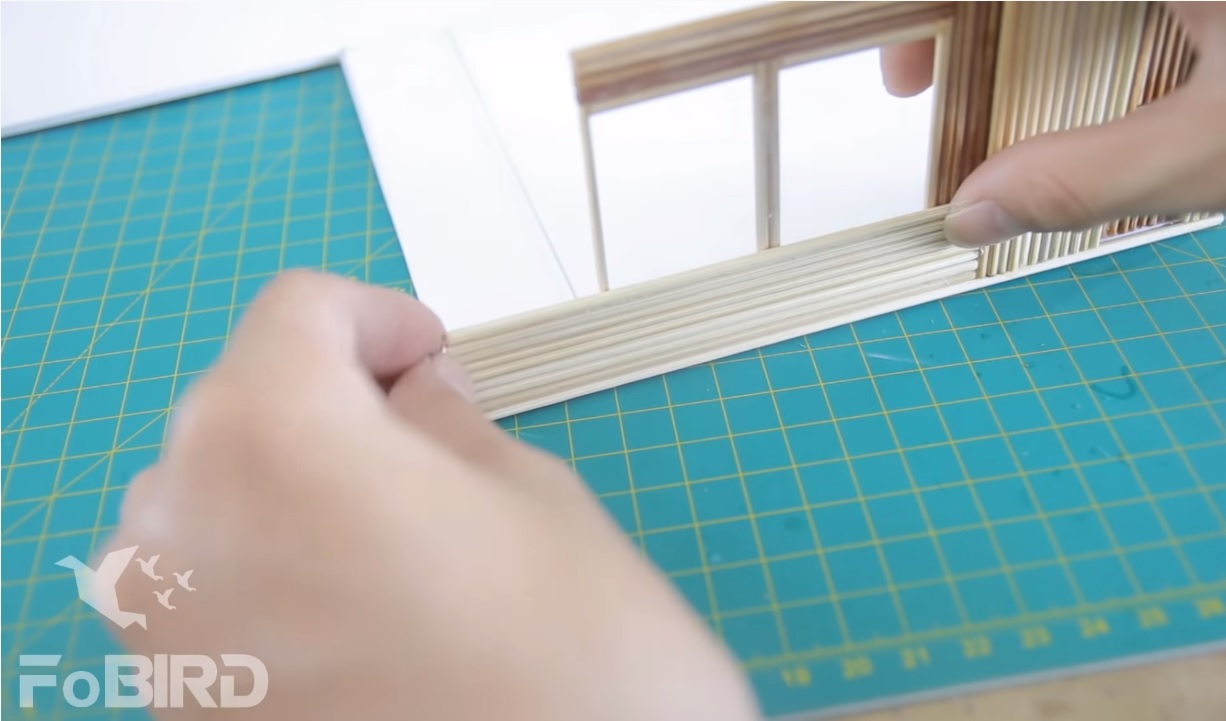
Afterward, cut the stick base on the prepared widths. When making this model, I have draw the details on an A3 sheet, then apply wooden sticks on top which helps create walls or windows as shown below. However, when downloading the sketch at Kheo tay, you will receive specific statistics, visually display on the model which makes building the it simpler.
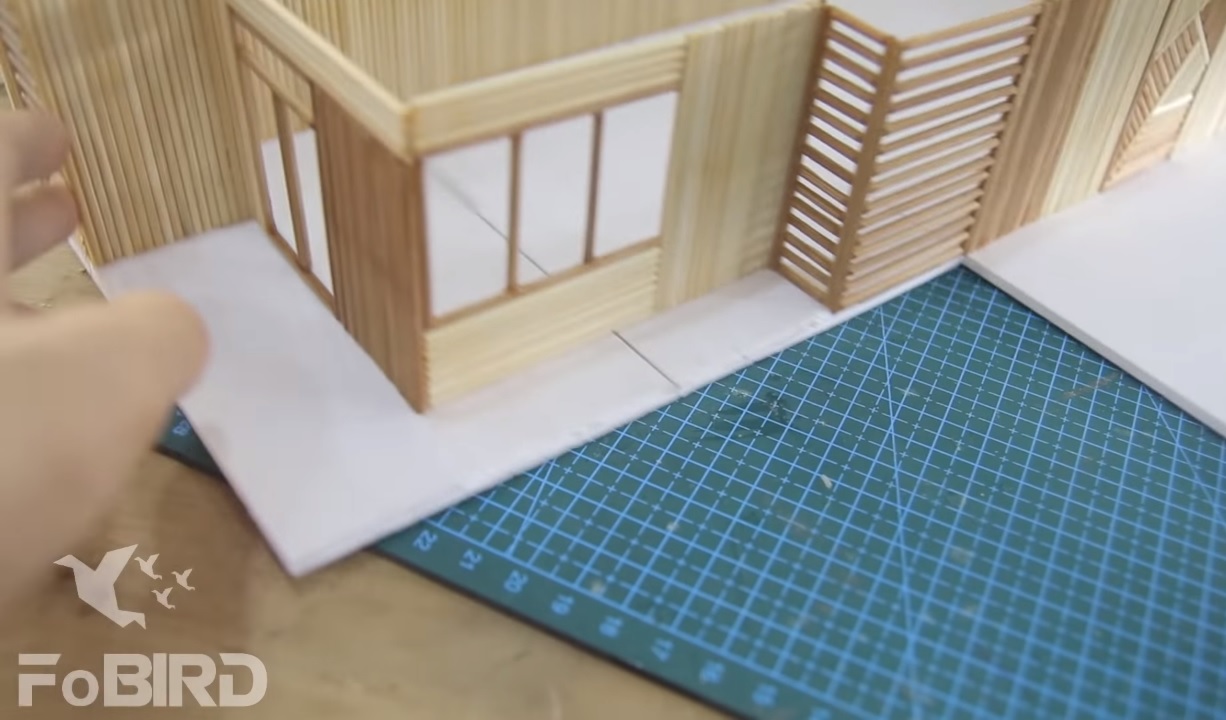
Fit the sticks together and leave no gasp on the surface, otherwise, LED lights can emerge through those gasp and lead to unwanted results.
After finishing the walls and windows, you can directly patch them up on th prepared sketch on step 2
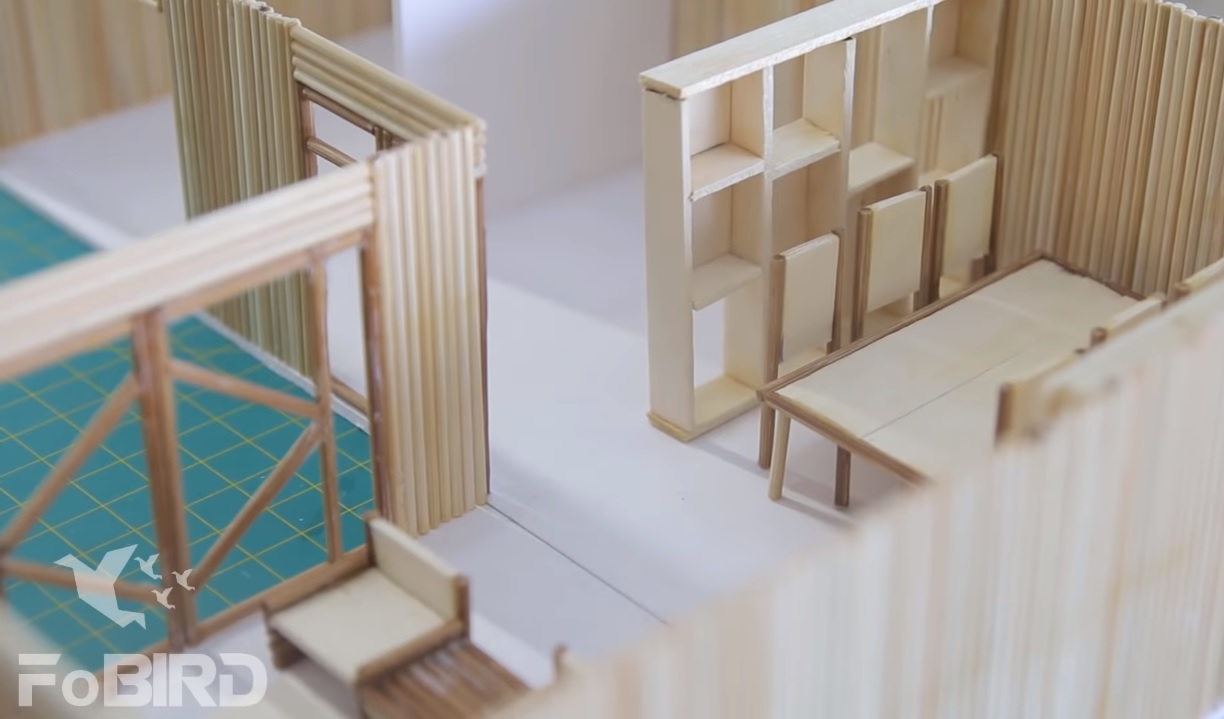
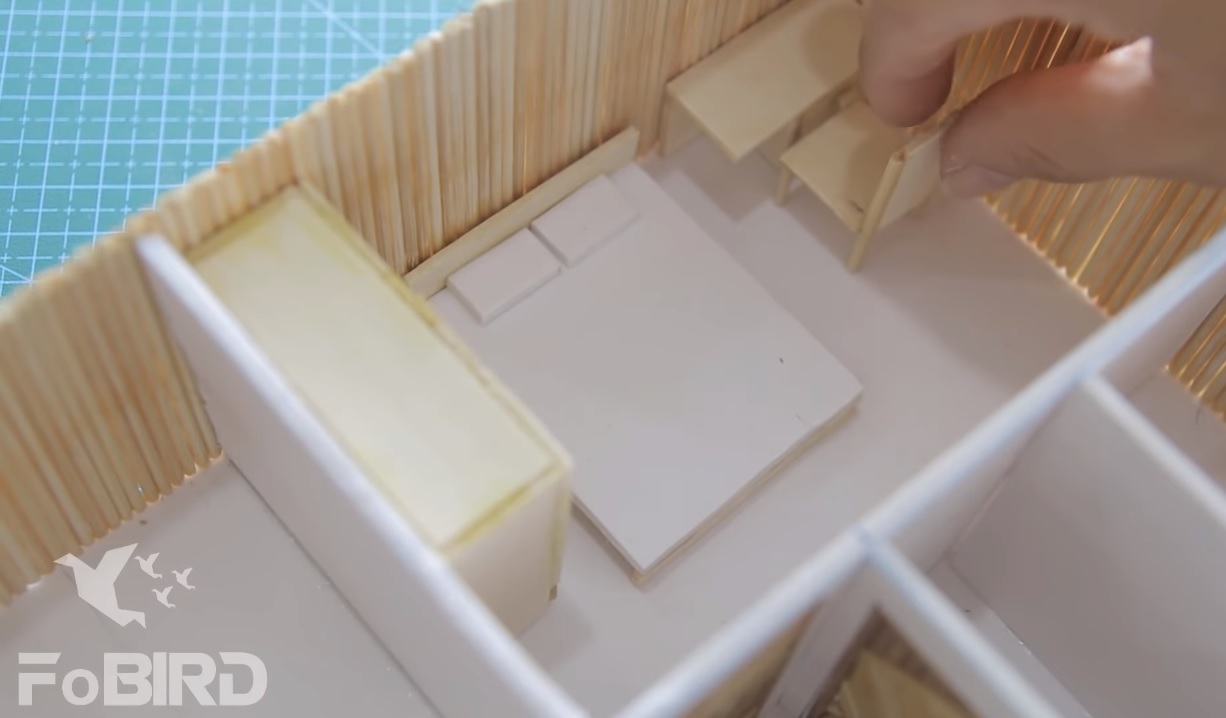
Step 3. Furnishing the house
Combine carton board, popsicle sticks and wooden sticks in order to build walls, furniture such as desk, chair, bed, etc., then place it inside the house. It is up to you to utilize your indoor space. If you want an example, check the video below.
The furniture is thoroughly described in the video, please check it for further instruction
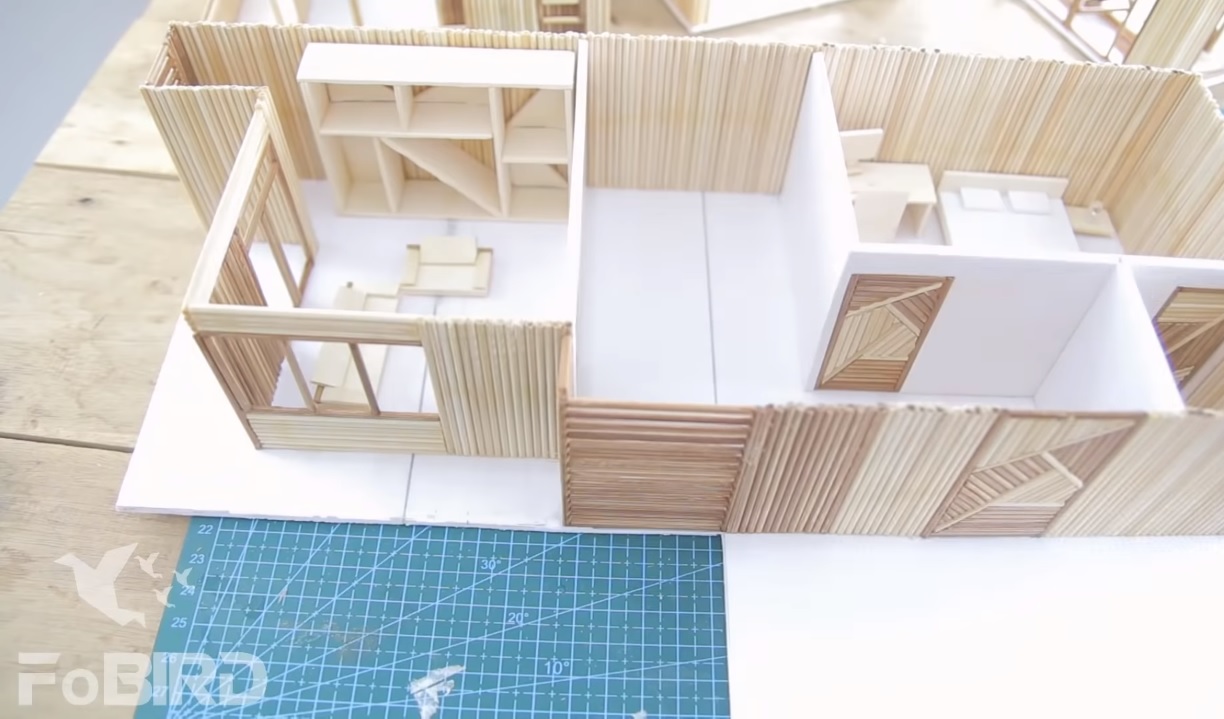
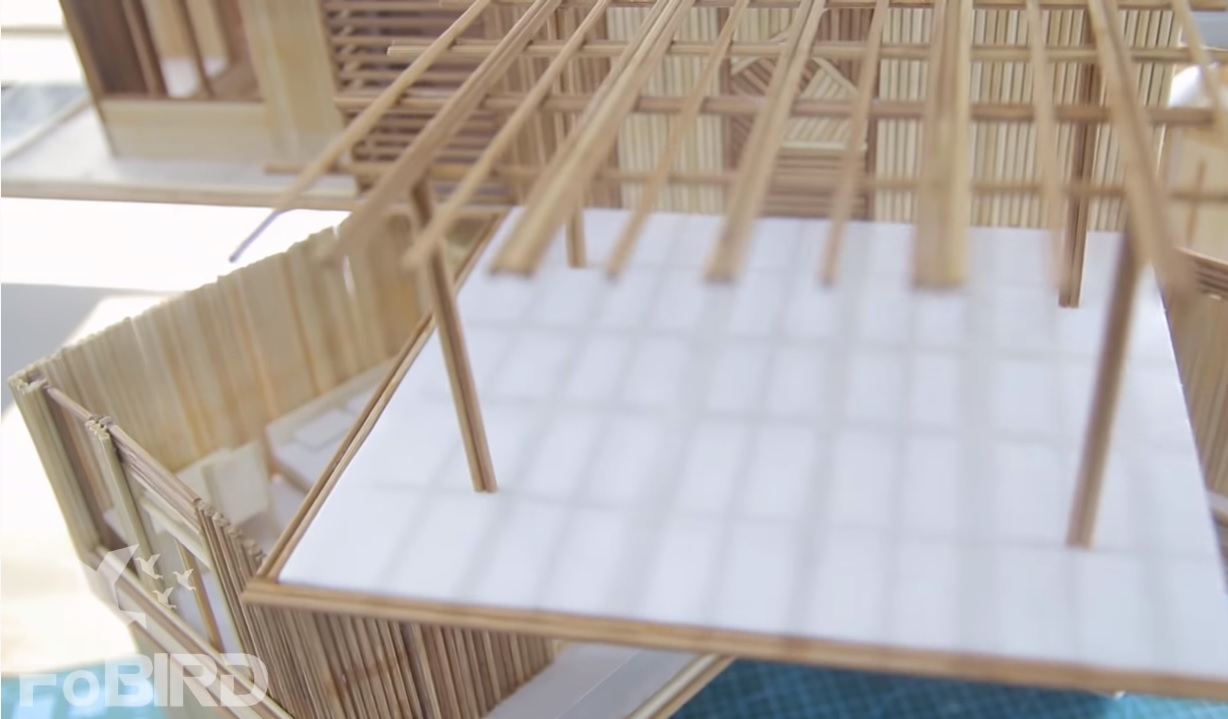
A downward view of the floor’s surface
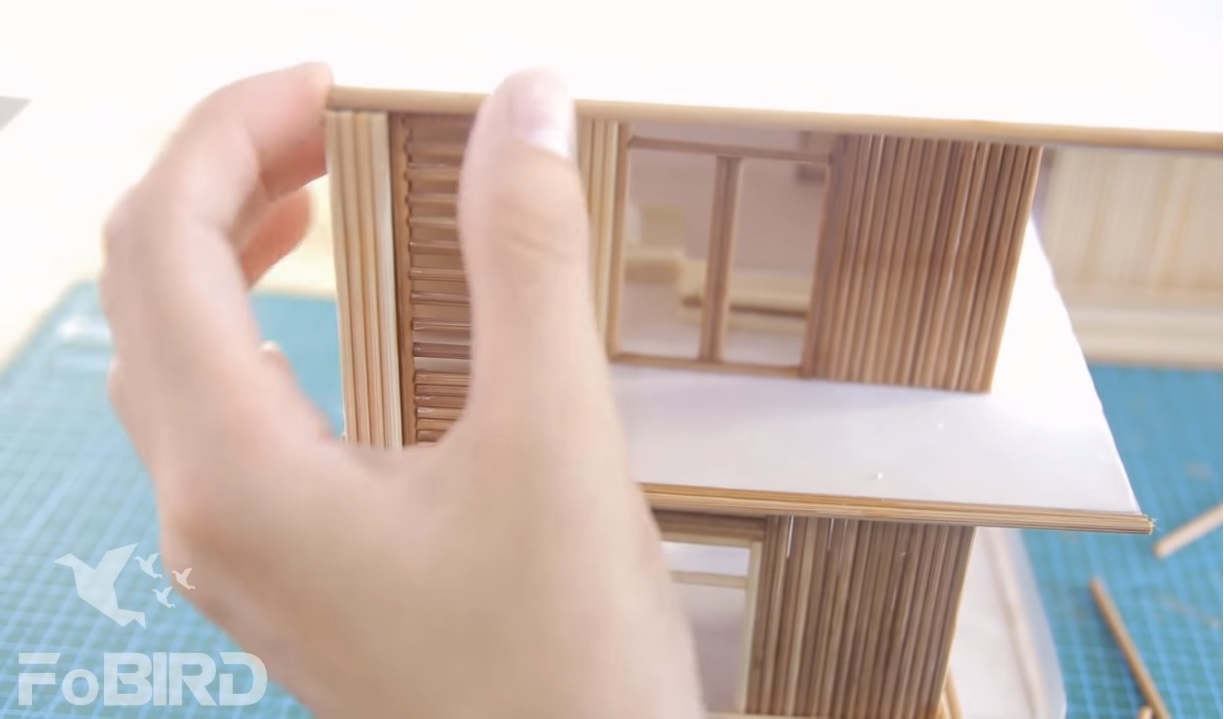
Step 4. Constructng the 2nd floor
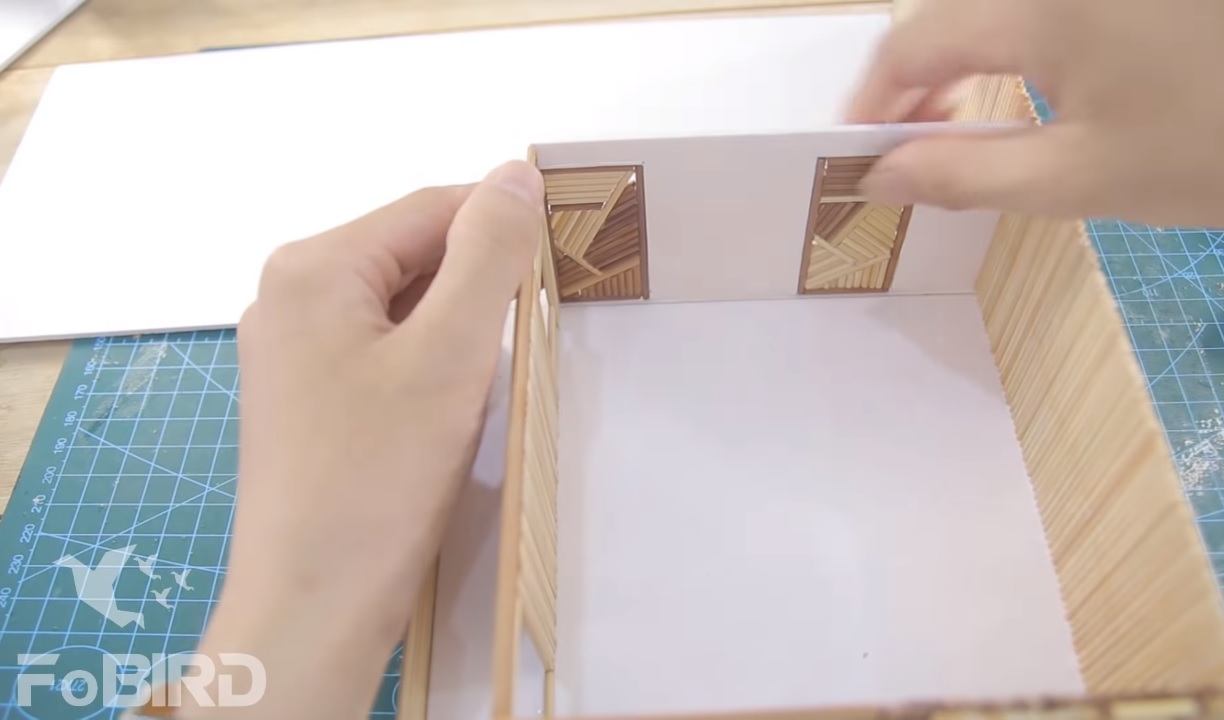
Similar to the first, cut out the carton board according to the width on the sketch, following by walls and windows. Put them on the second floor’s surface
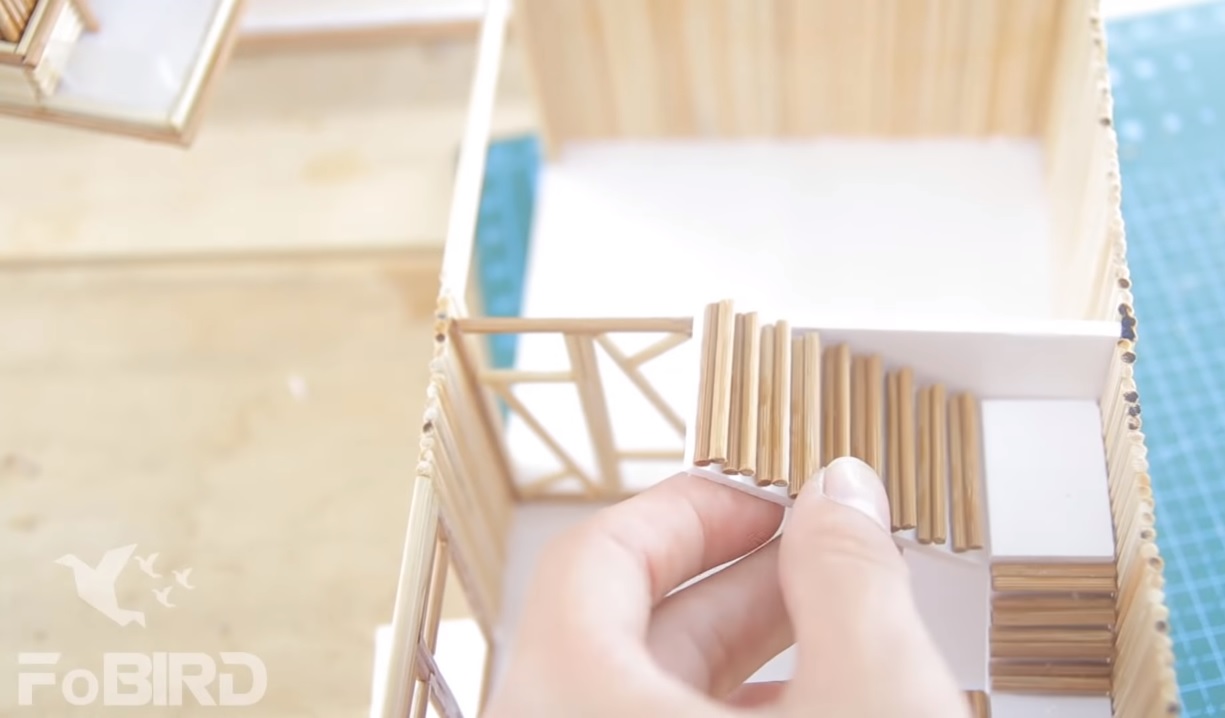
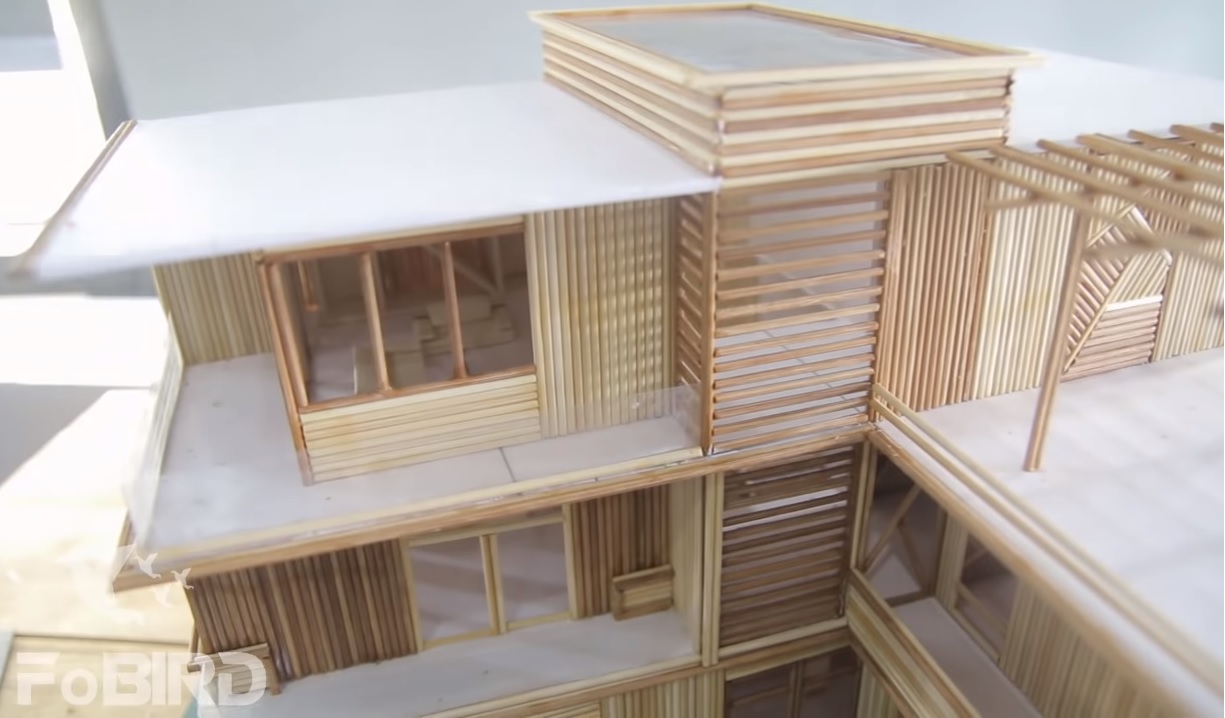
The walls of second floor should be made with both white and brown wooden sticks and install a balcony as well to make your house more lively.
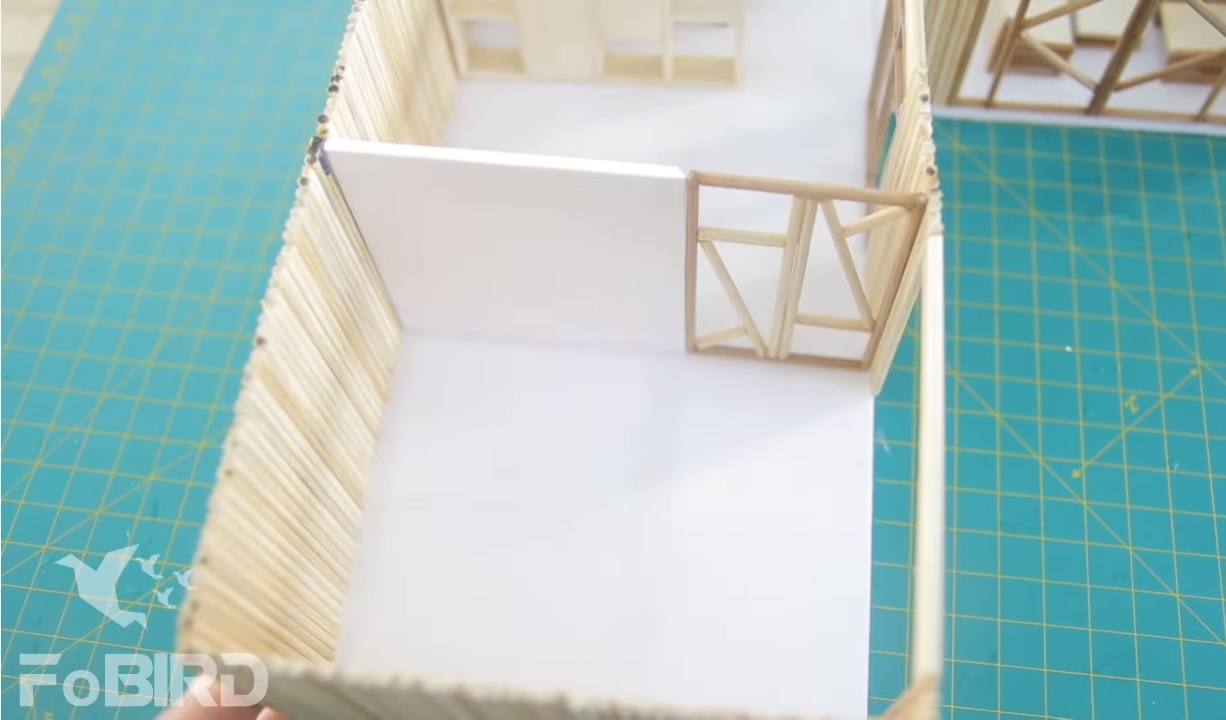
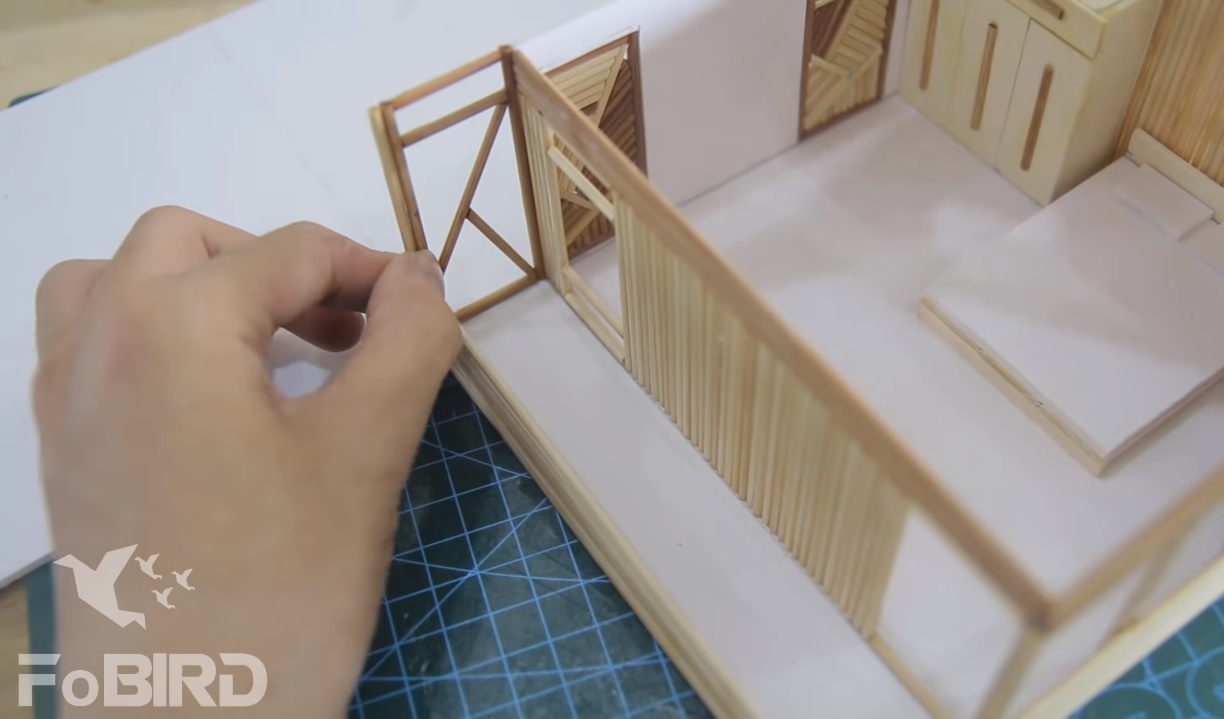
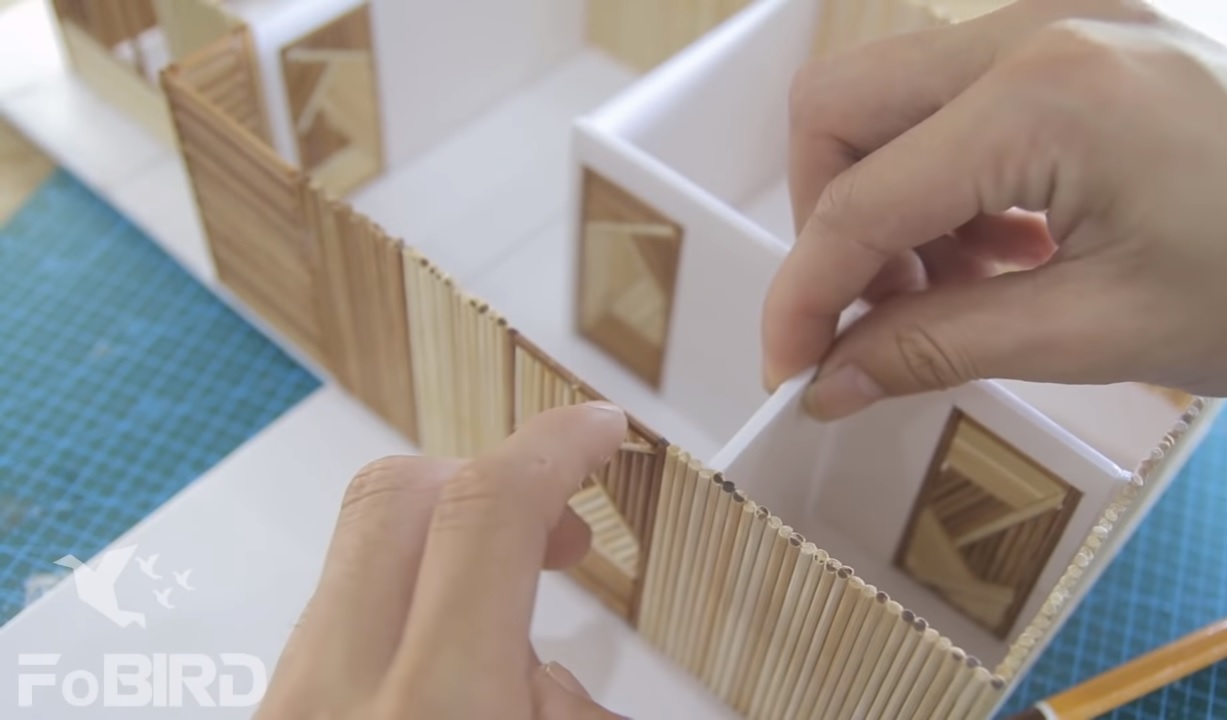
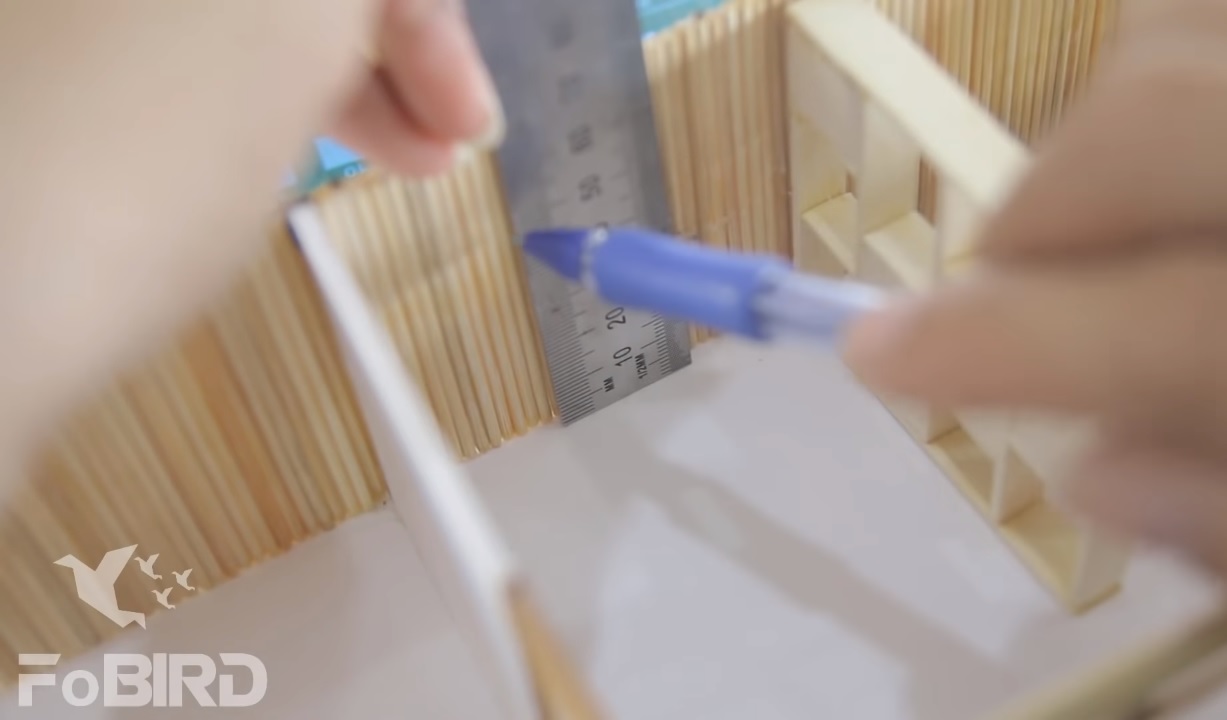
Separate the rooms and erect the partition from cardboard and wooden sticks like the first floor
Spare an extra space for making balcony and install a door for its entrance
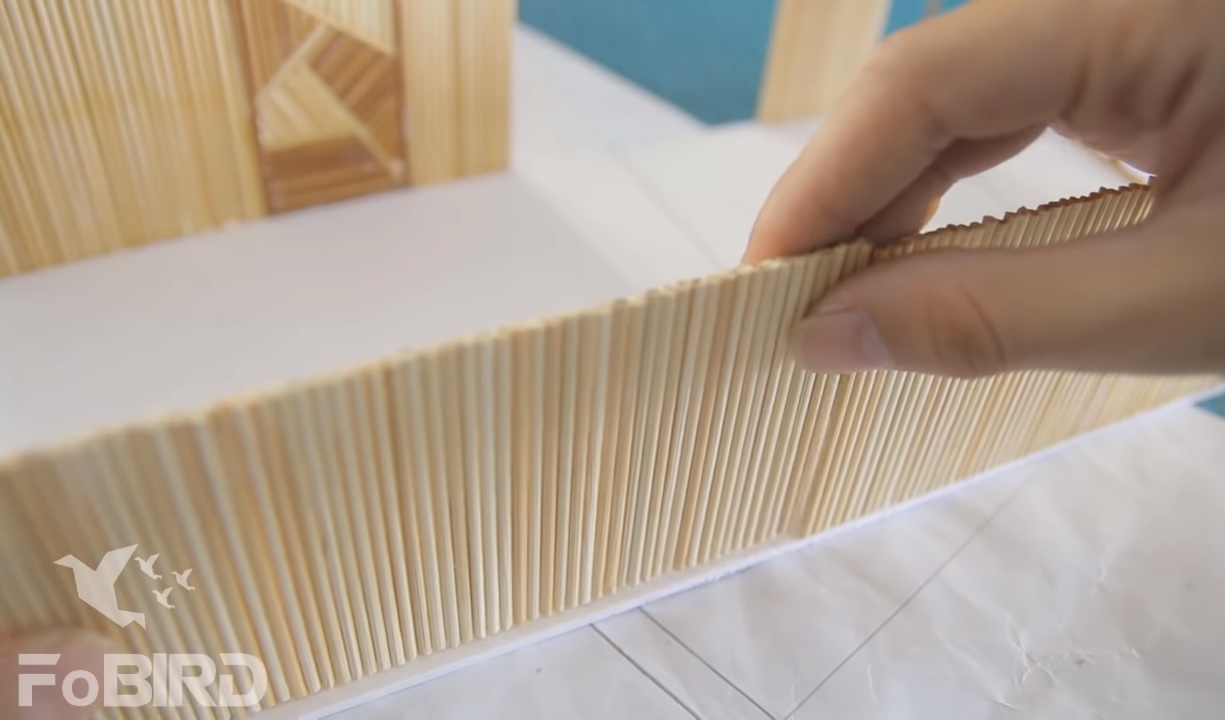
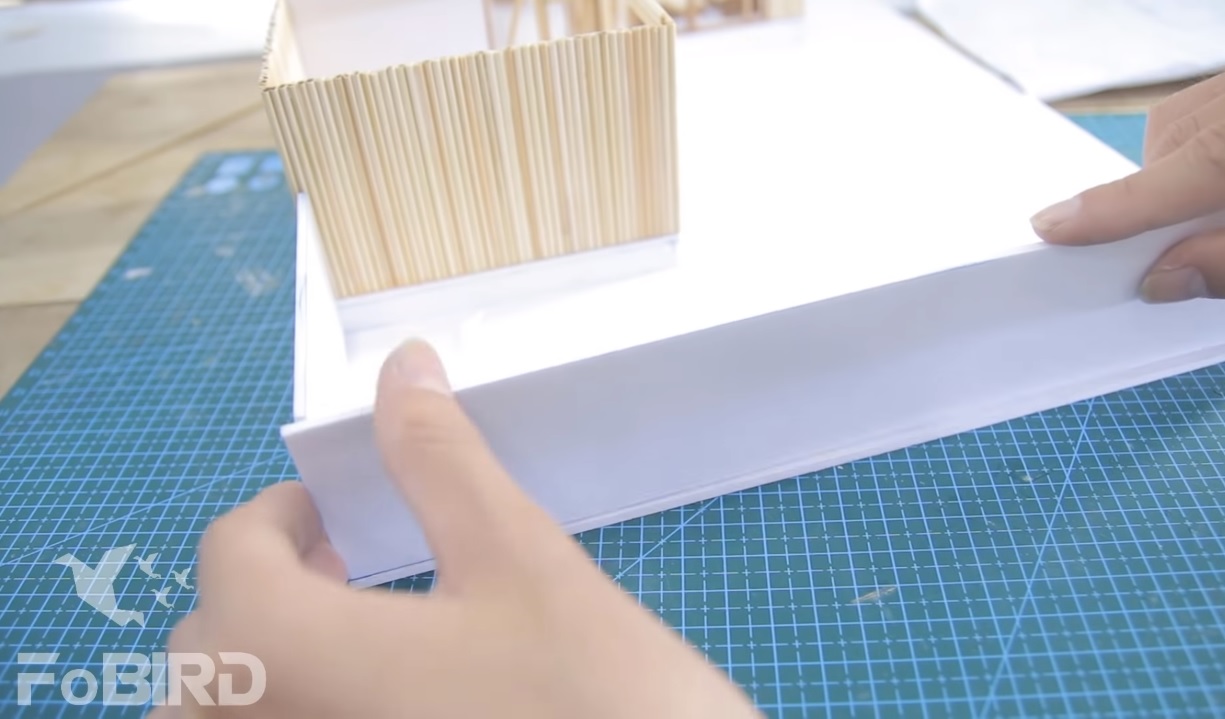
Erect a fence behind the house using a long and even wooden sheet
Next, use the cardboard and doors to devide the room however you want
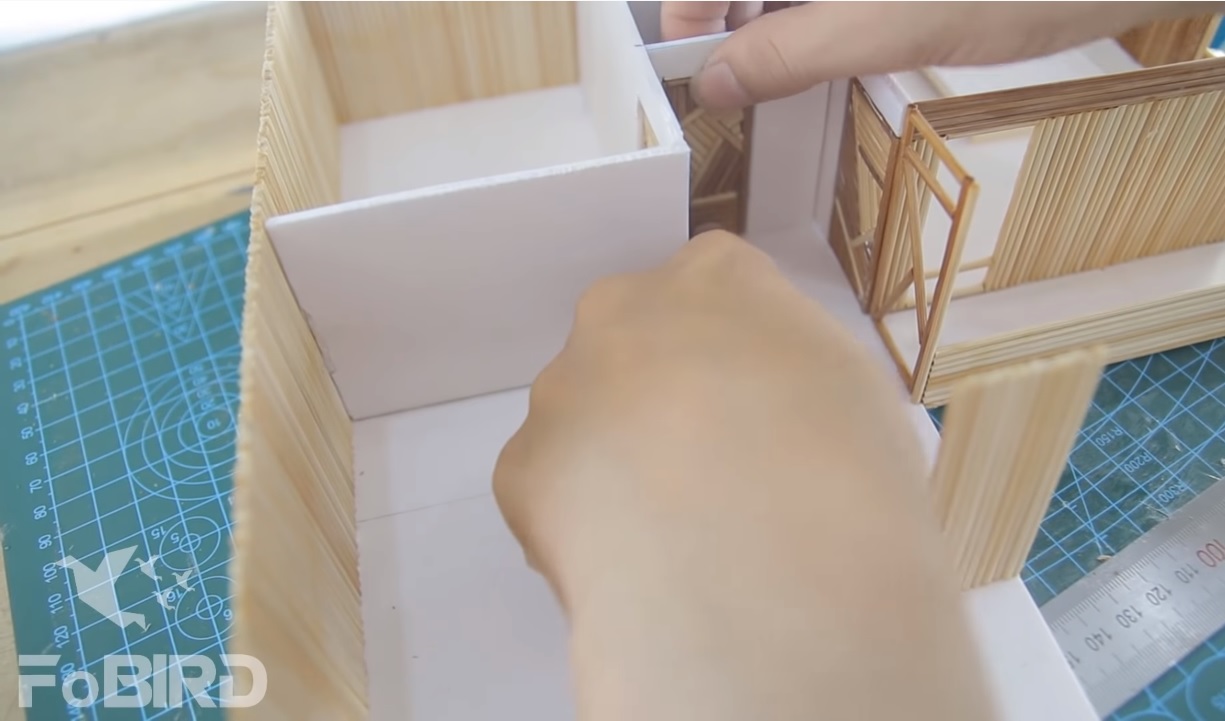
For a better effect, create this door so when the LED are on, lights can pierce through the gasp thus looks more attractive

Finally, place the furnitures such as bed, shelves, desk, etc., inside the house
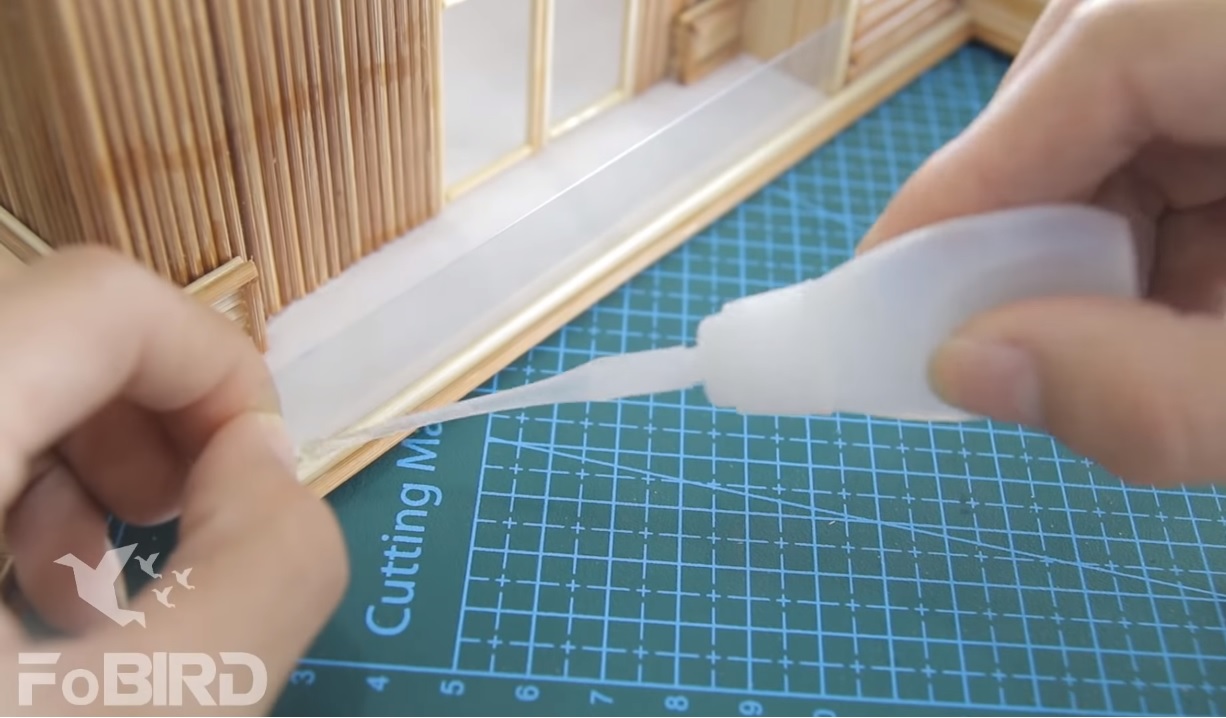
Cut the plastic sheet about 2cm to make the banister in order to make it looks less empty
Step 5. Building the 3rd floor
Continue to cut the board base on the bottom width of the 3rd floor, then create walls similar to the ones on 1st and 2nd floor.
Fix it in turn around the 3rd floo
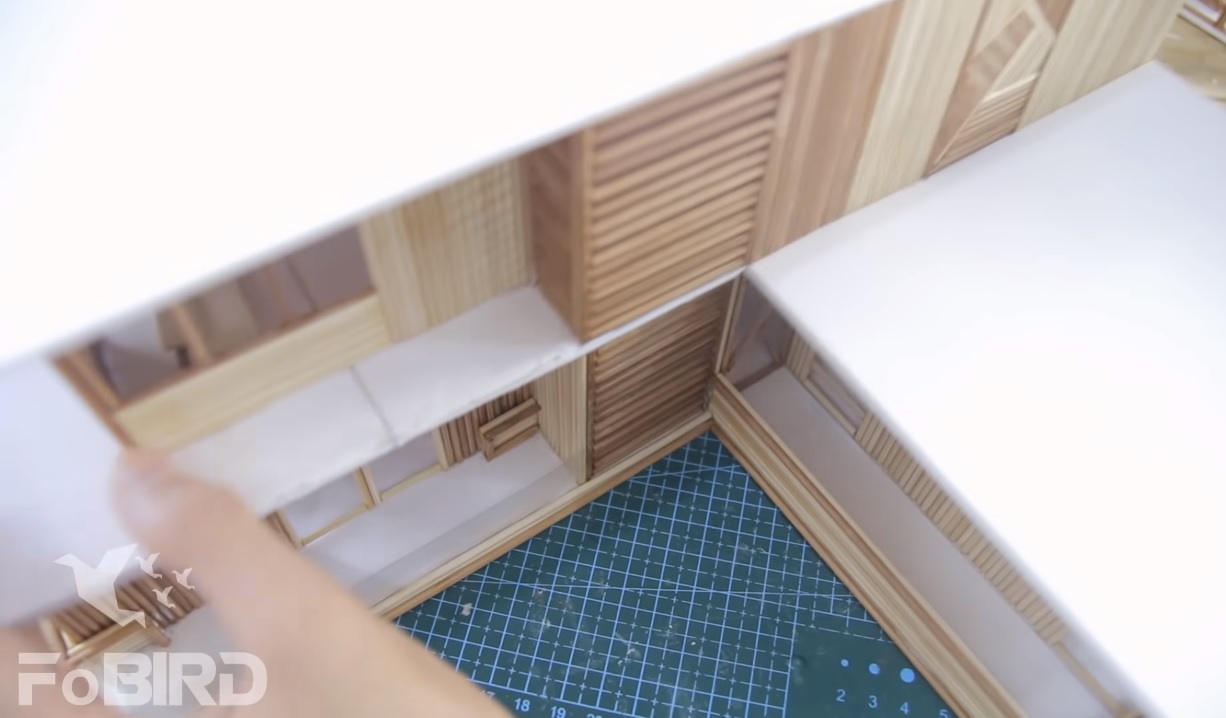
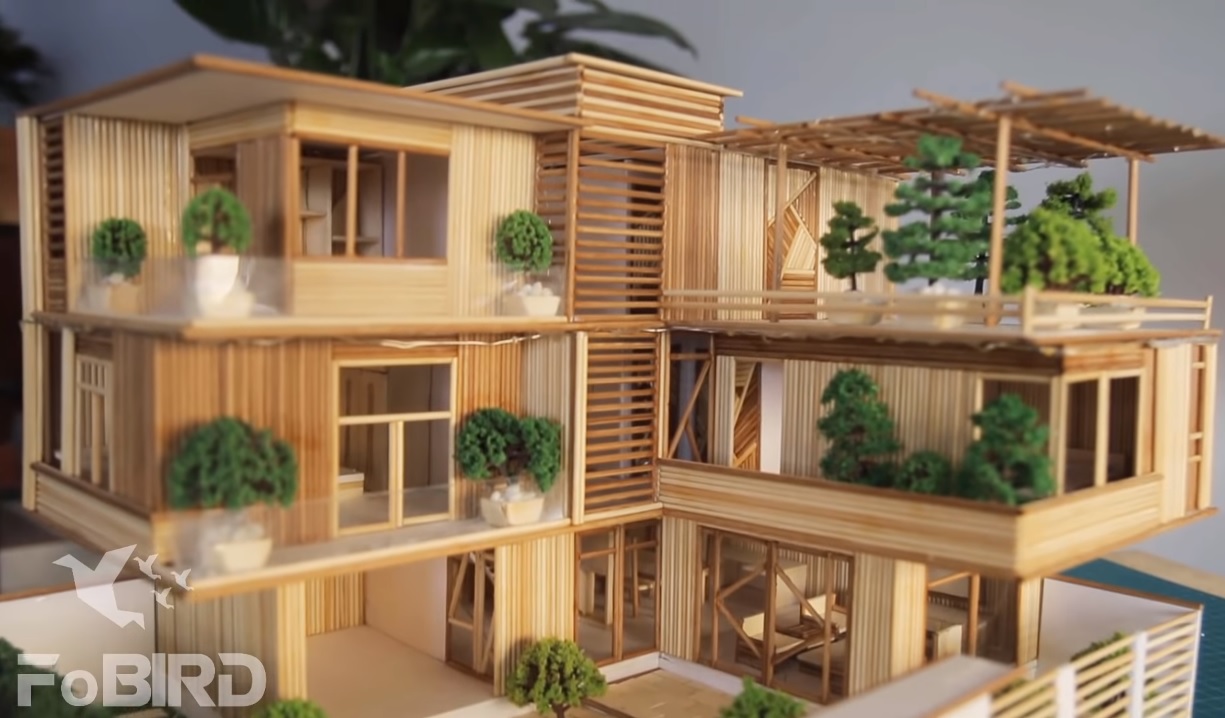
To highlight your house, you caan make this kind of wall with parallel gasps like in the picture
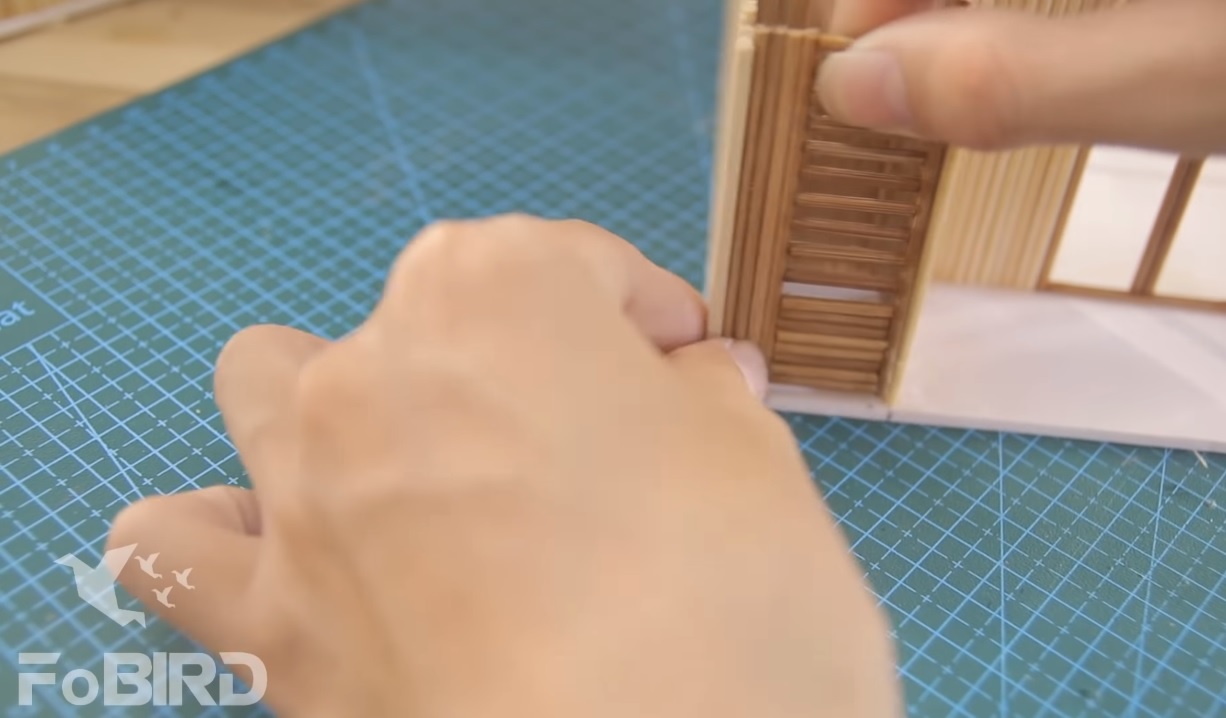
In whole, the aftereffect looks great
Inside, divide and furnish the room just like the other floors. For decorating the room, we have an instruction video specifically on the topic, but if you want to be a little more creative, you can make your own furnitures of your choice
The complete 3rd floor would look like this
Step 6. Complete other details
After completing the 3rd floor, place them together accordingly and fix them in. Keep in mind that you should not glue them in just yet for its lack of staircases.
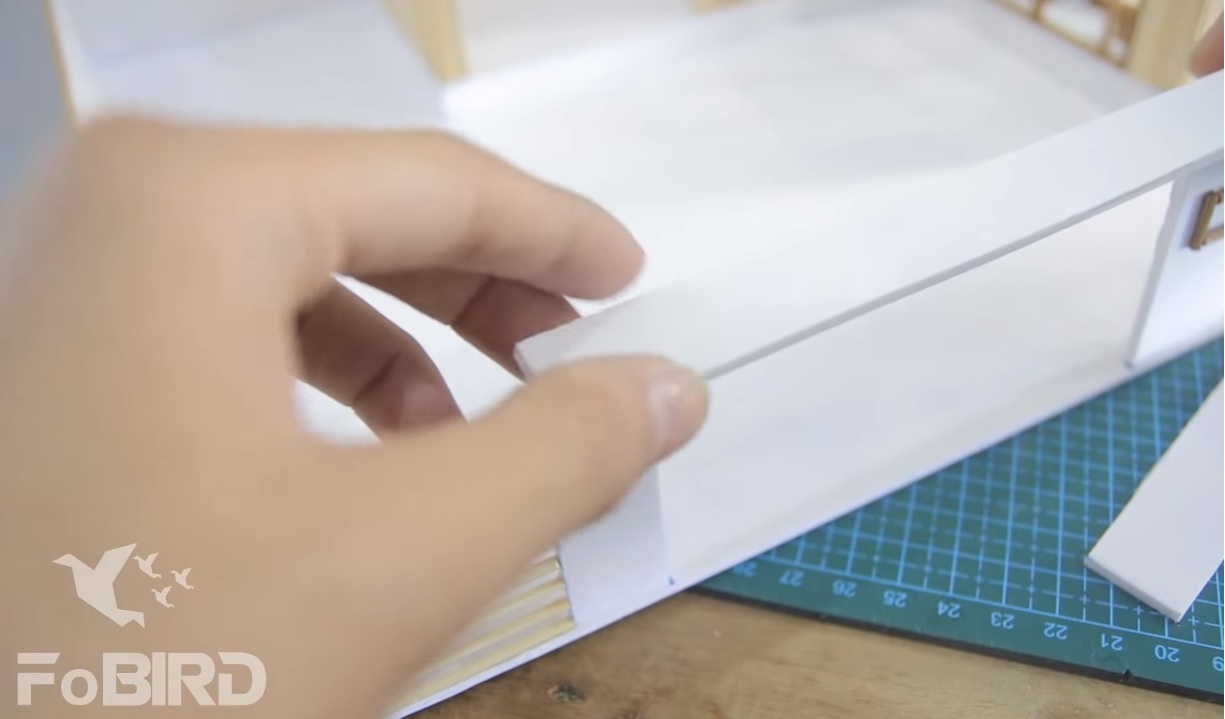
The block effect is made by placing the wooden sheets on the edges around the house. Detailed instruction will be shown in the video below for you to see
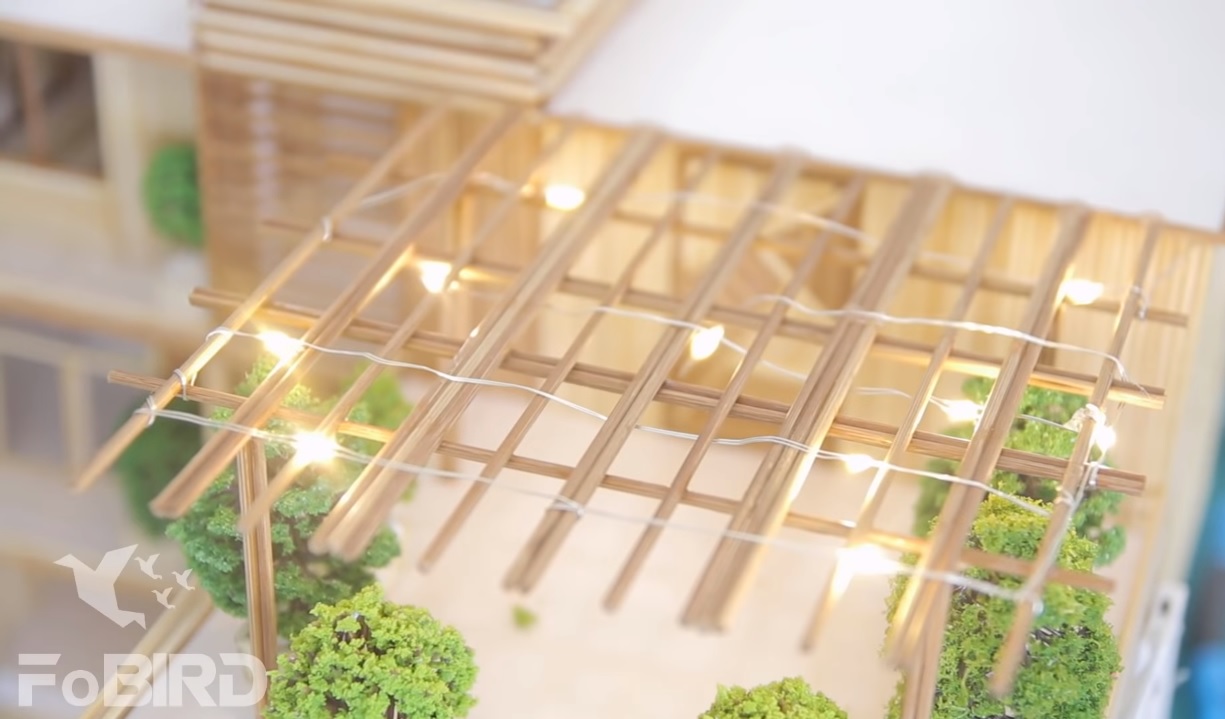
The front of the house has an empty area that can be utilized using spare wooden sticks to make a patch here. You can put vines or install LED lights on the construction
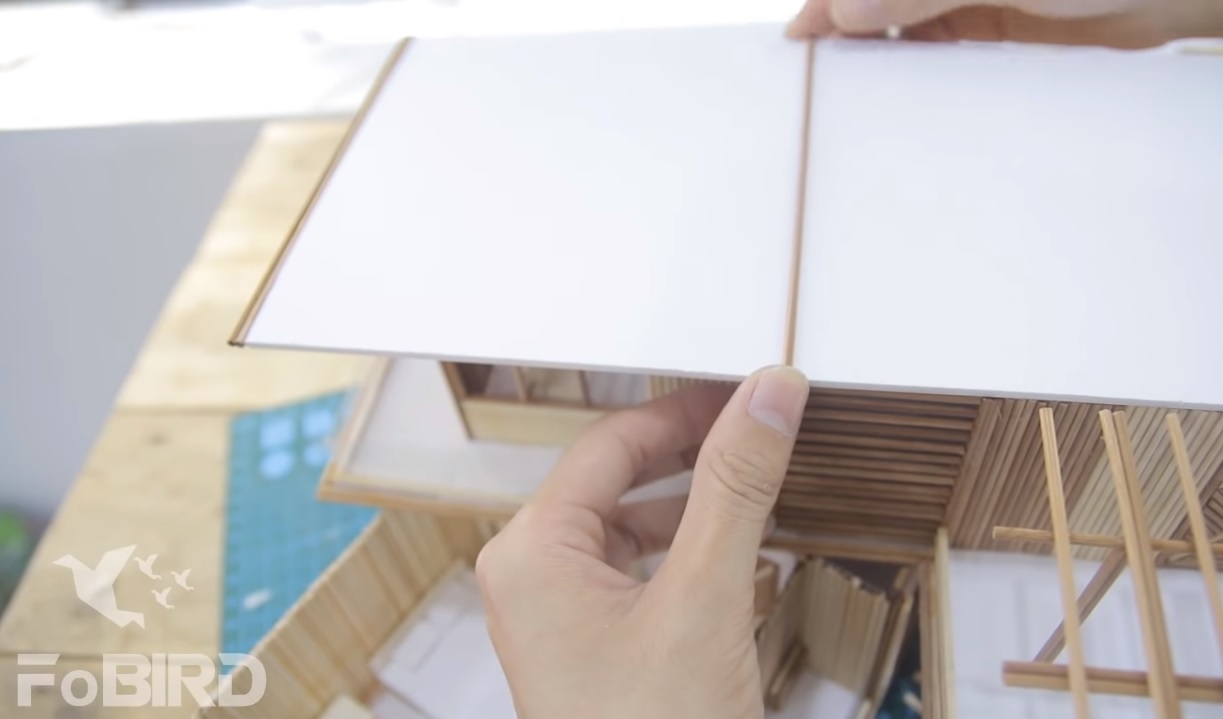
Cut a cardboard into the same width of the 3rd floor’s ground for the roof, round the edge with wooden sheets to look neat and more appealing
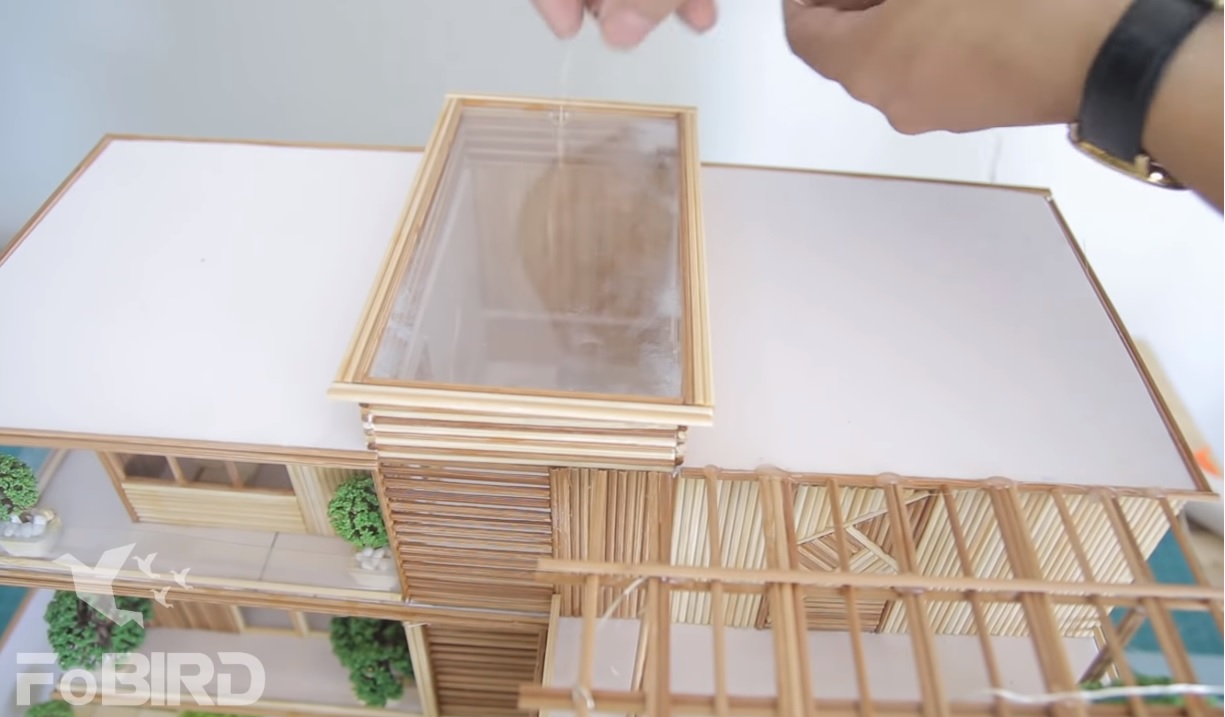
Bind the sticks and place it on top of the board for the skylight
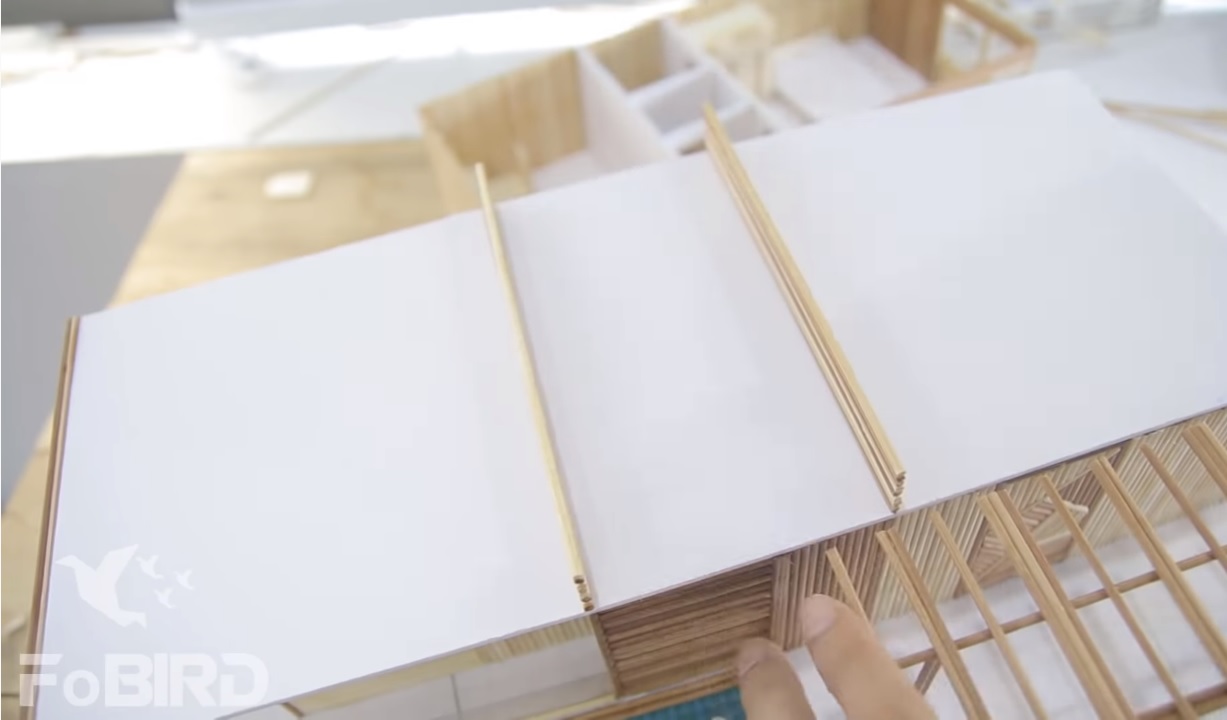
Cut the middle part to make space for the staircase and skylight
Build staircases form the 1st floor to the 2nd using cardboard and

In turn install staircases from the ground floor to the last floor

After completing the staircase, place a glass sheet upon the skylight.
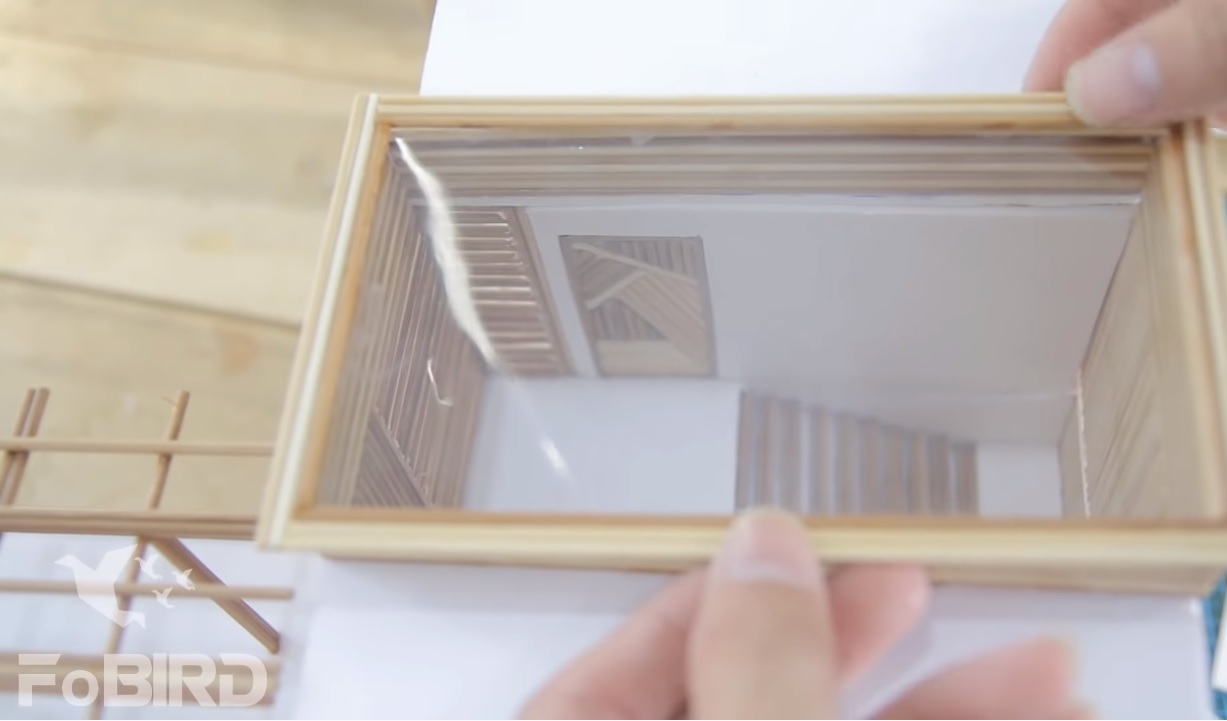
And that is the last touch of this model
Step 7. Yards and lights
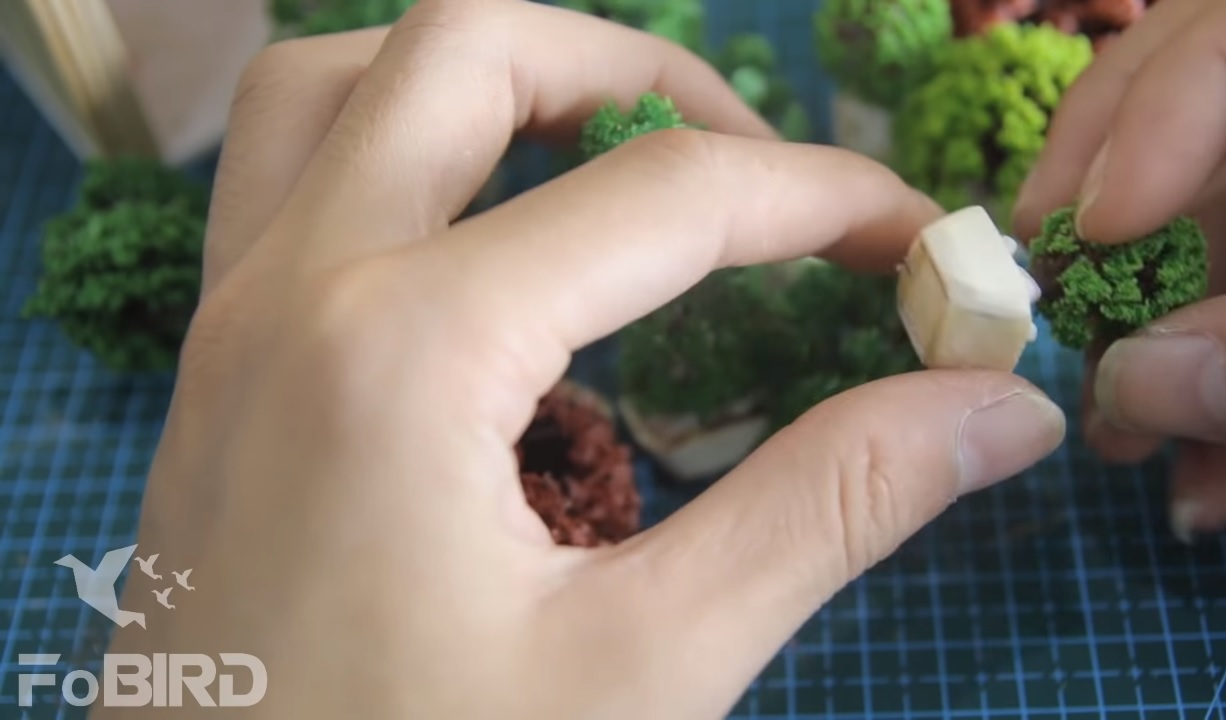
A mansion can not without trees and landscape behind. To serve your creativity, we have prepared a set of various trees. With it, you can choose whatever you want to put inside your garden.
For singular tree, cut the popsicle sticks and glue them back into basins, use glue stick or household glue to fix pebbles and decorating tree into the basin you just made. There you have a basin just like in the picture
Place the basins inside the house at anywhere you prefer. You could utilize the 3rd floor for the gardening area. Also, you can put there a table with chairs if you wish. As for other areas such as the hallway or the 1st floor yard, you can decorate them with green for a refreshing atmosphere.

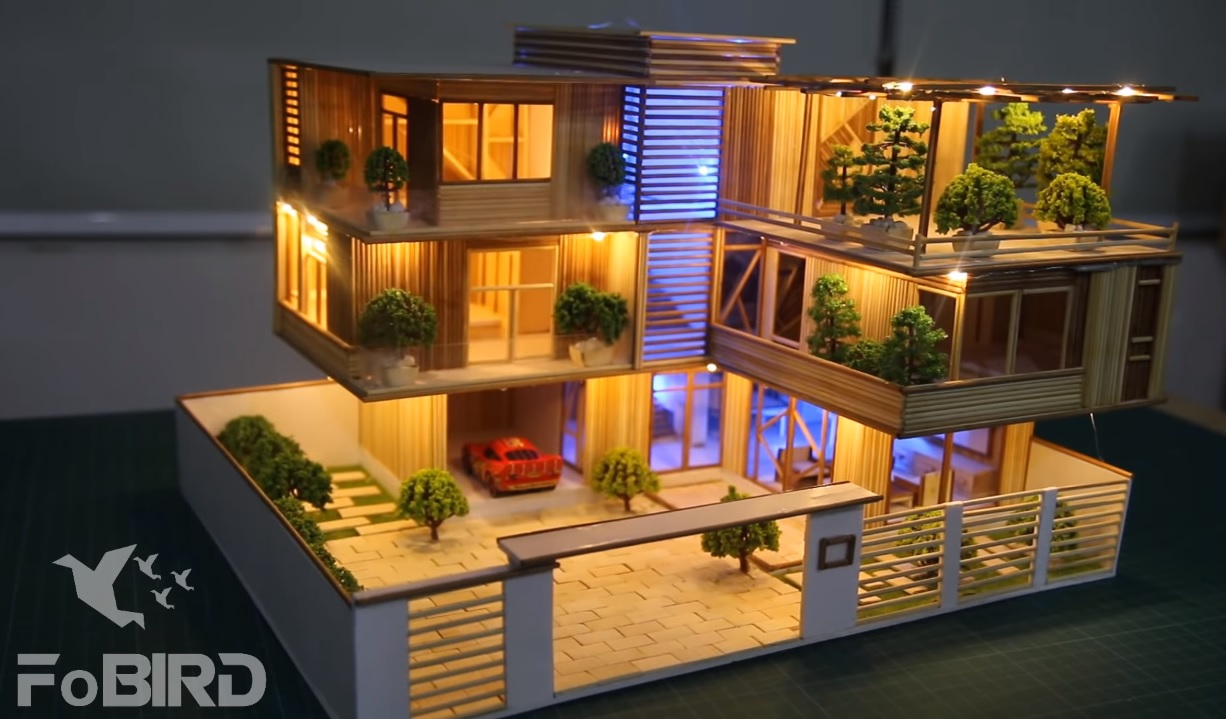
At the 1st floor, use cardboard and wooden sticks for the fence and entrance. This is where you can get creative.
Here we made a simple fence and a port with house number on it
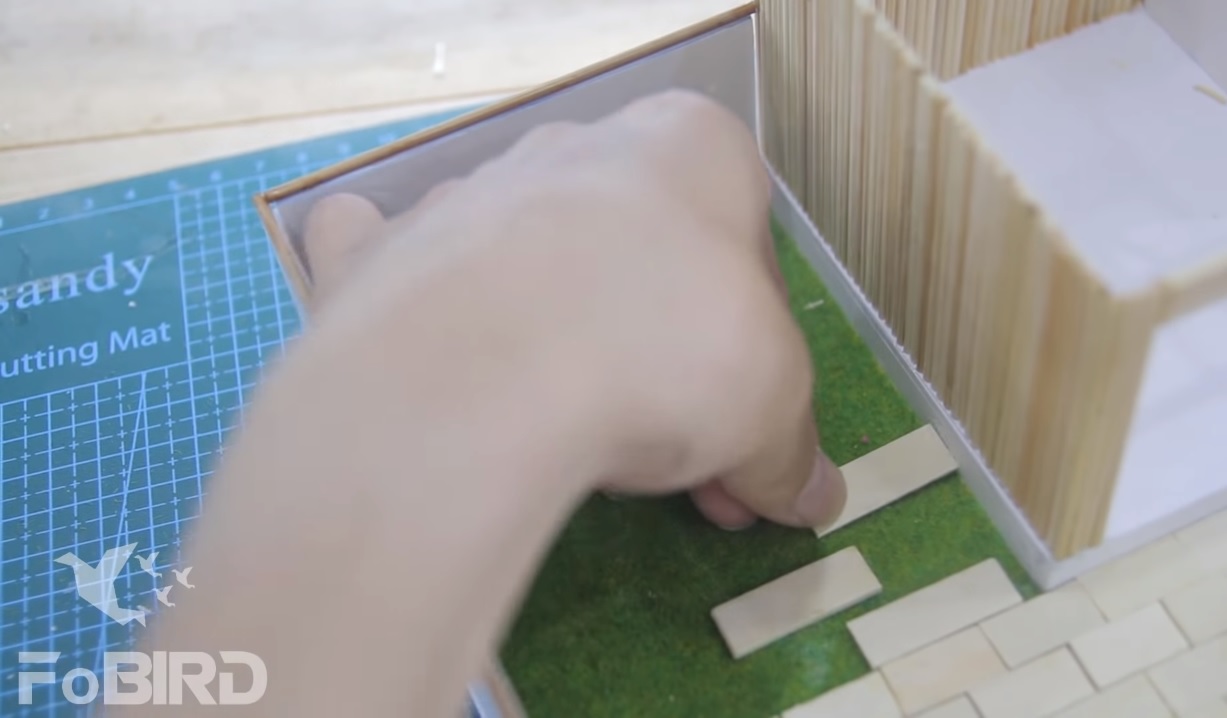
Then you can cut the ggreensward and place it on the spare space with glue stick, the tiles will be made out cut popsicle sticks
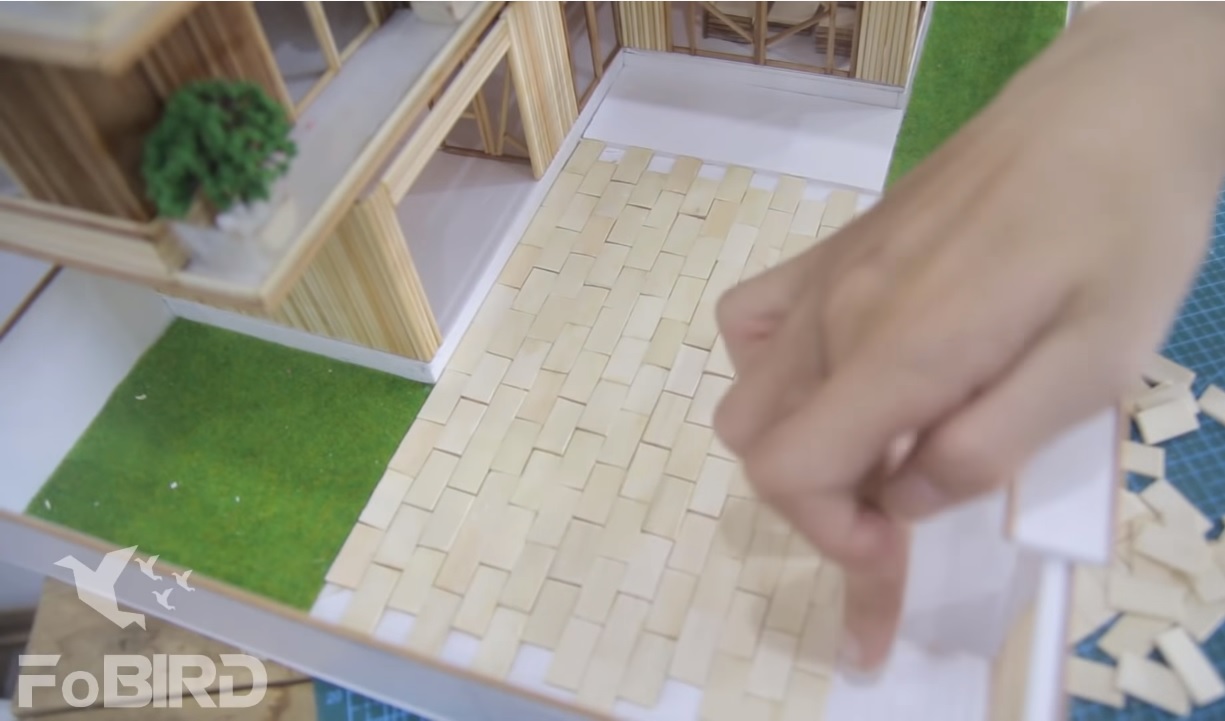
Aside from that, you can make a path above the greensward and place some tree on it
Afterward, decorate the house with LED lights
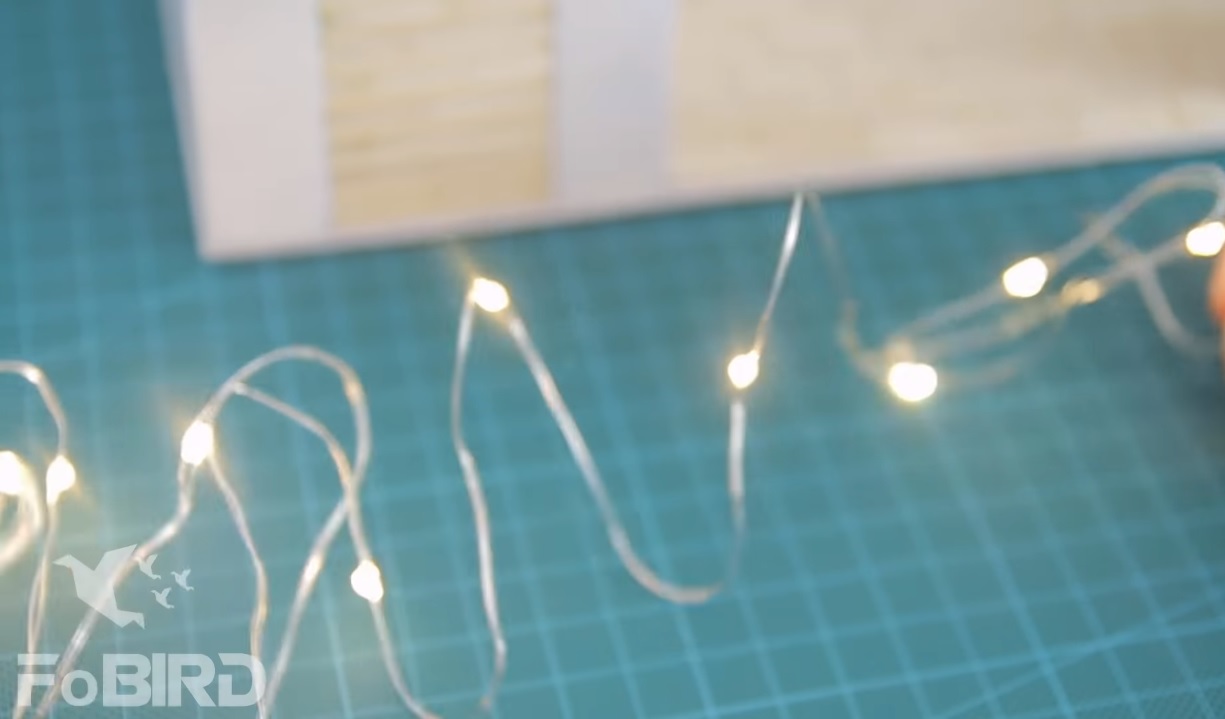
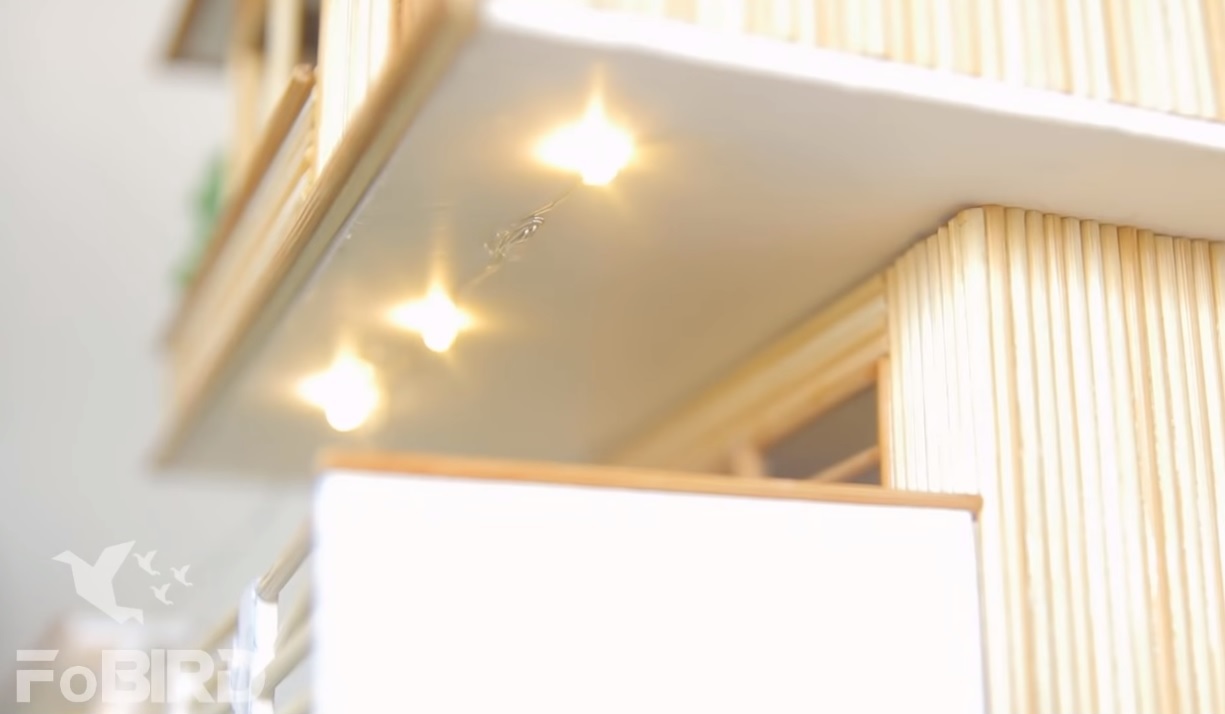
For the hallway, we use a singular 2m LED string to fix it on the ceiling, going from 1st to 2nd floor
On the roof, we use another 1m LED string to put ontop of the patch, at night, the lights will be most attractive
Next, heat up the glue gun’s barrel to pierce a hole on your skylight.
Put a LED light inside, blue would be most effective.
That is the final step to fully complete your miniature mansion, which can take up to 3 days. If you are a beginner and cannot fully concentrate then it might take about a week to finish the project.
At night, when the house is lights up, you can see the full effect of the lights. Although tiring but totally worth it
For conclusion,that is the instruction for creating a miniature mansion from Kheo tay. You can check the video below for more information. Don’t forget to visit our wooden sticks house article as well for frequent update of new house models created by Kheo tay. Good luck!
Tutorial video: How to make a Wooden Stick House with LED light
https://www.youtube.com/watch?v=tSbokTGNABQ
By: FoBIRD.com