Popsicle Stick House
How to make a house model using popsicle sticks and Led lights
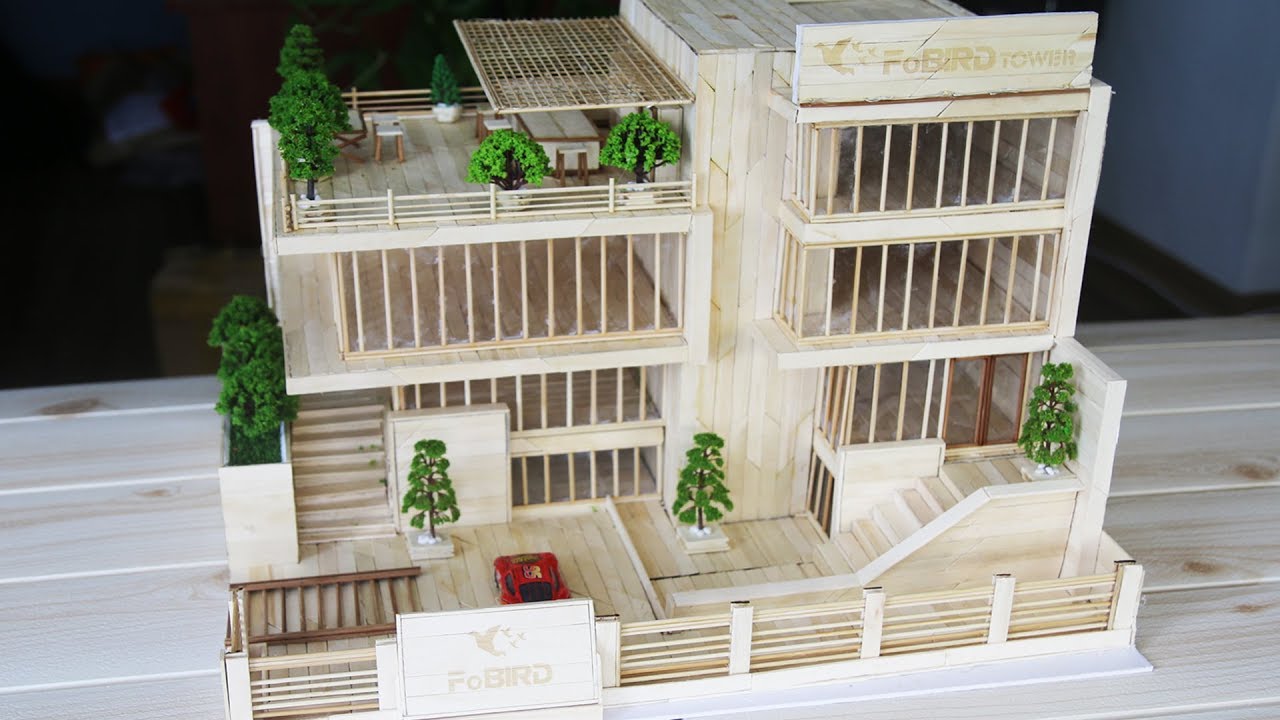
Building house models with popsicle sticks is a unique experience. The work allows us to be creative and make any idea become reality. This house model is the fruit of our labor. The design is very modern and it includes green spaces and a rooftop bar. Also, it is decorated with easy-to-work-with Led lights, which saved us a lot of time. Here are the steps that we have gone through in order to craft this masterpiece. Watch and enjoy!
The materials you will need are:
- popsicle sticks in 1 x 11.5cm
- popsicle sticks in 2 x 15cm
- 200 grams of white toothpicks with a 2.5mm diameter
- Special scissor to cut toothpicks
- ½ of small trees combo
- 4 Led light strings in 1m, choose yellow light
- 5 mat boards in 30 x 40cm
- 4 transparent mica sheets
- Glue gun and glue sticks
- Superglue
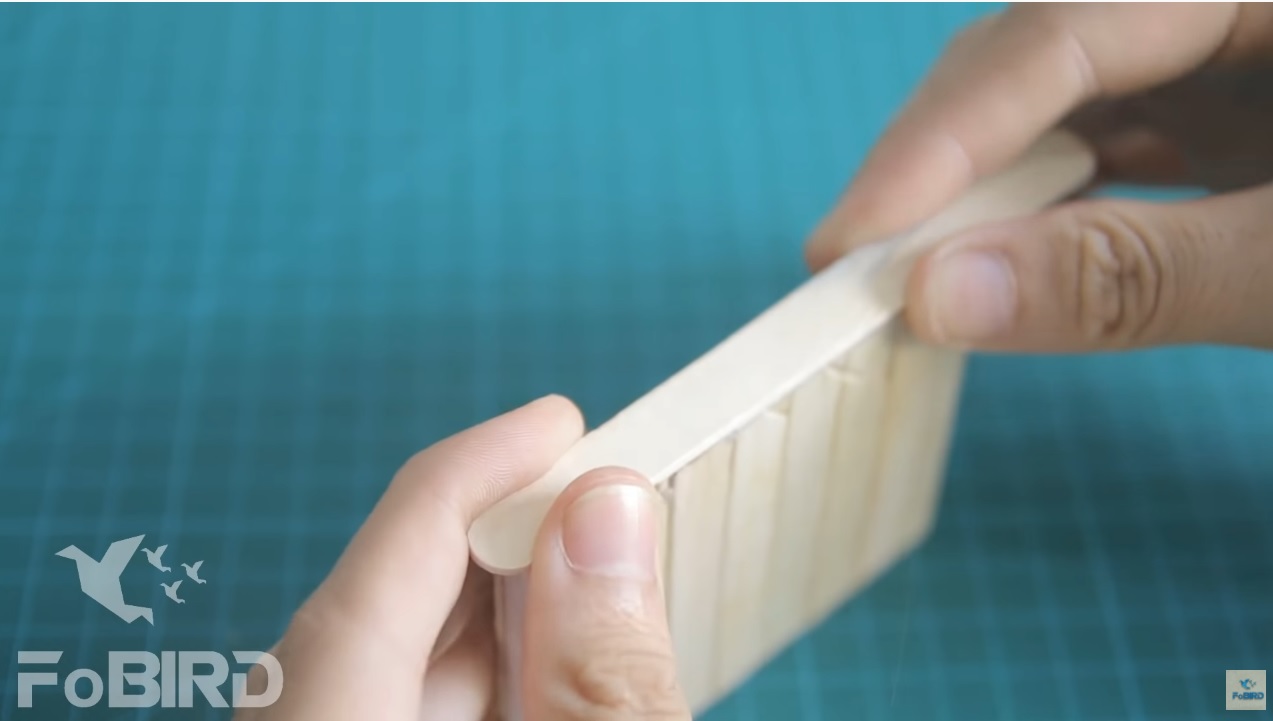
Tips on cutting popsicle sticks:
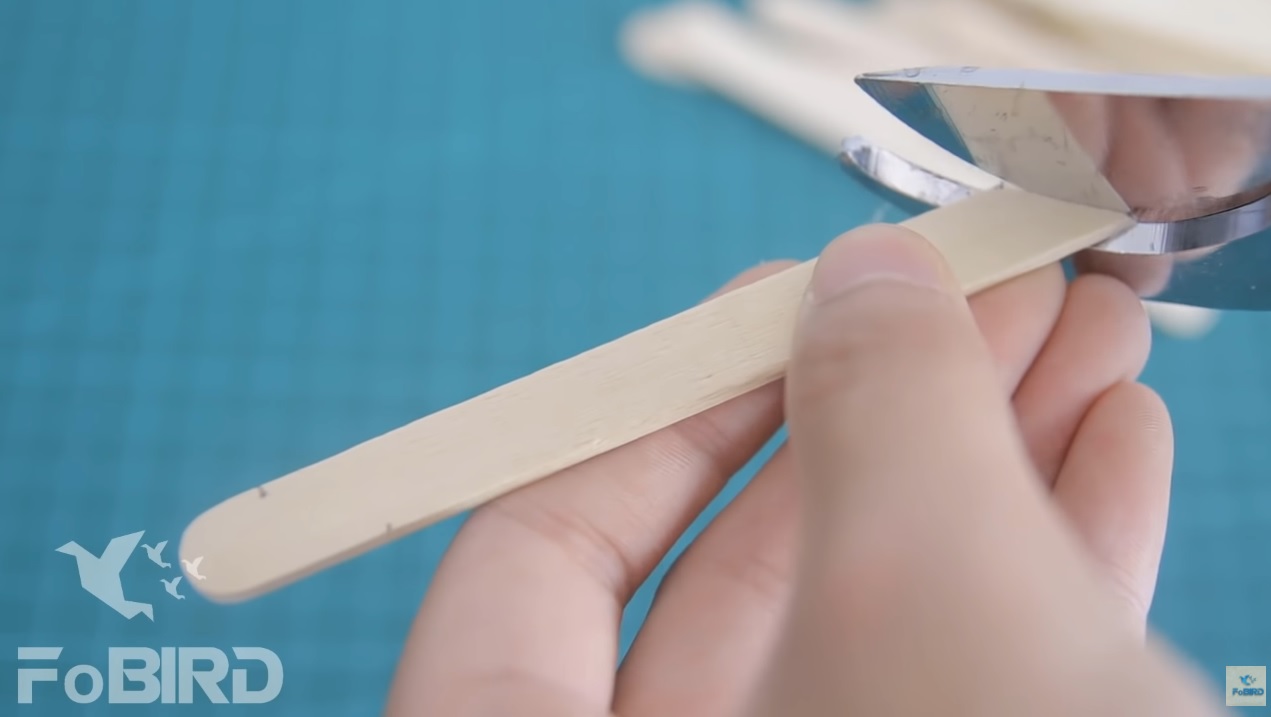
Before, we used to cut popsicle sticks with a normal scissor which you can find in any kitchen. However, using this type of scissor made cutting hard sticks very difficult. And, the cut was very rugged and unaesthetic. To improve the result, we started using special scissors that were designed especially for cutting wood sticks. With these scissors, now it is very easy to cut toothpicks or popsicle sticks. Also, the cuts look beautiful in the end.
Steps to make a house model with popsicle sticks and Led lights:
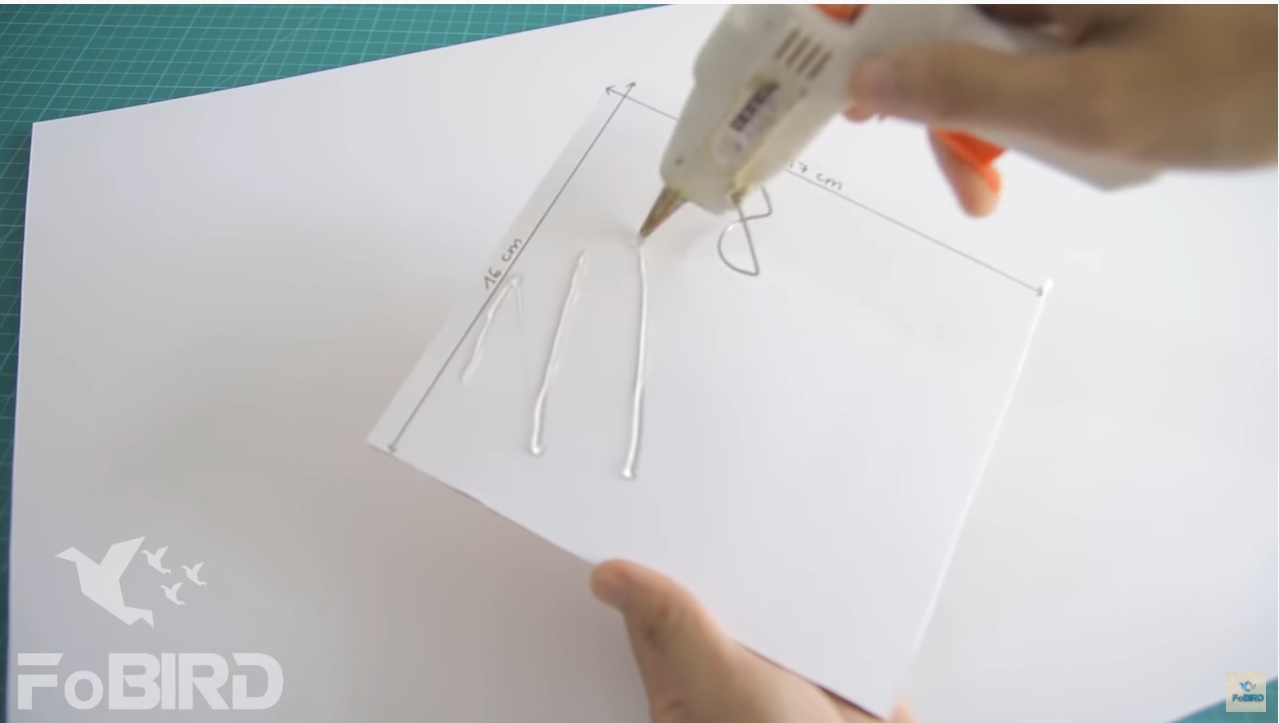
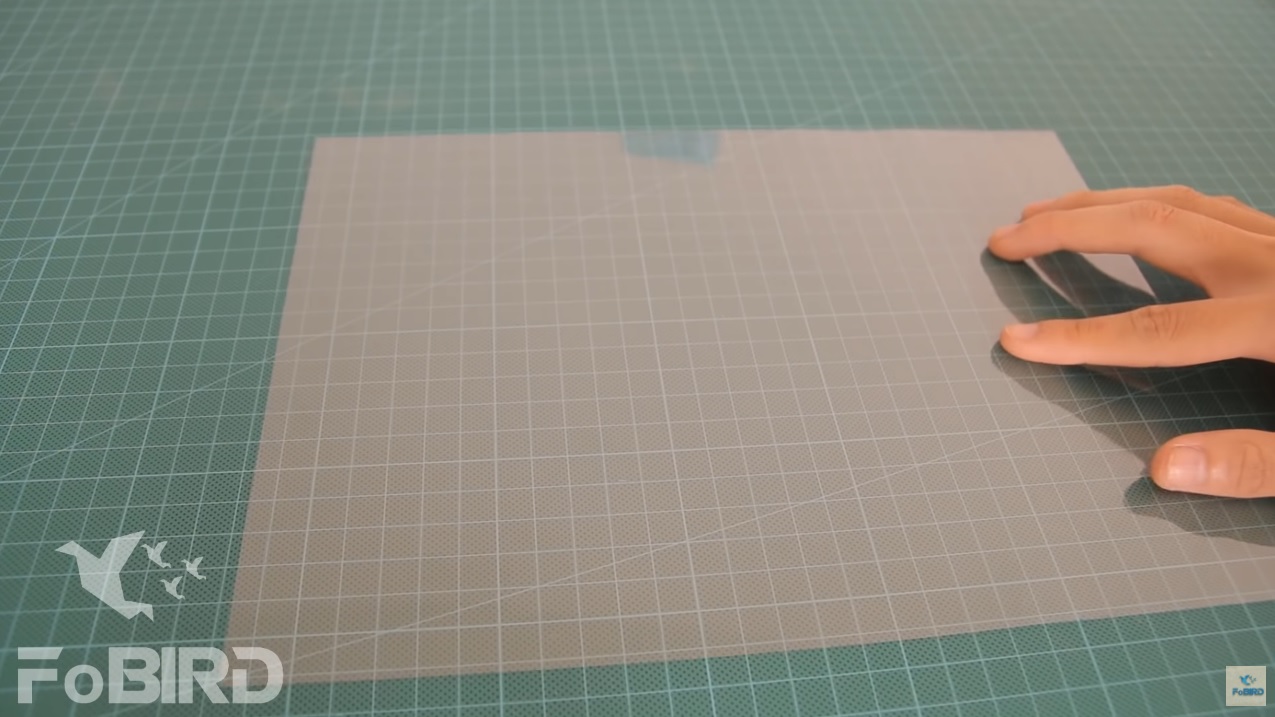
Step 1: To make a popsicle stick house, first you will need to download the detailed sketch and print it on an A3 paper.
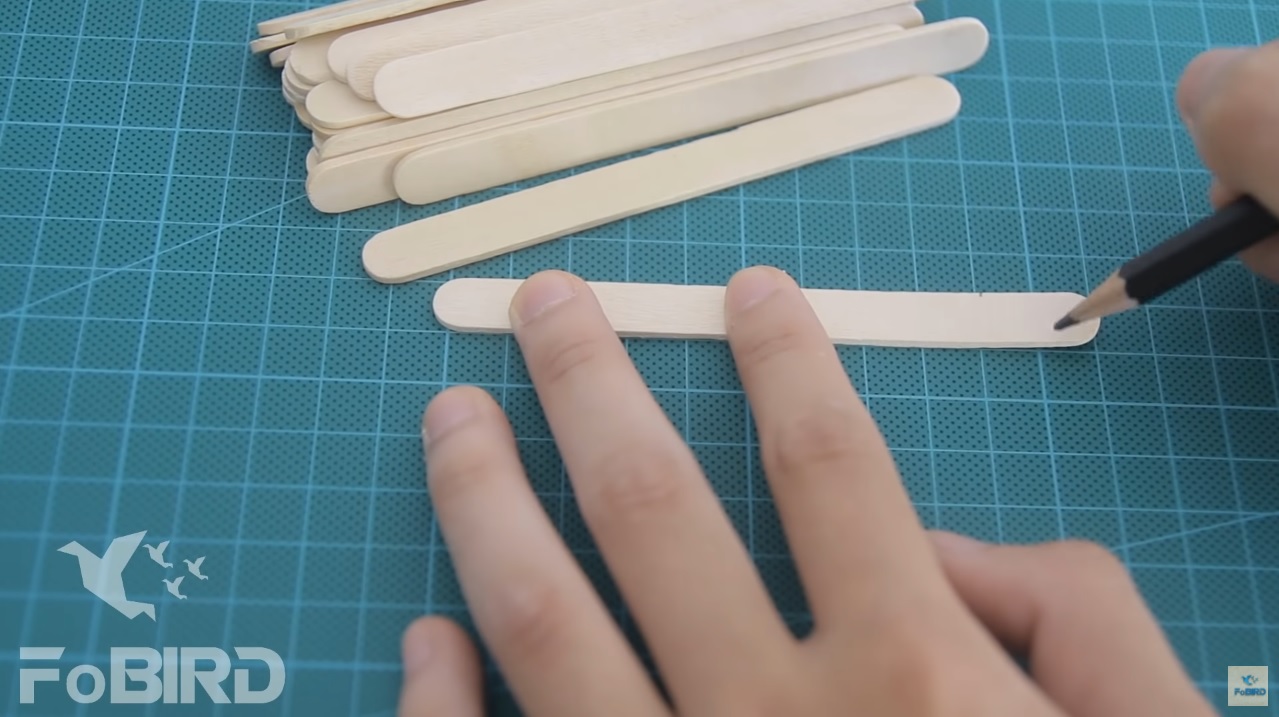
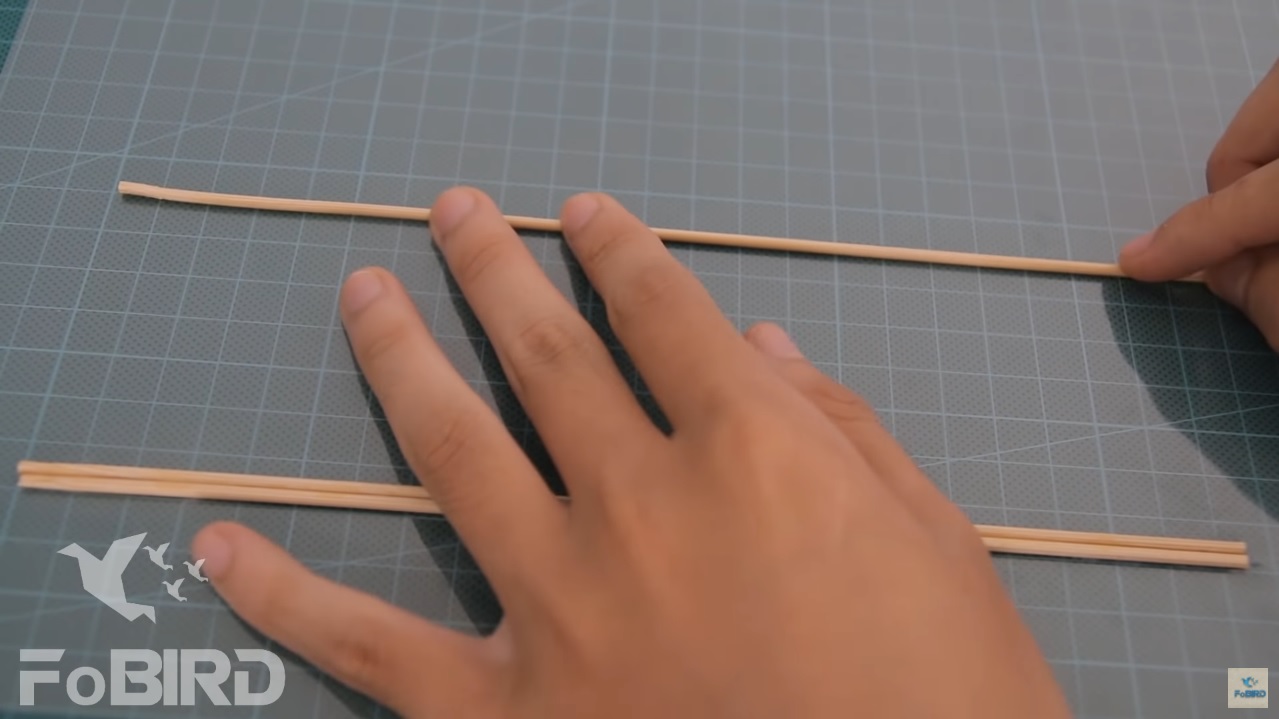
Step 2: Make the frame for your house model
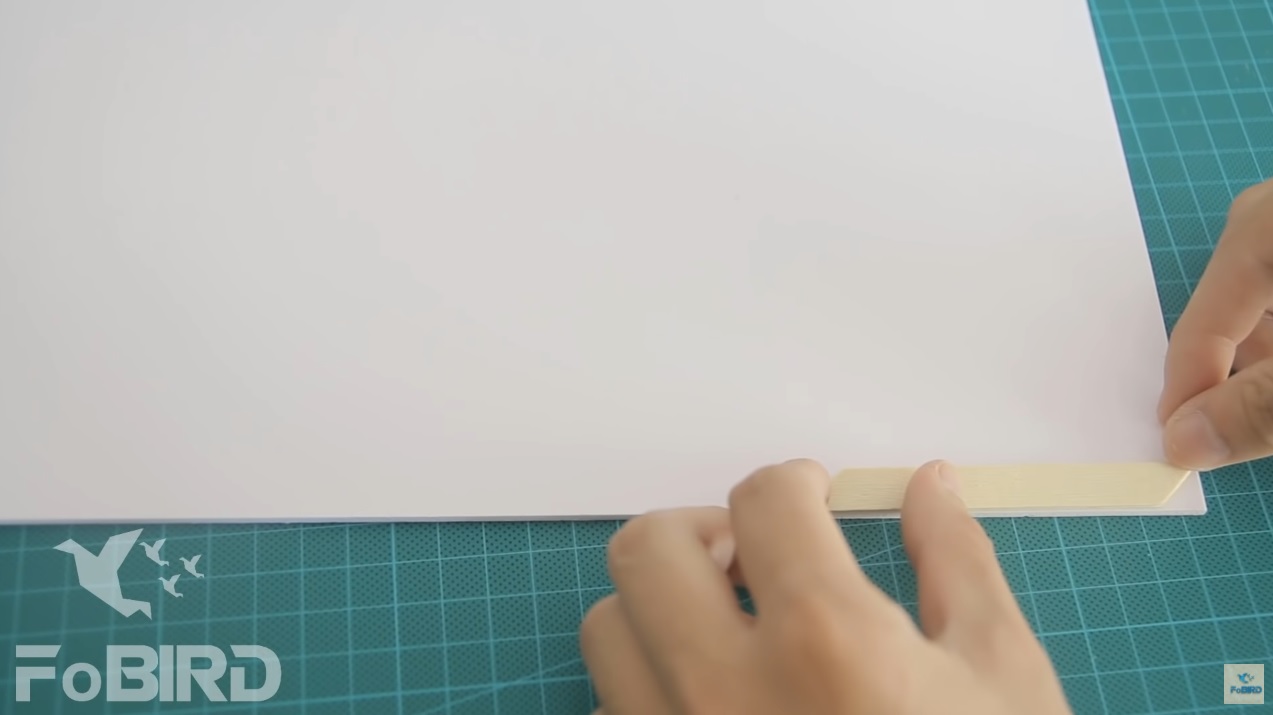
With the popsicle sticks that you have prepared in advance, use pencil to mark on small dots as shown.
Now, use special scissor to cut both ends of the sticks by following the marked dots.
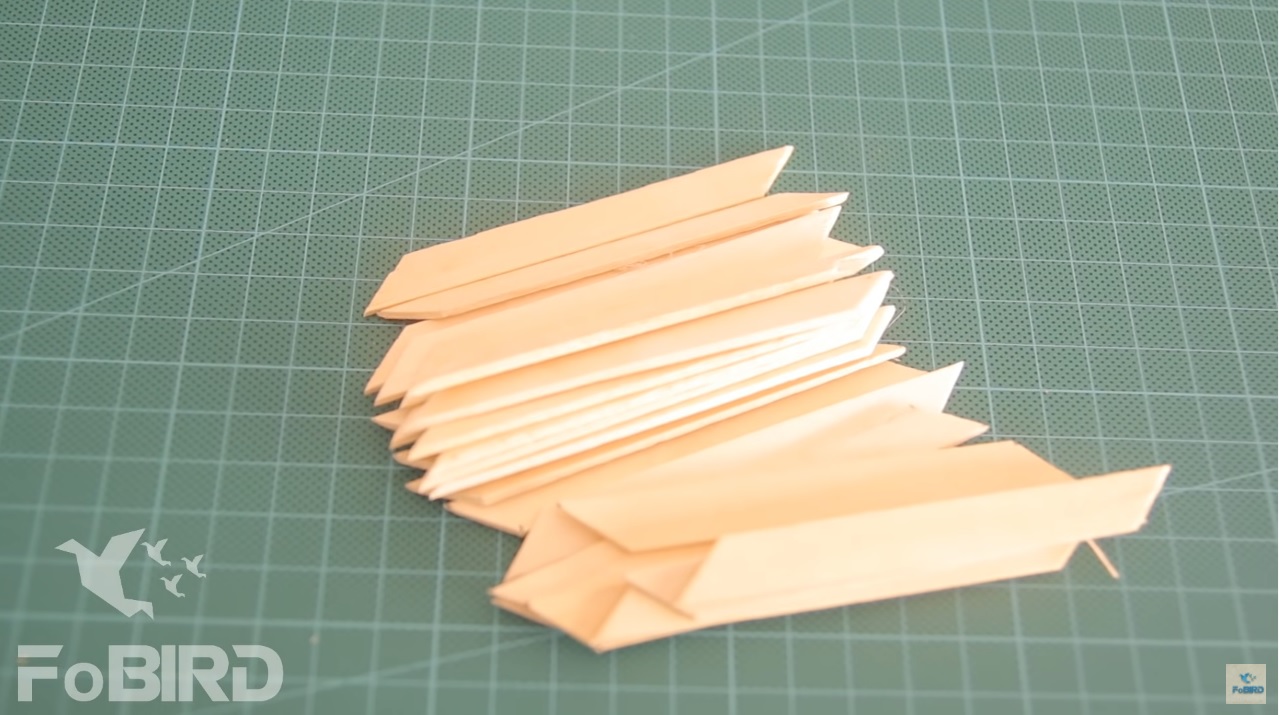
You will have a great number of popsicle sticks that look like this.
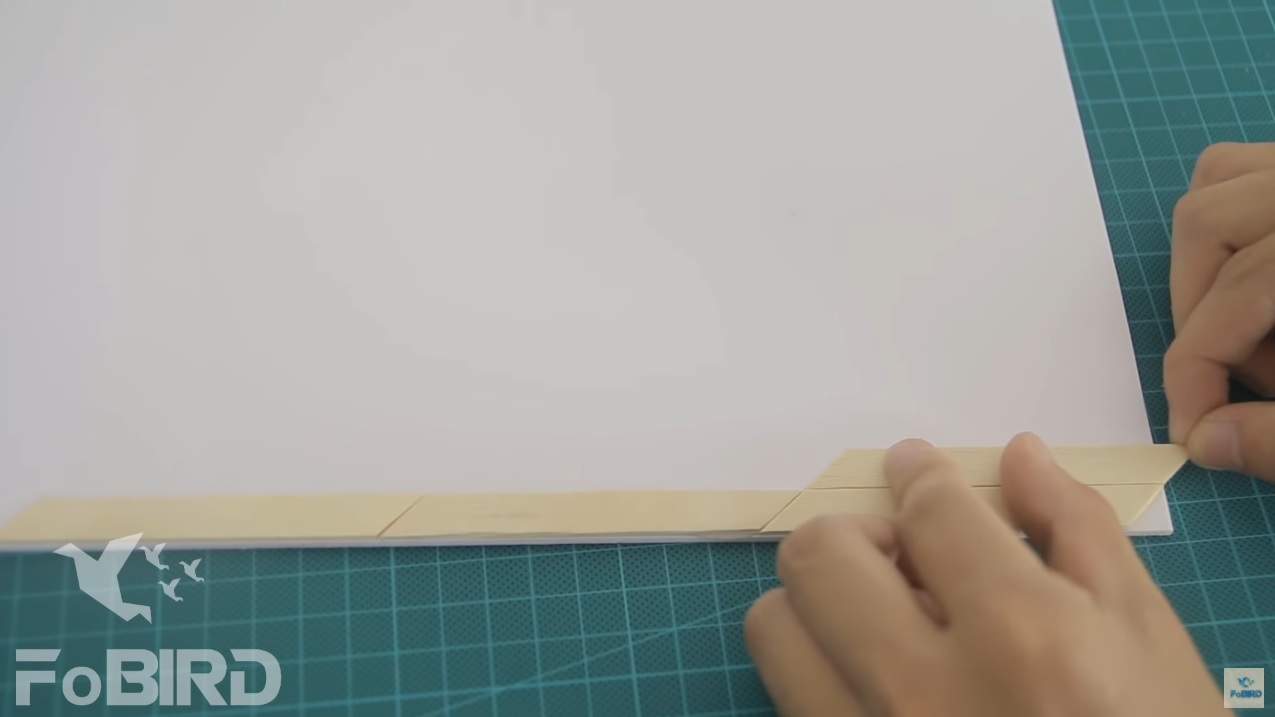
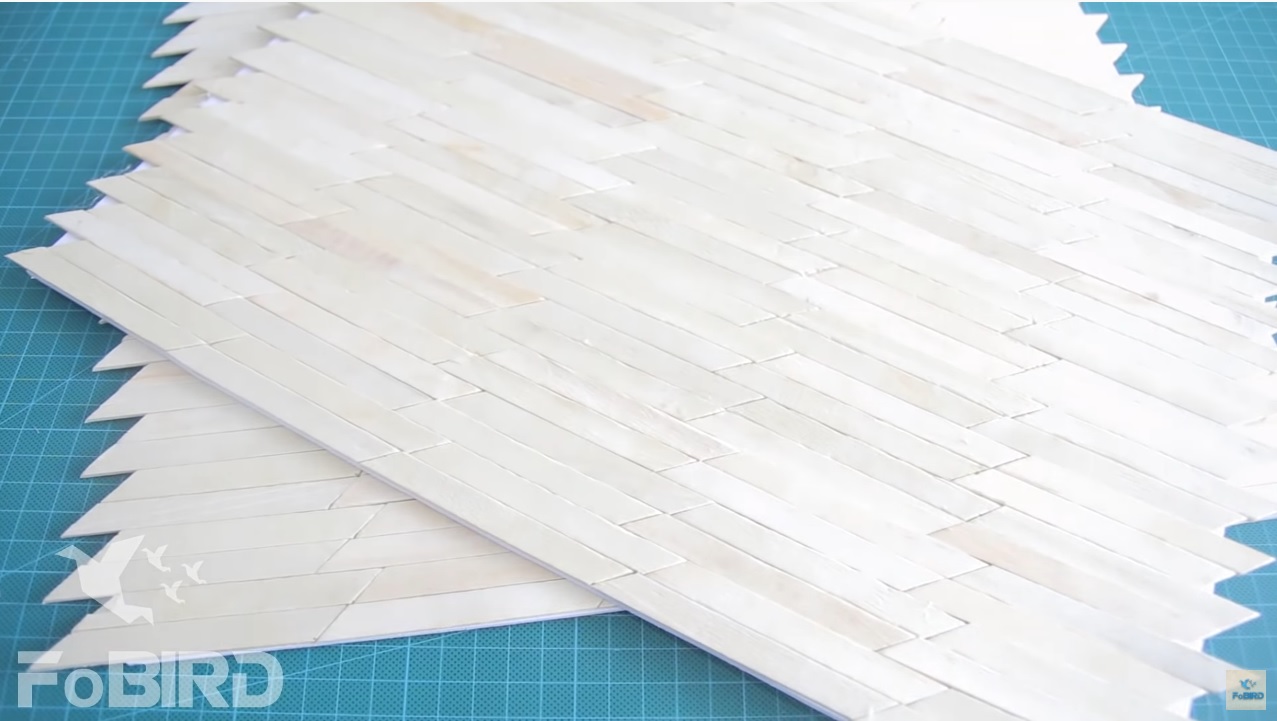
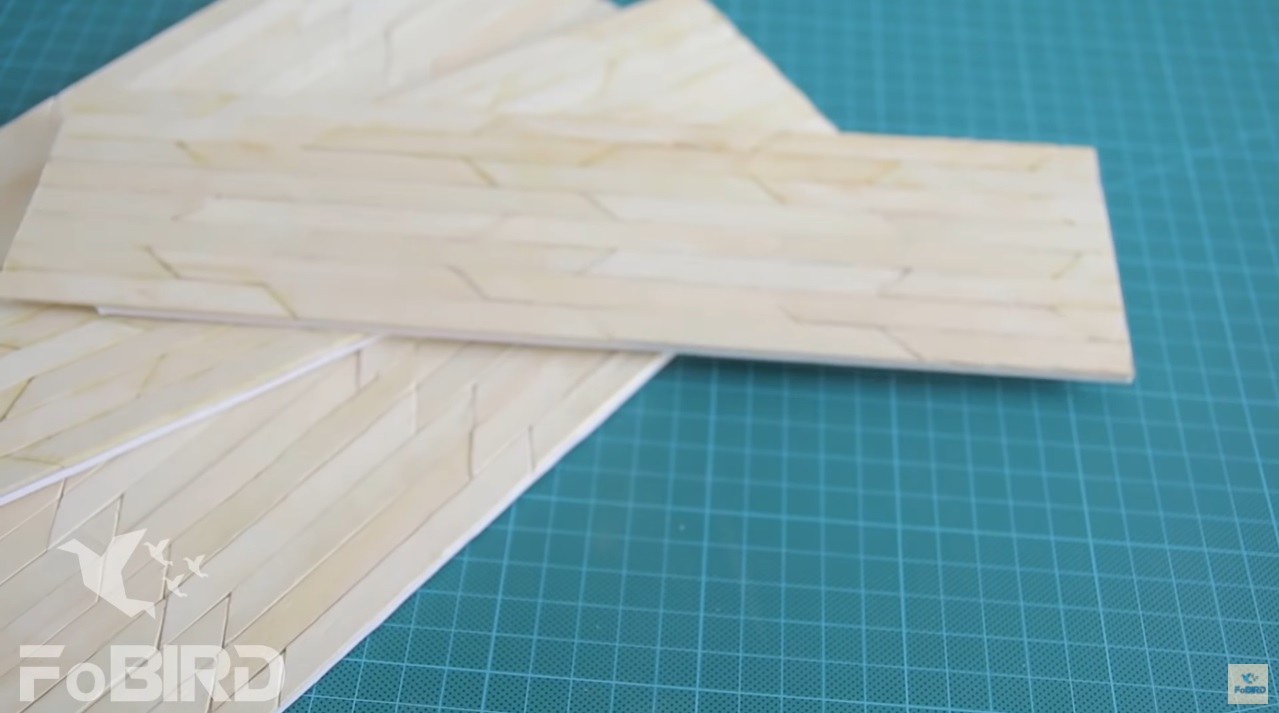
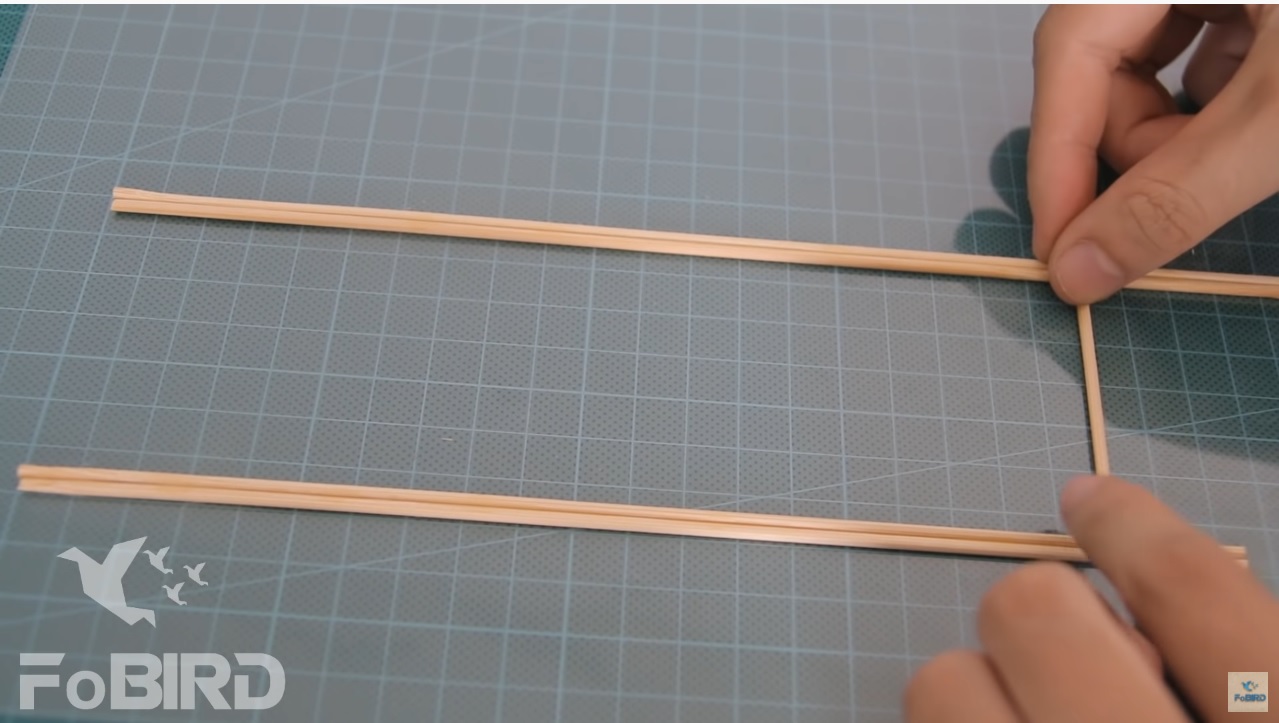
Then, use glue to attach the sticks to a mat board.
Repeat the step with a second row. But remember that the diagonal lines of the second row must correspond with those of the first row.
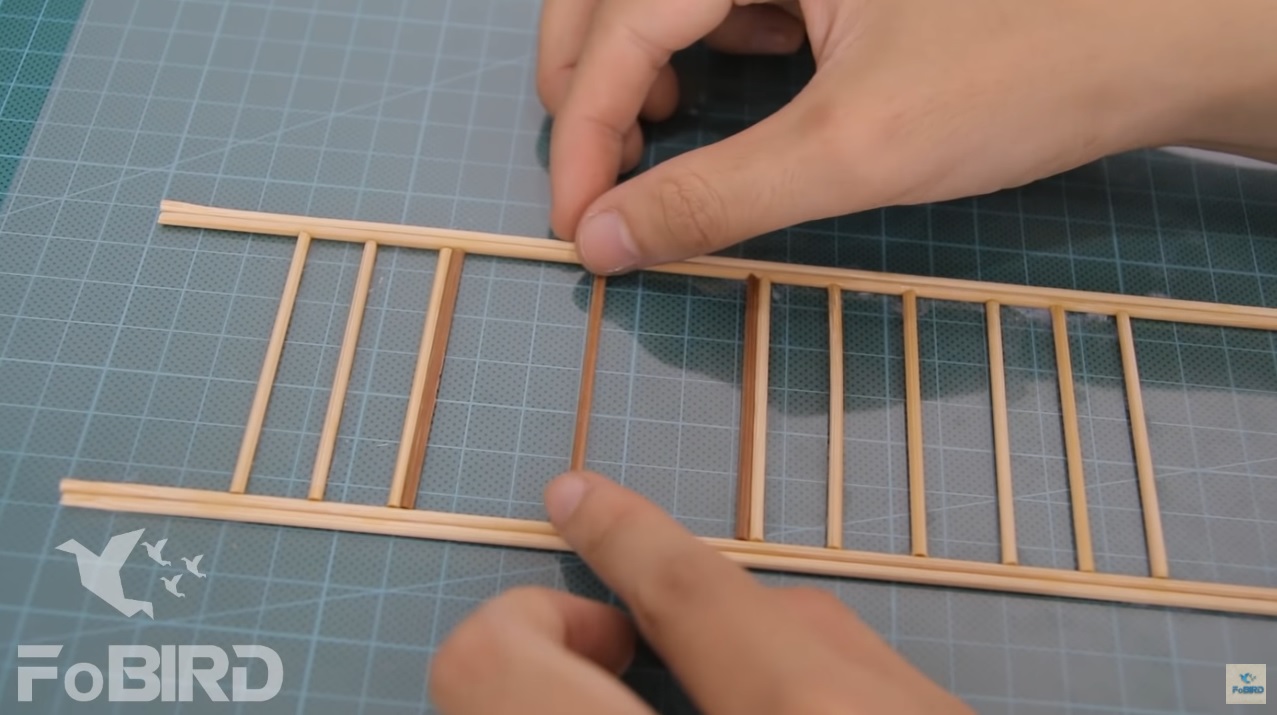
For the third row, you continue to attach the sticks on, but they must be alternate comparing with the first and second row.
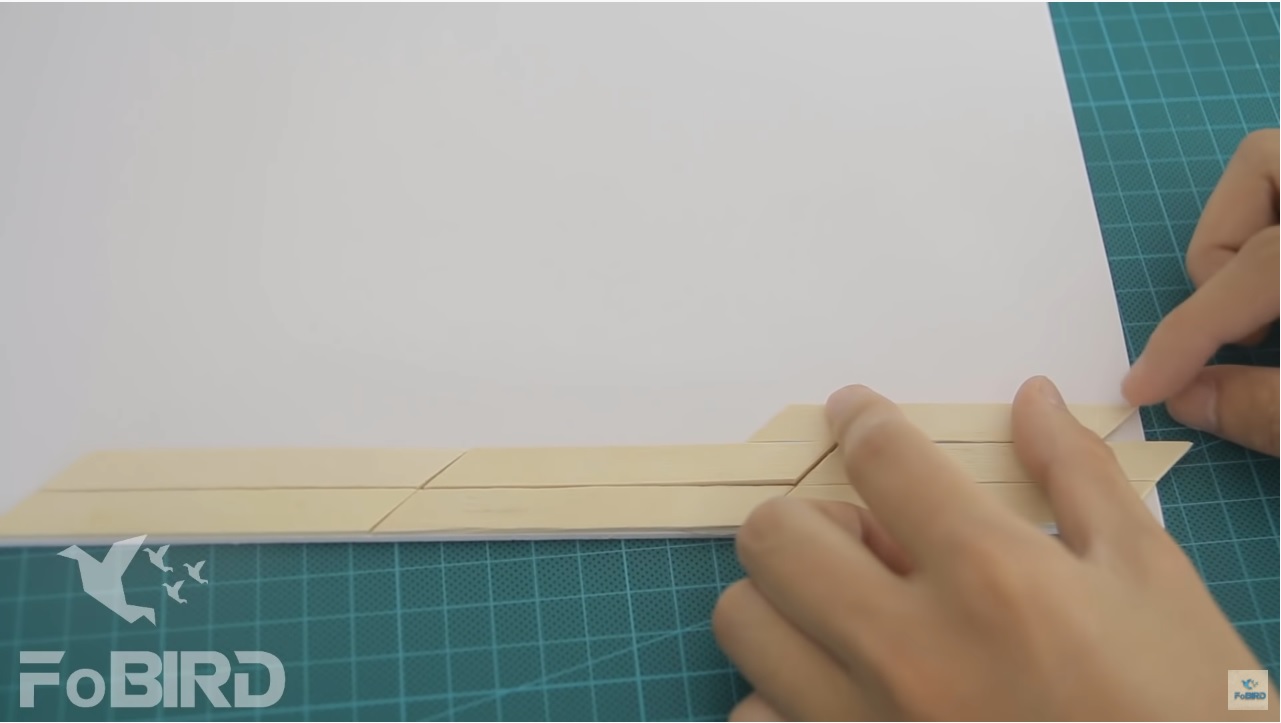
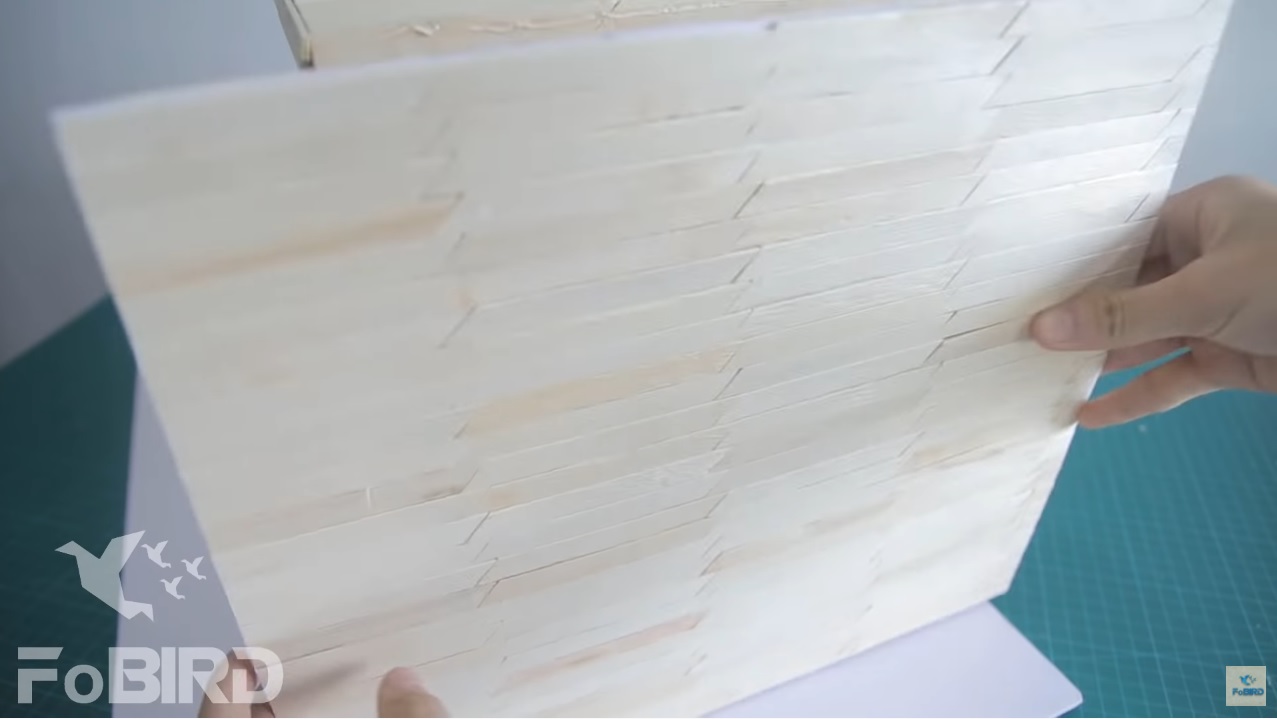
Pay attention to the pattern. Every two rows make a continuous line. Then they are interrupted with two alternate rows which have a continuous line. Repeat the steps and you will have this huge wood plate.
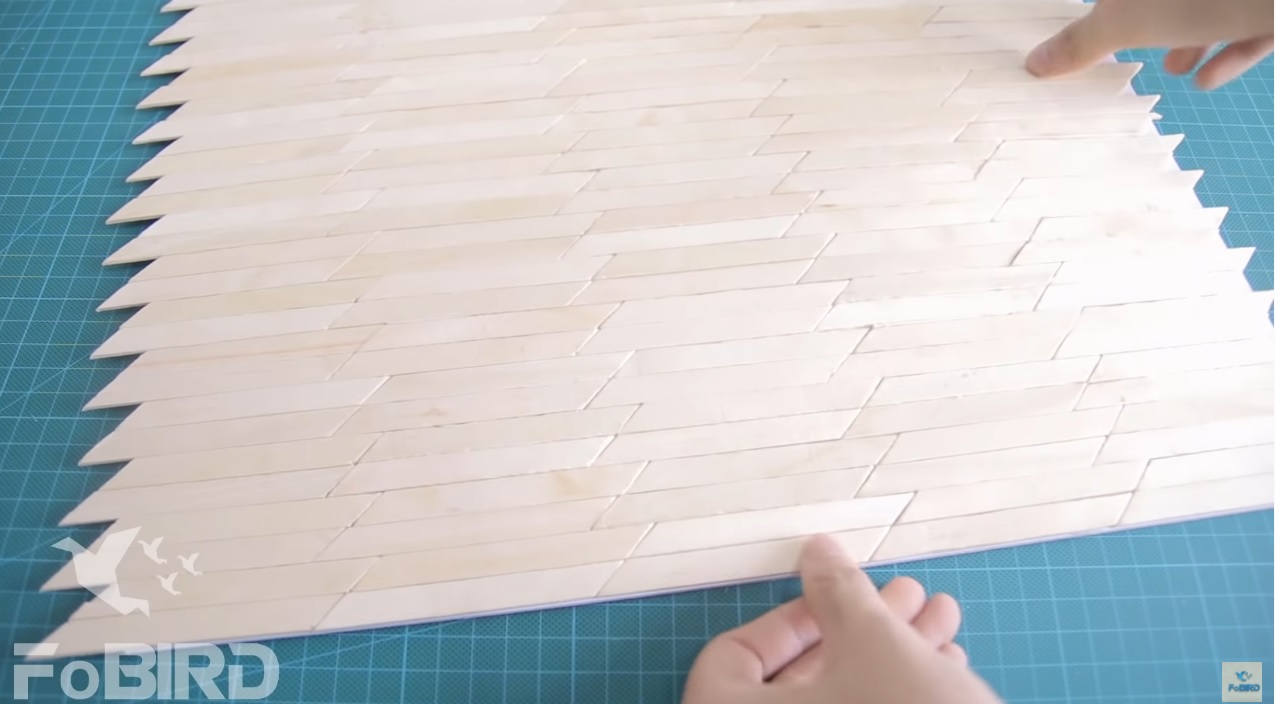
Make another plate using the same method.
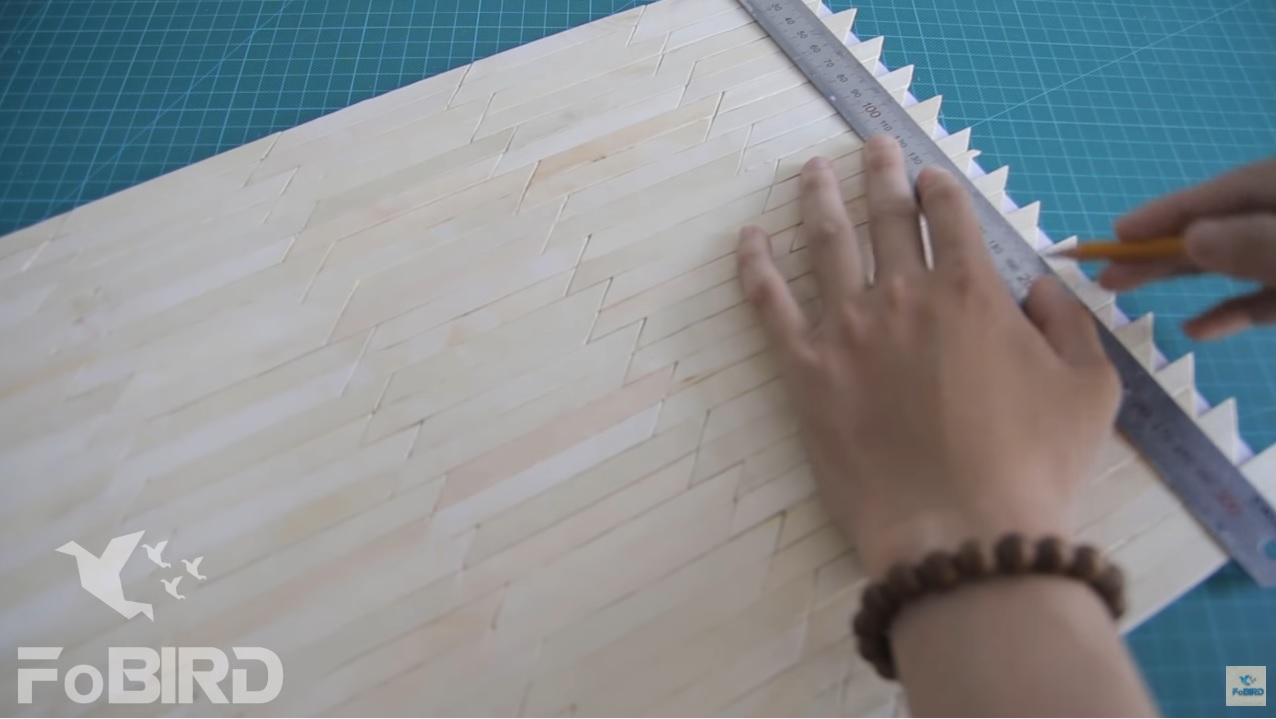
Mark the excessive parts.
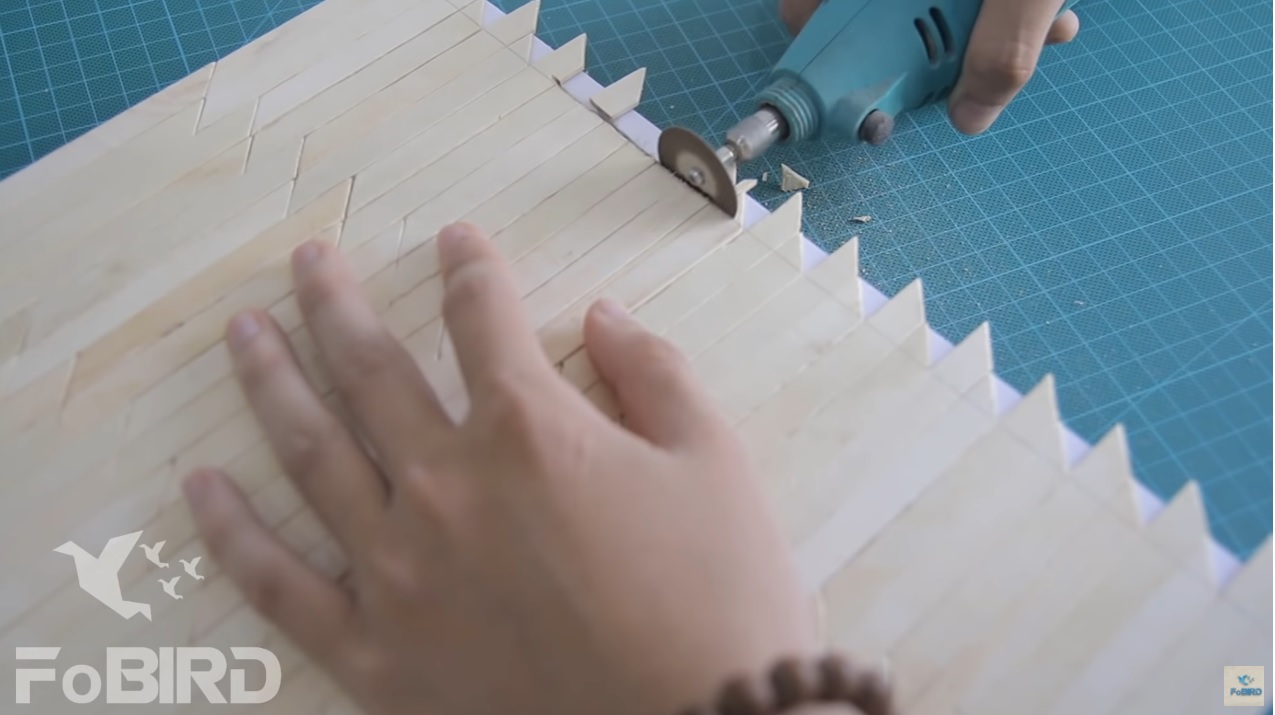
Use a cutting machine to cut them.
Make other details using the same method to create a pattern.
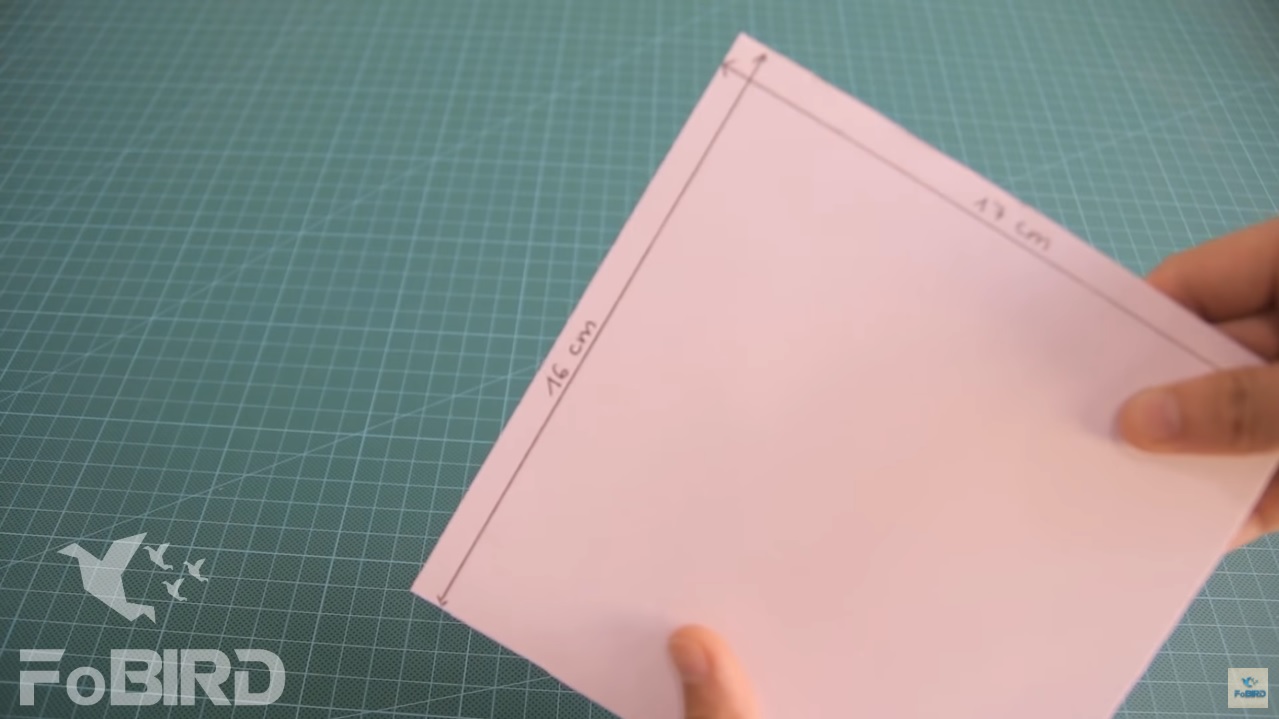
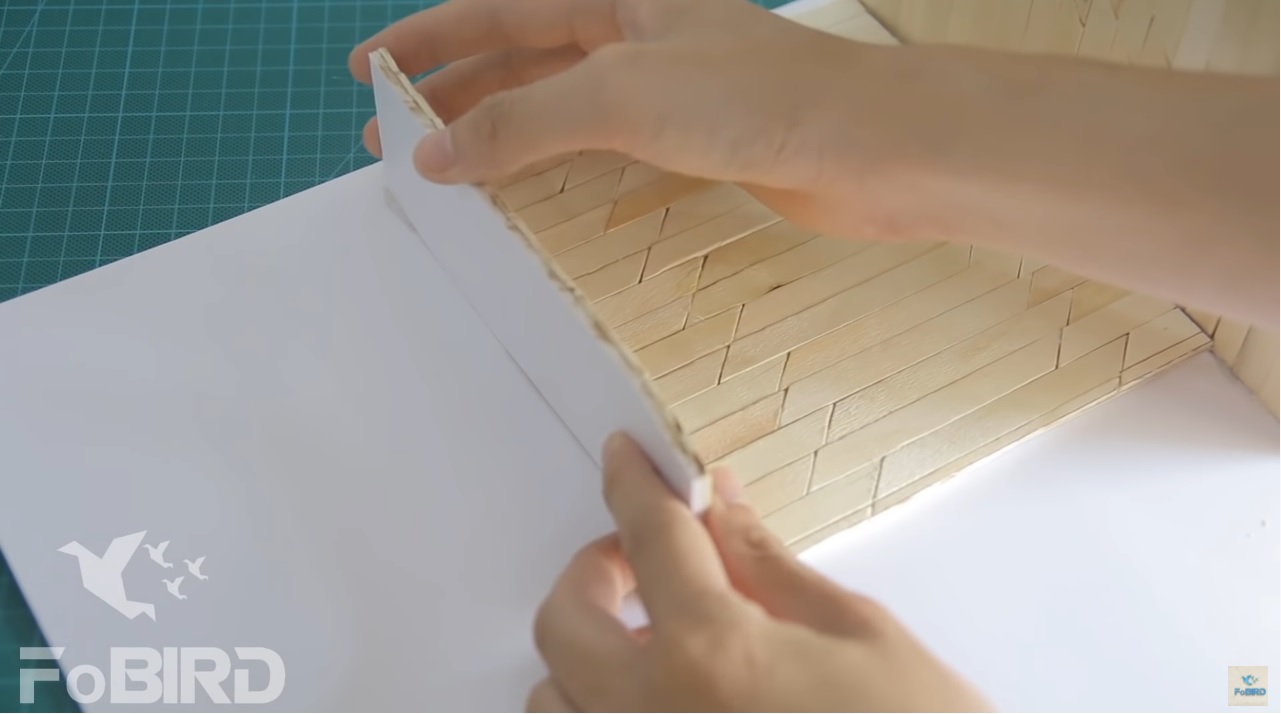
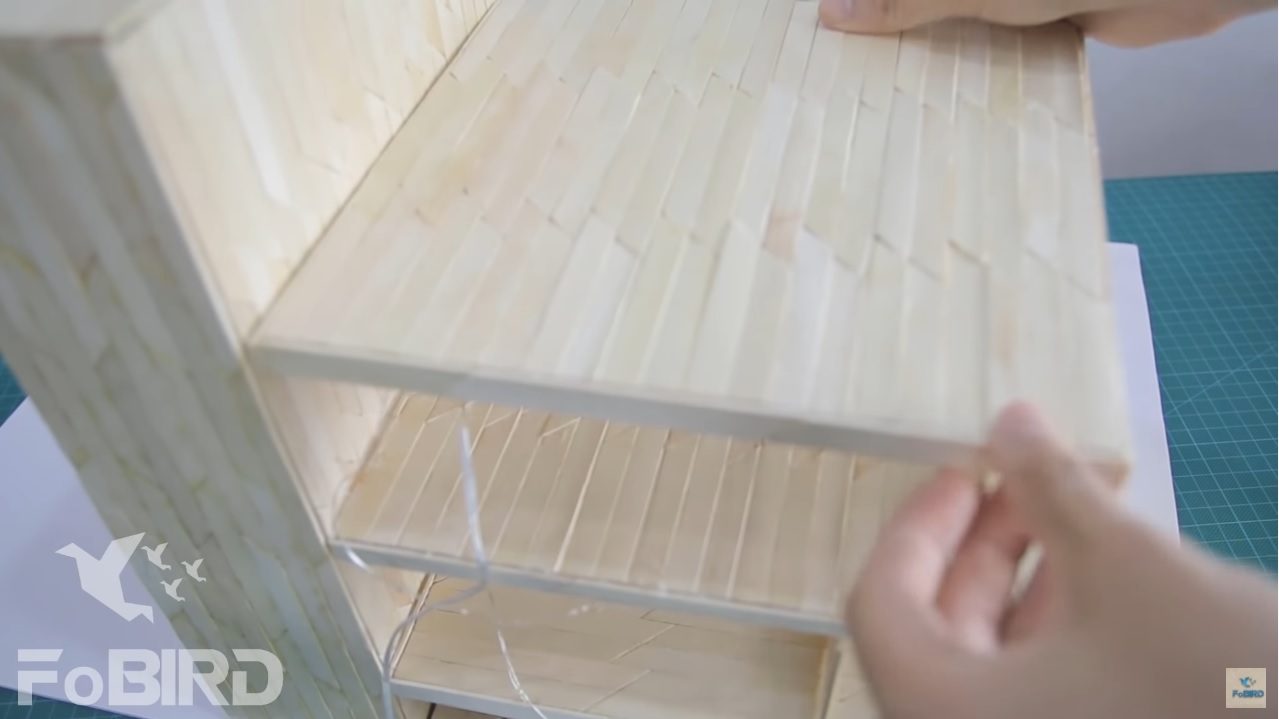
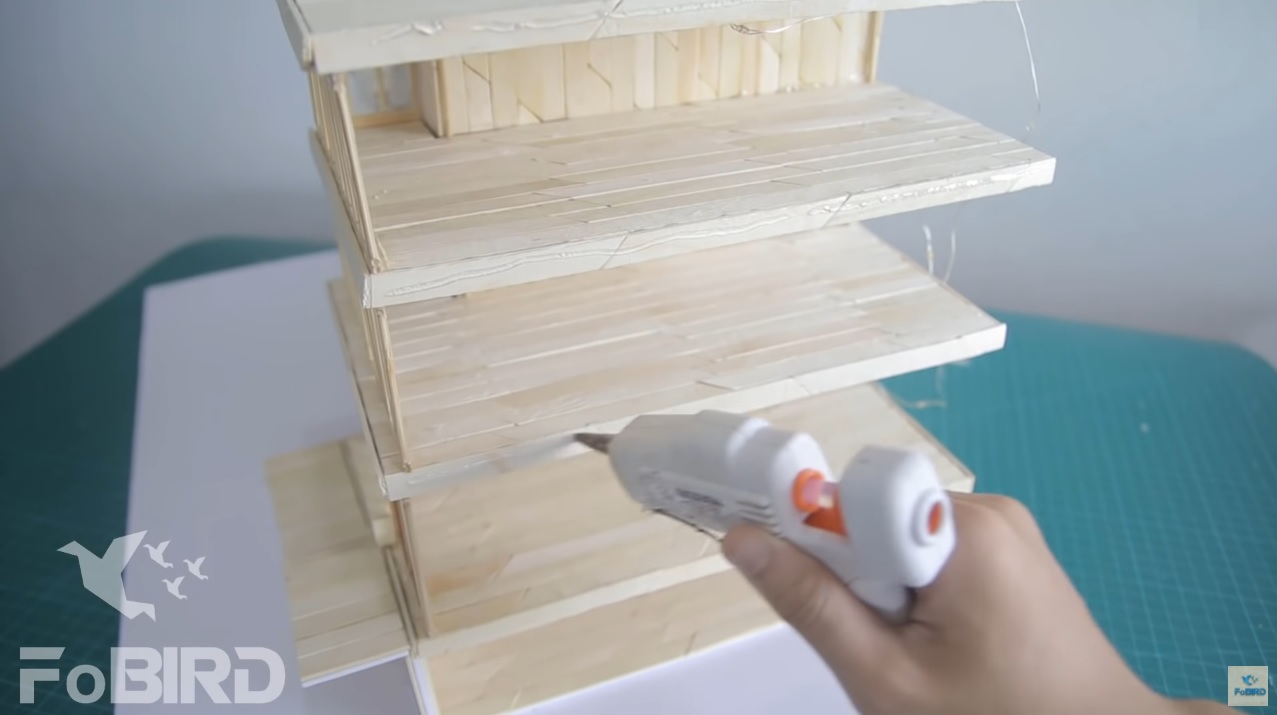
Next, apply glue using glue gun on the back of the popsicle stick plate. The plate is 16 x 17cm. Now attach the plate to the big mat board that you have prepared. The big mat board will be the floor.
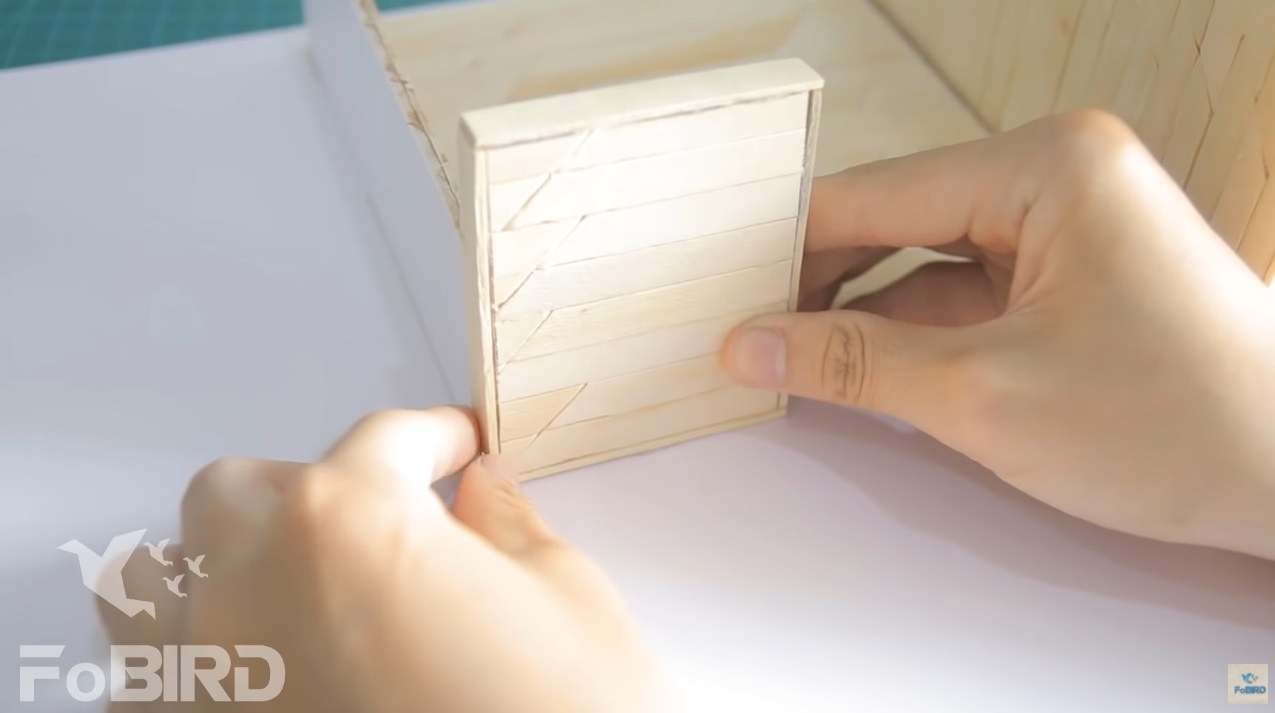
After crafting with popsicle sticks, you will have 2 big rectangle plates and 2 small rectangle plates. Their sizes must stay true to the sketch.
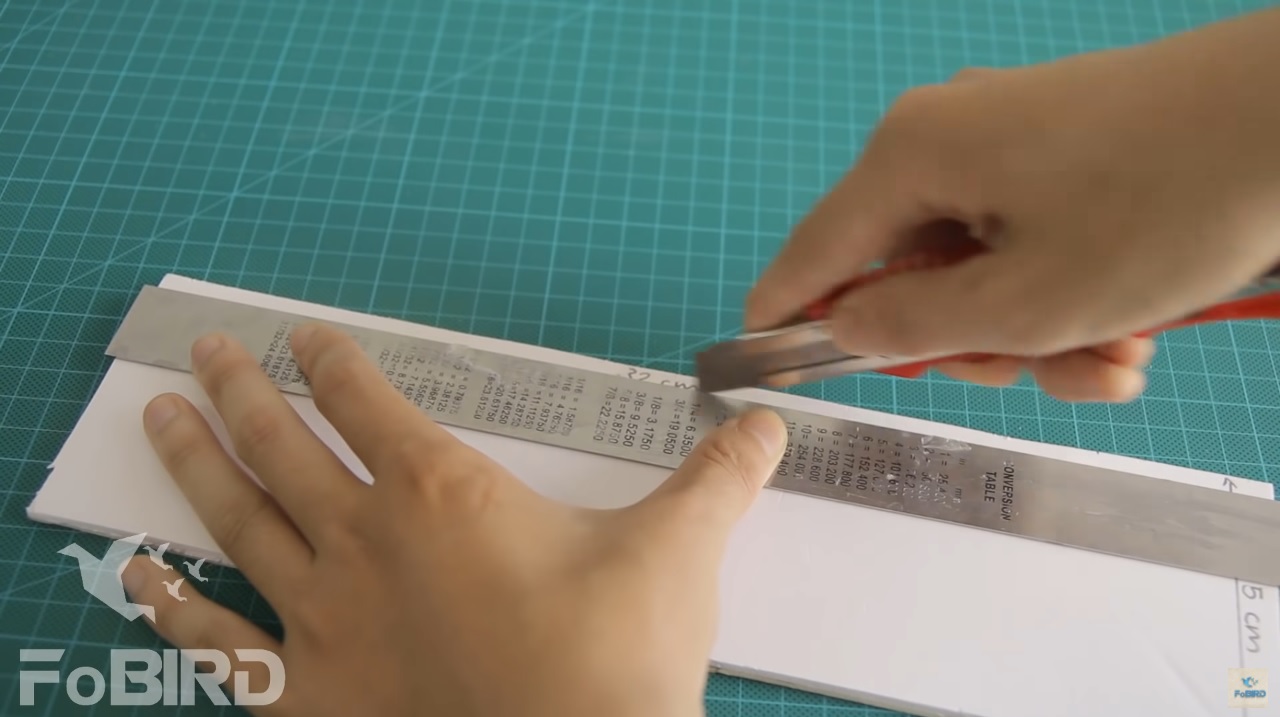
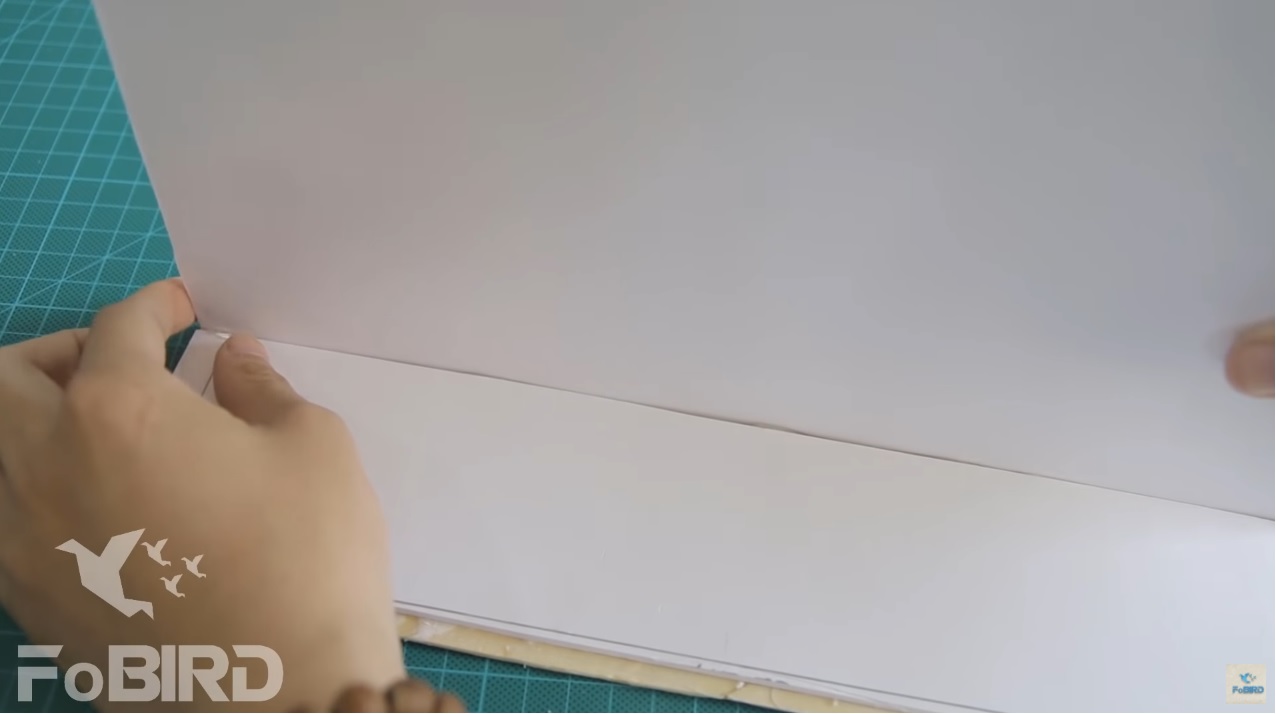
For small plates in 8.5 x 32cm, use a ruler and pointy knife to cut off the edges. That way you won’t notice the mat boards inside when you put all the pieces together.
Then, apply glue stick on the edges where the mat board used to be. Now you are applying glue directly on the wood sticks.
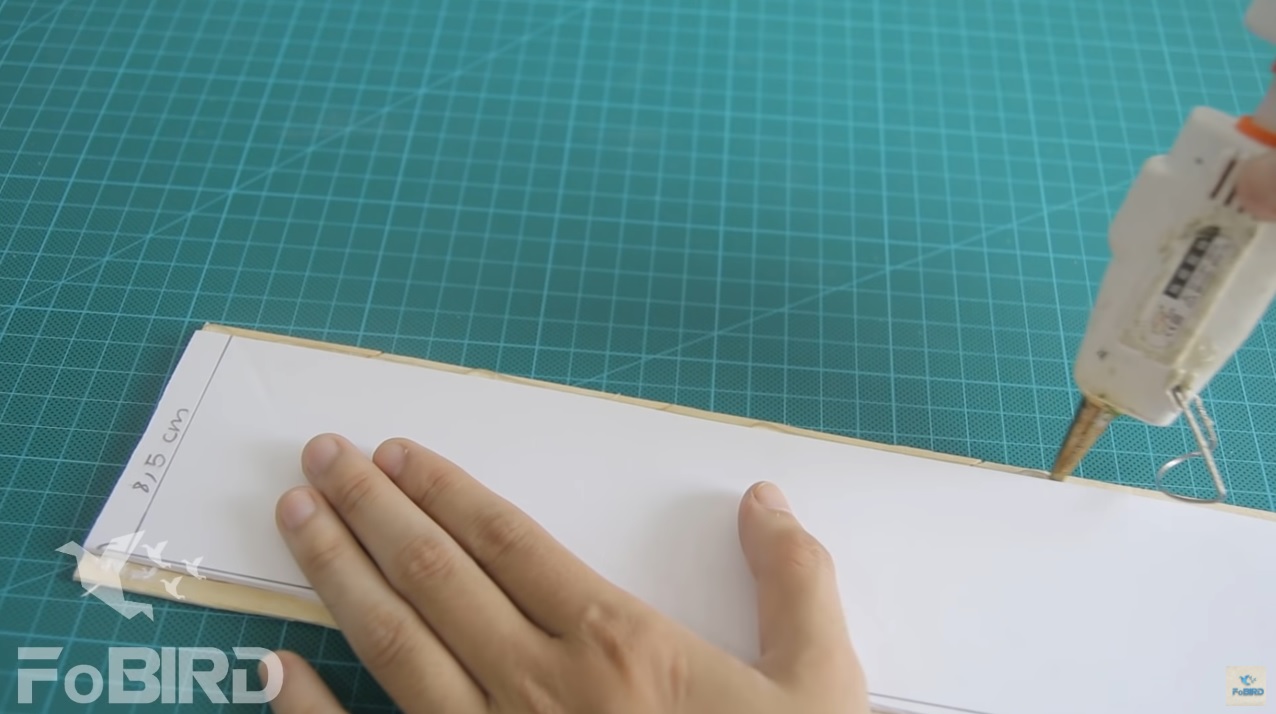
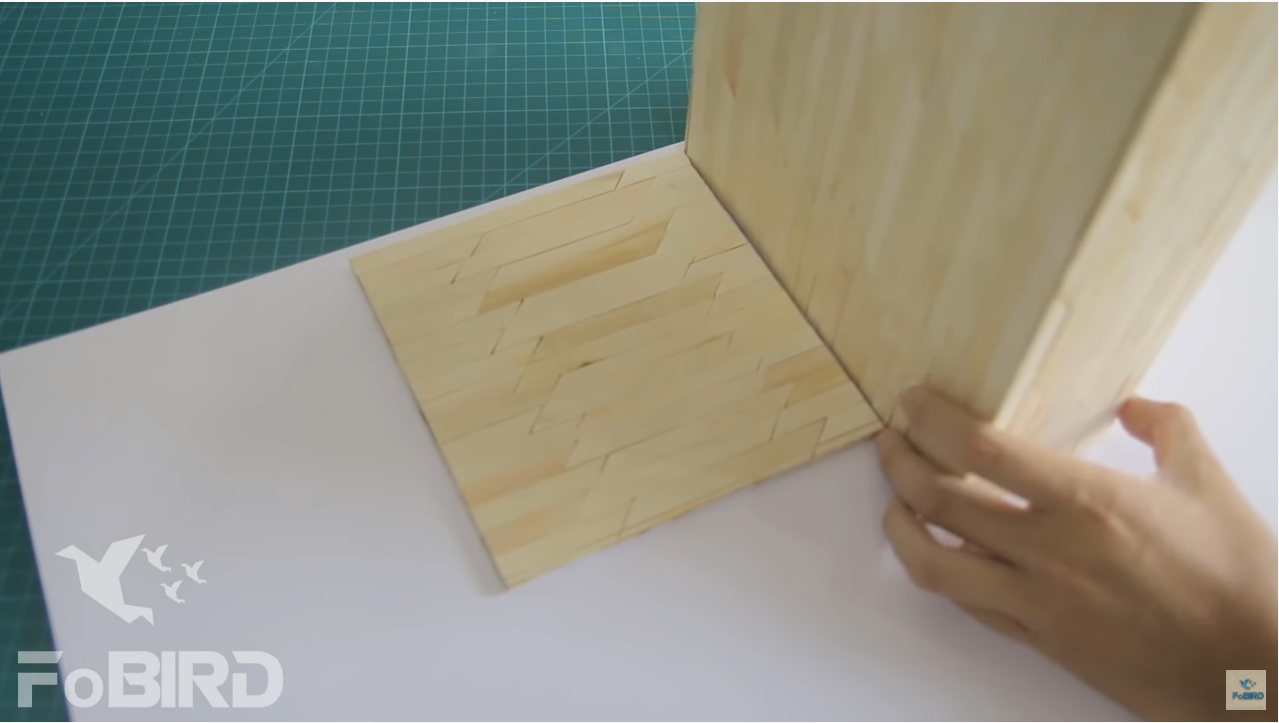
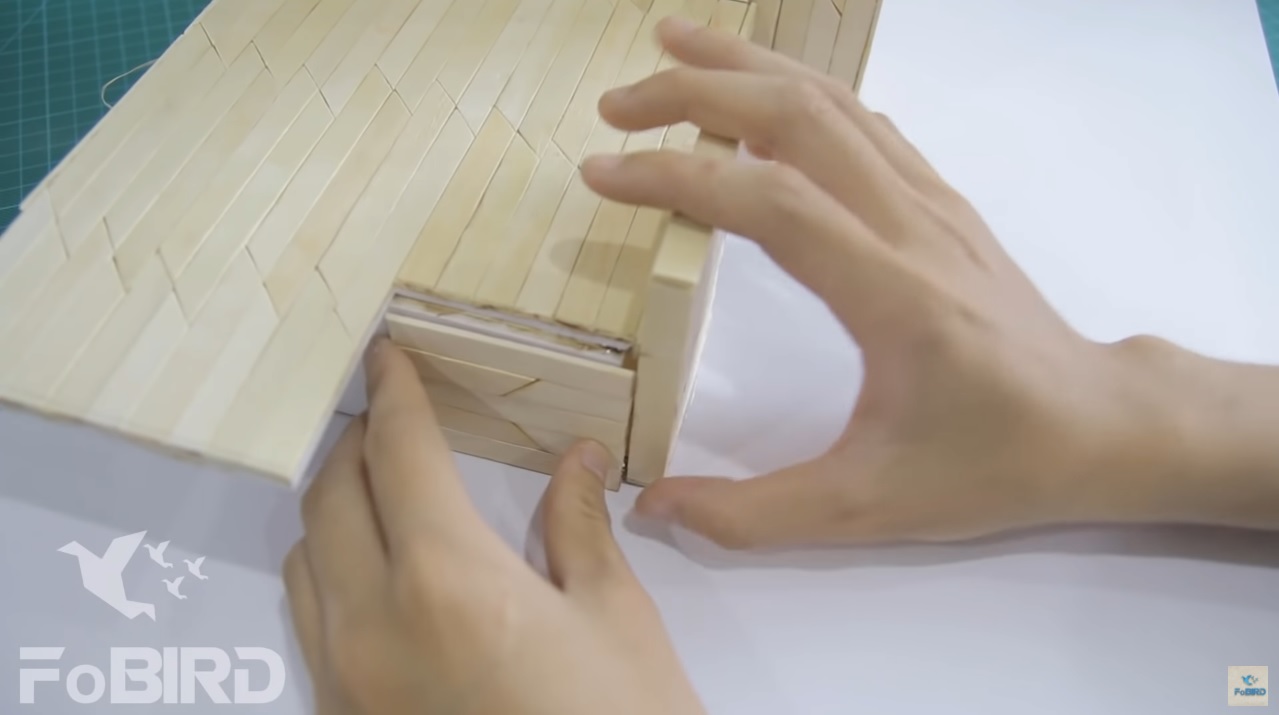
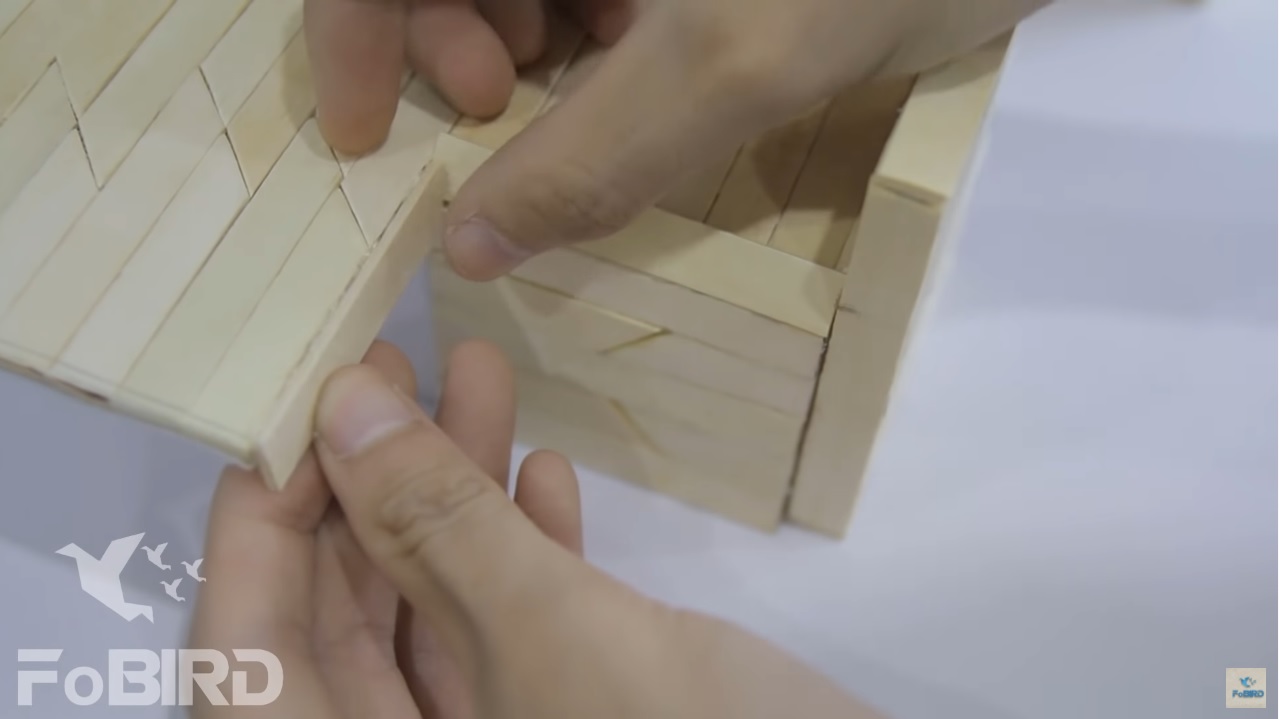
Attach the plates together at 90degree.
Repeat the step with other plates, you will have a box like this.

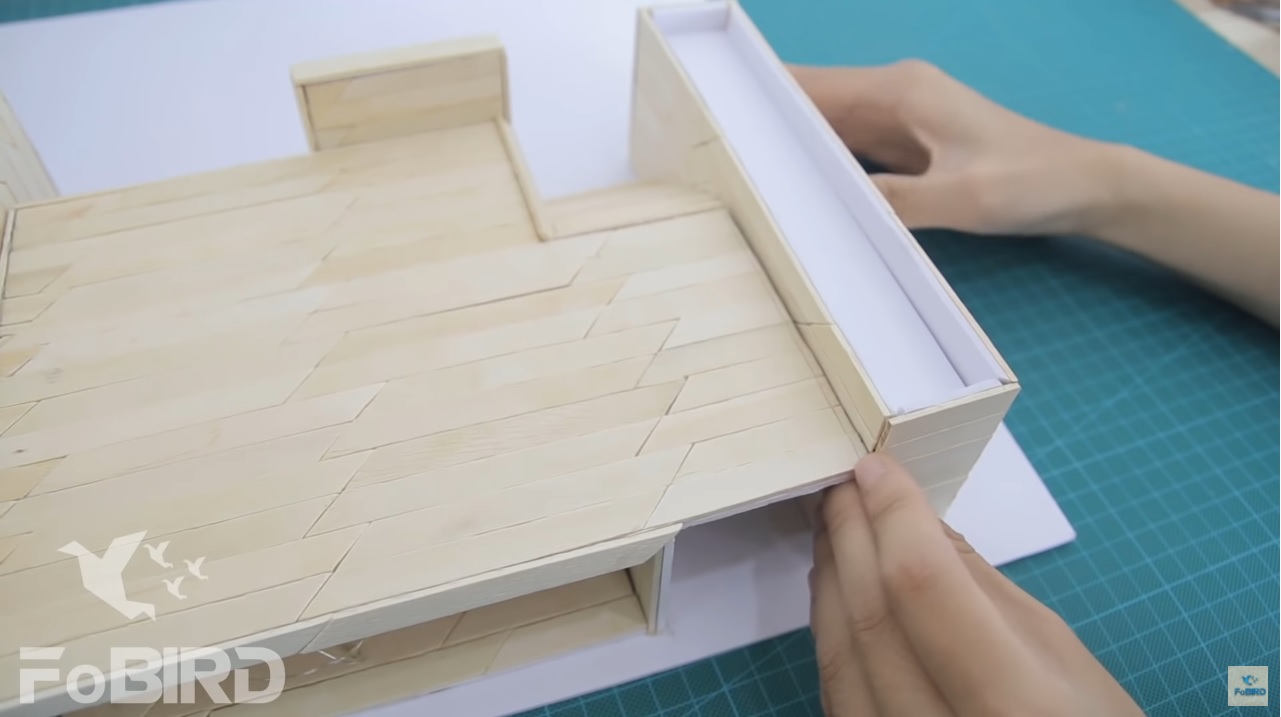
Attach the box on the right side of the 17×16 popsicle stick plate.
On the right, place an popsicle stick plate with the same length as the 17 x 16 plate.
To make the wall for the house, stick 2 stick plates in 6.5 x 8cm together. On the side, use popsicle sticks to cover the inside of the plate. And don’t forget to cut off the edges before that.
Now place it here.
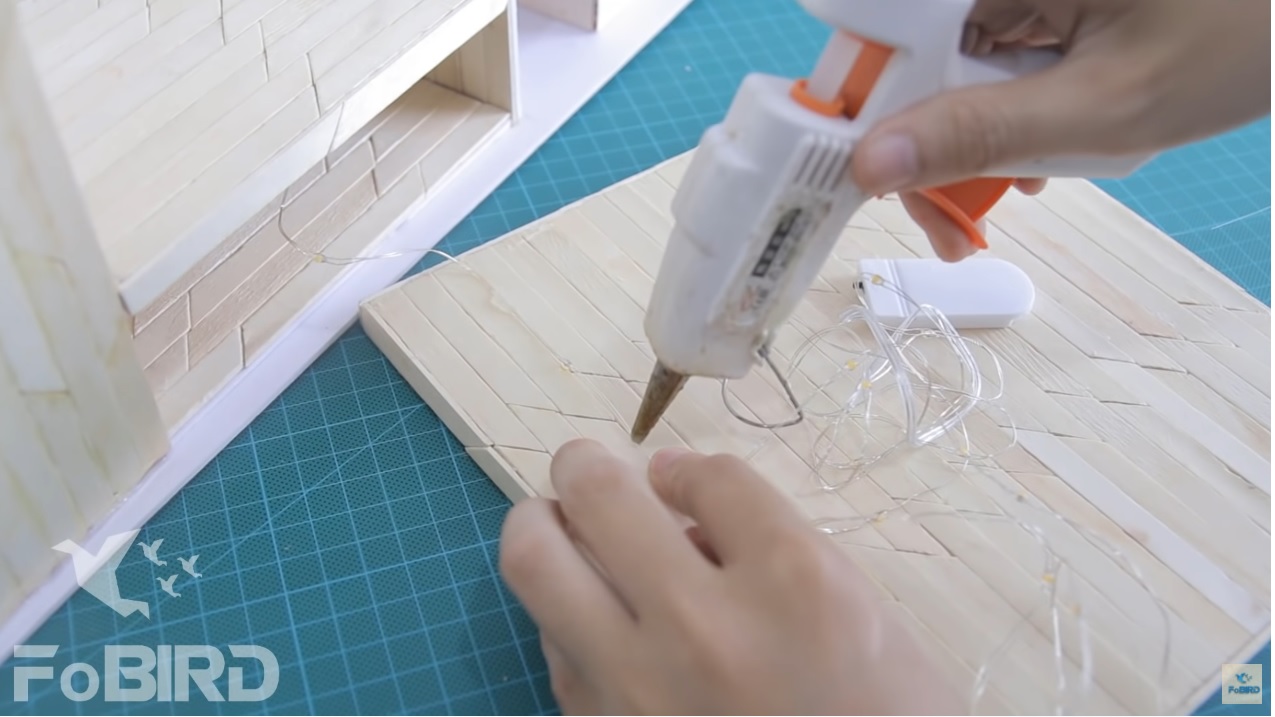
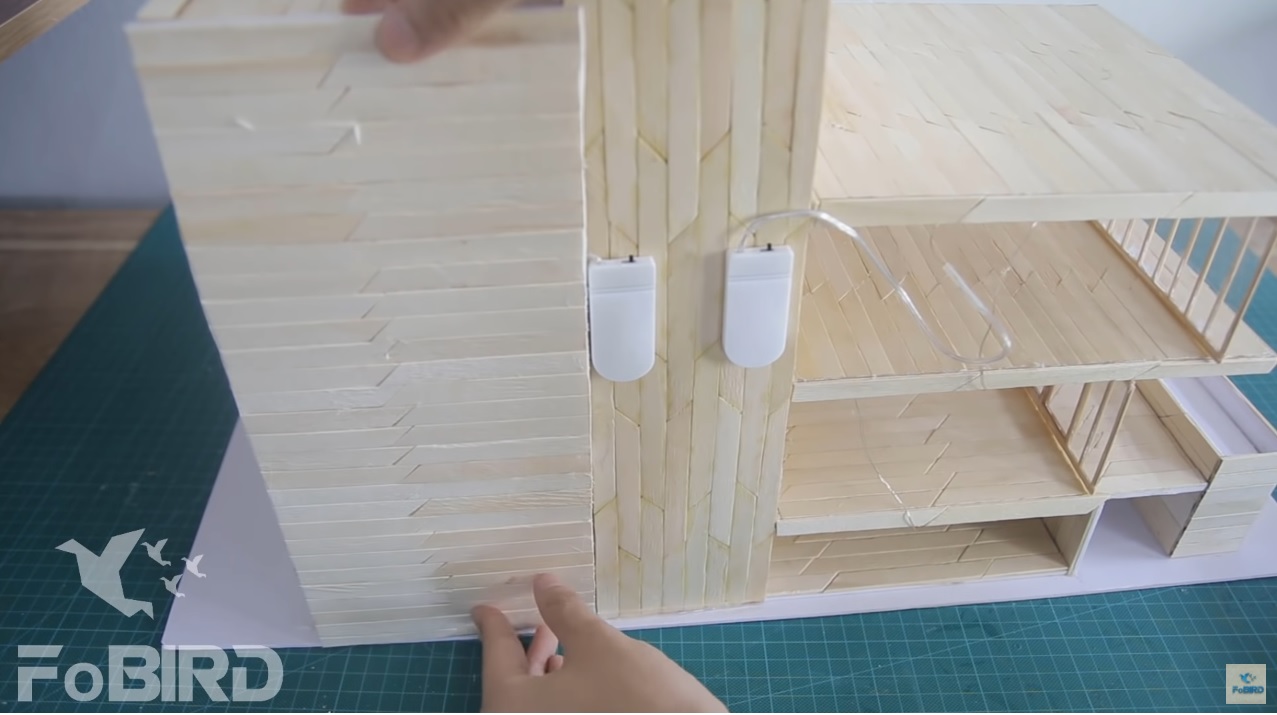
The floor of the second floor shares similar shape. However, it has an extra part that hangs outside. You won’t need to make wood plates for this. Before attaching it to the wall, stick Led lights on one side of the plate (both sides are covered in popsicle sticks). The side where you put the light will be the ceiling of the first floor.

Attach this plate to the wall.

You can cover the walls outside with wood plates to make them look more decent.
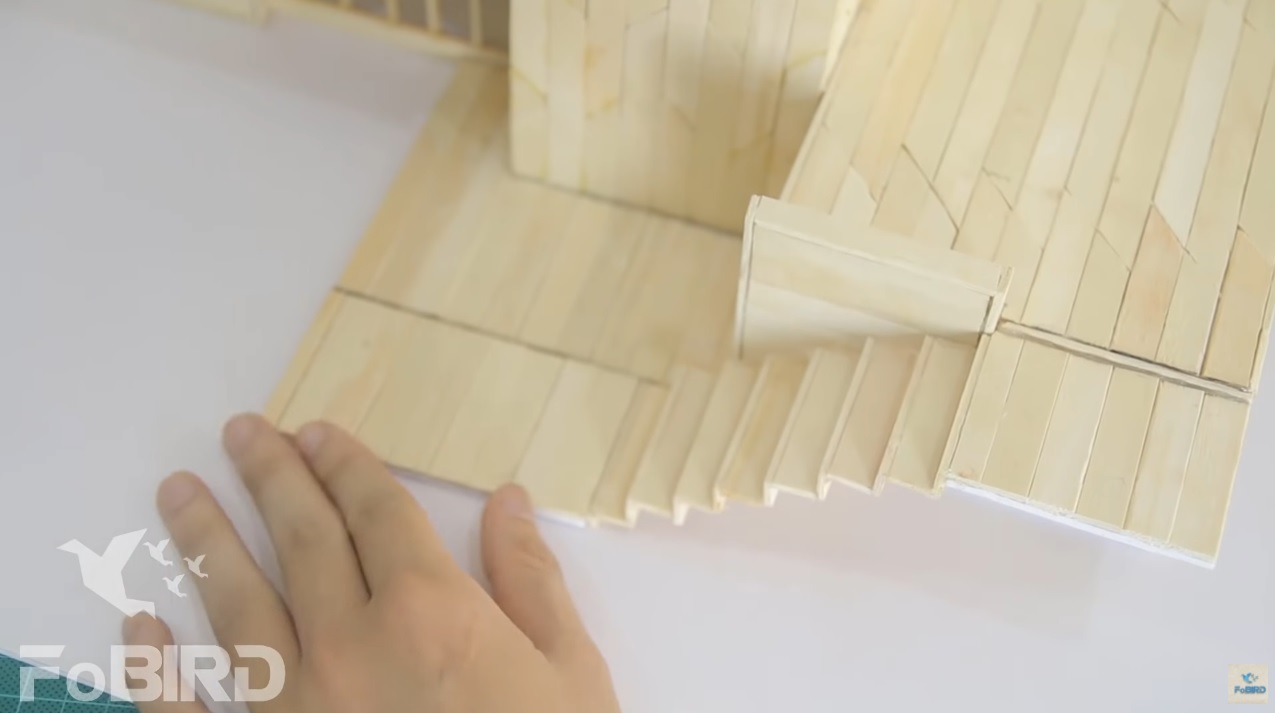
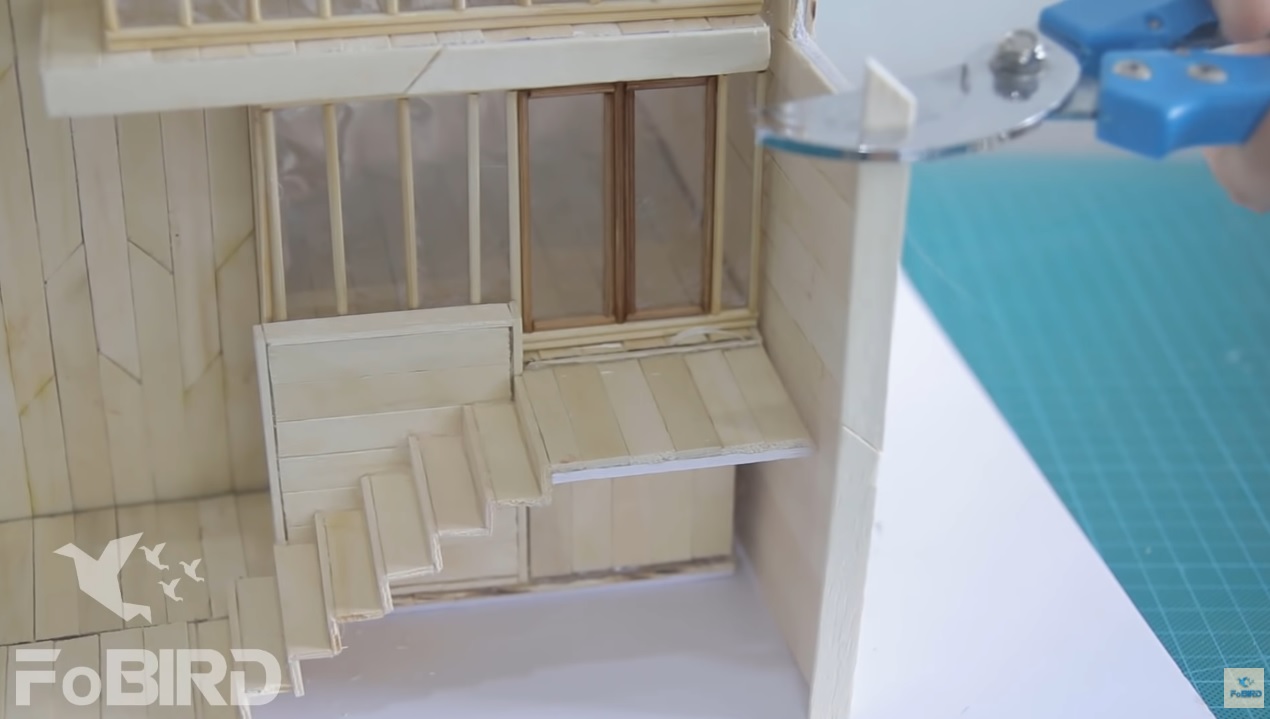
Add staircase here.
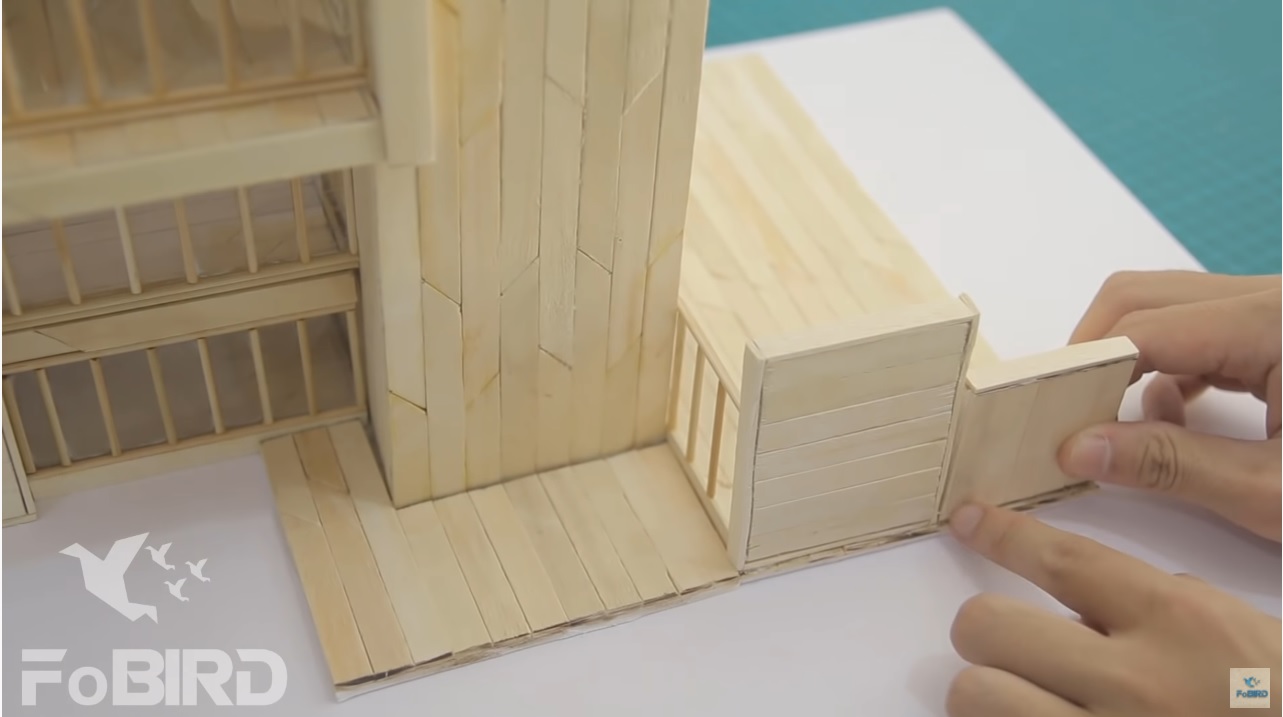
Next, make another rectangle box and put it next to the stair that you just made. Remember, don’t make a sealed box with zero space to work with. Leave the top part open in 1cm so you can put grass in.
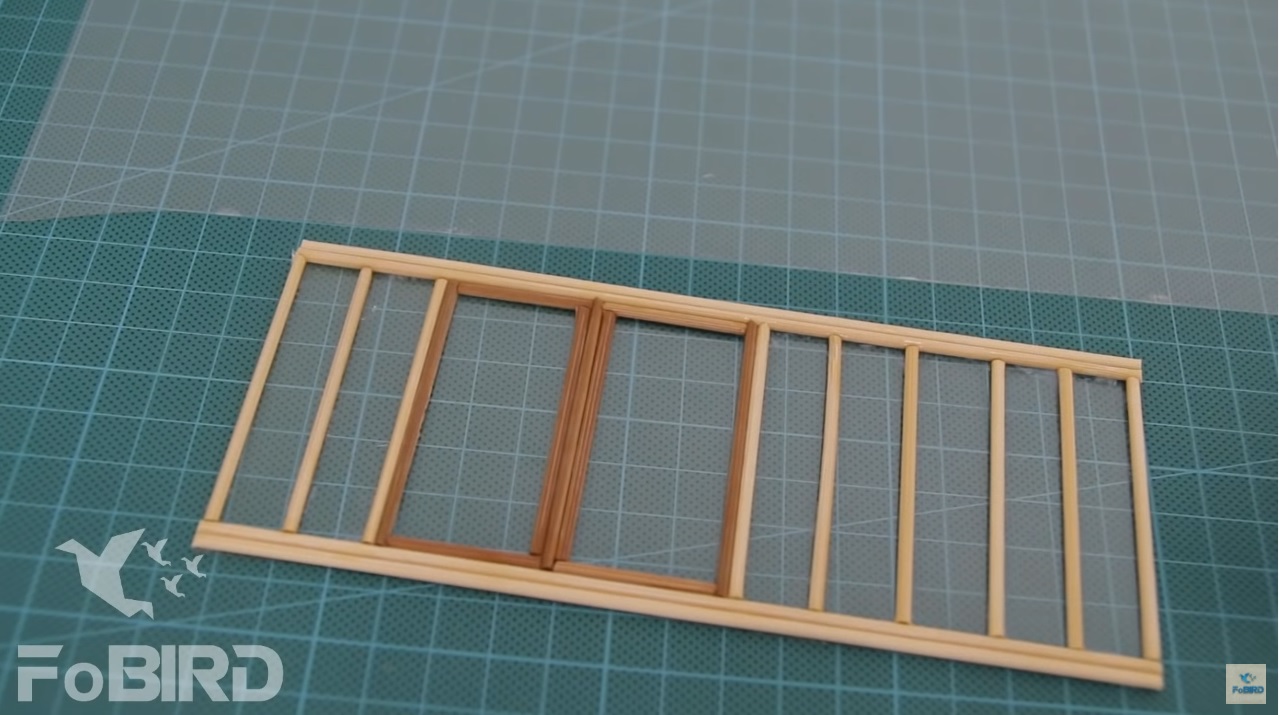
Step 3: Make doors and windows with popsicle sticks and mica sheets.
All the doors have glass in them so prepare a transparent mica sheet.
Use superglue to attach toothpicks in parallel as shown.
The doors need parallel design as well.
Use a knife to cut off excessive parts of mica sheet and toothpicks so that the doors look neat.
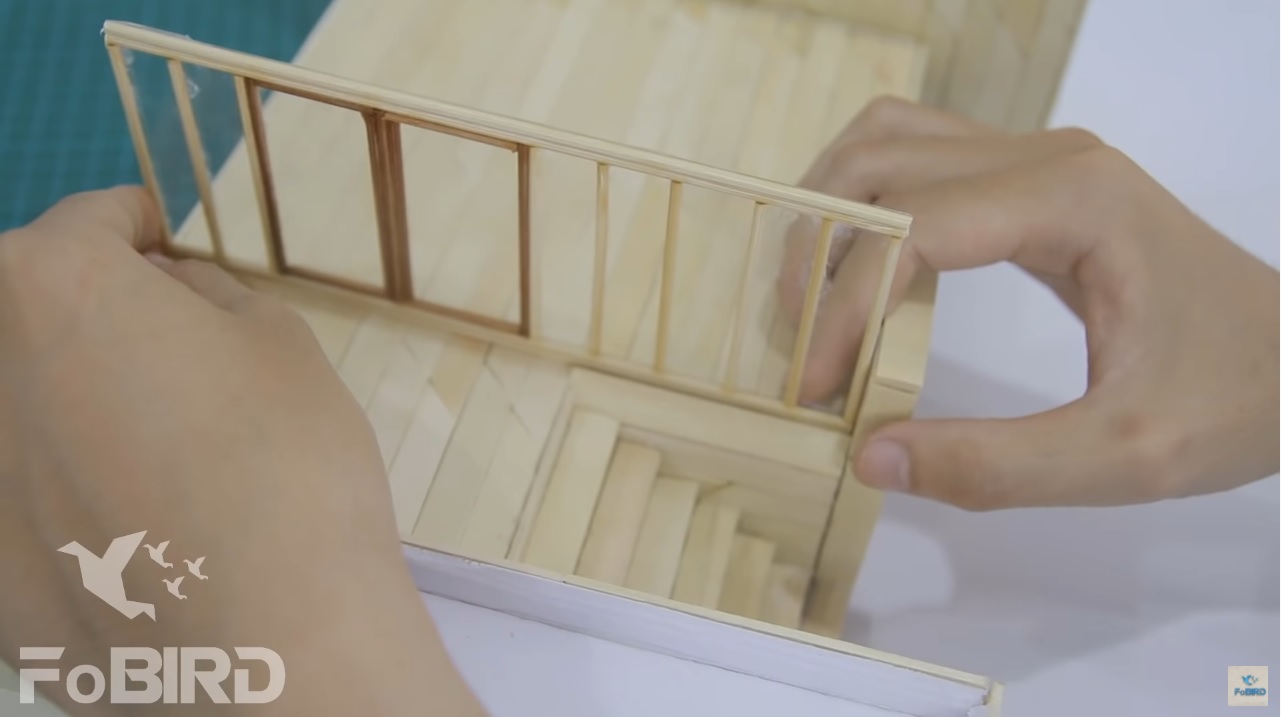
Then, place the doors on the second floor of the house.
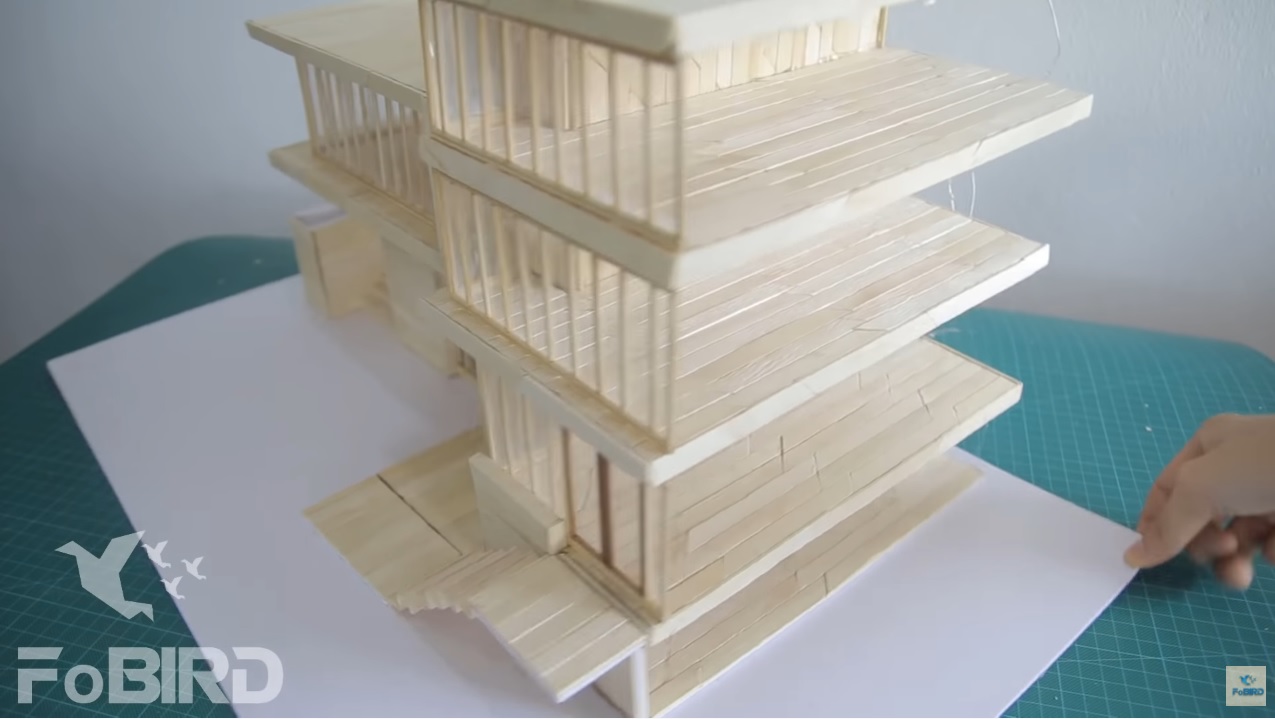
Step 4: Finish the frame of the house
Repeat the steps above to make more floors for the house.
Don’t forget the Led lights.

The third floor’s walls mostly are doors with transparent glass.
And now is the plate for the roof of the third floor.
Use popsicle sticks to cover the edges of the house. Avoid showing the mat board inside.
Add “glass” plates so that the first floor looks more harmonious with other parts of the house.

Make another plate with popsicle sticks in L shape and put it where the picture shows to connect the two spaces of the house.
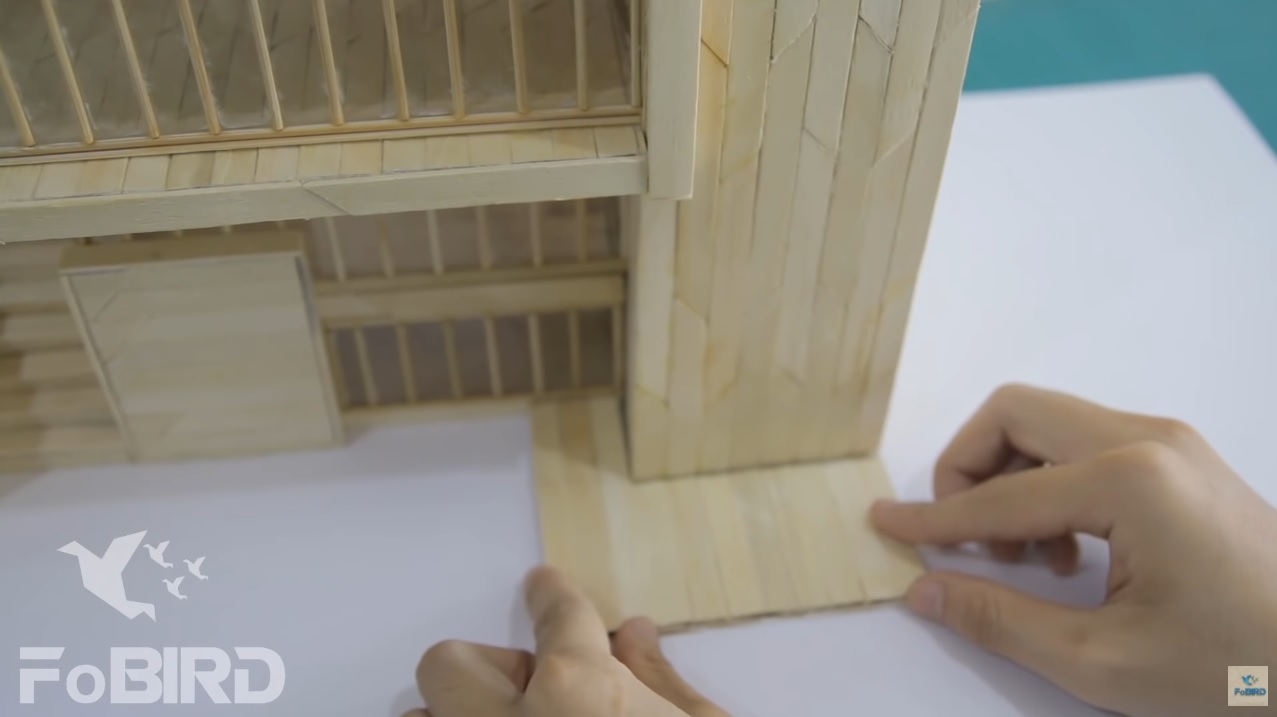
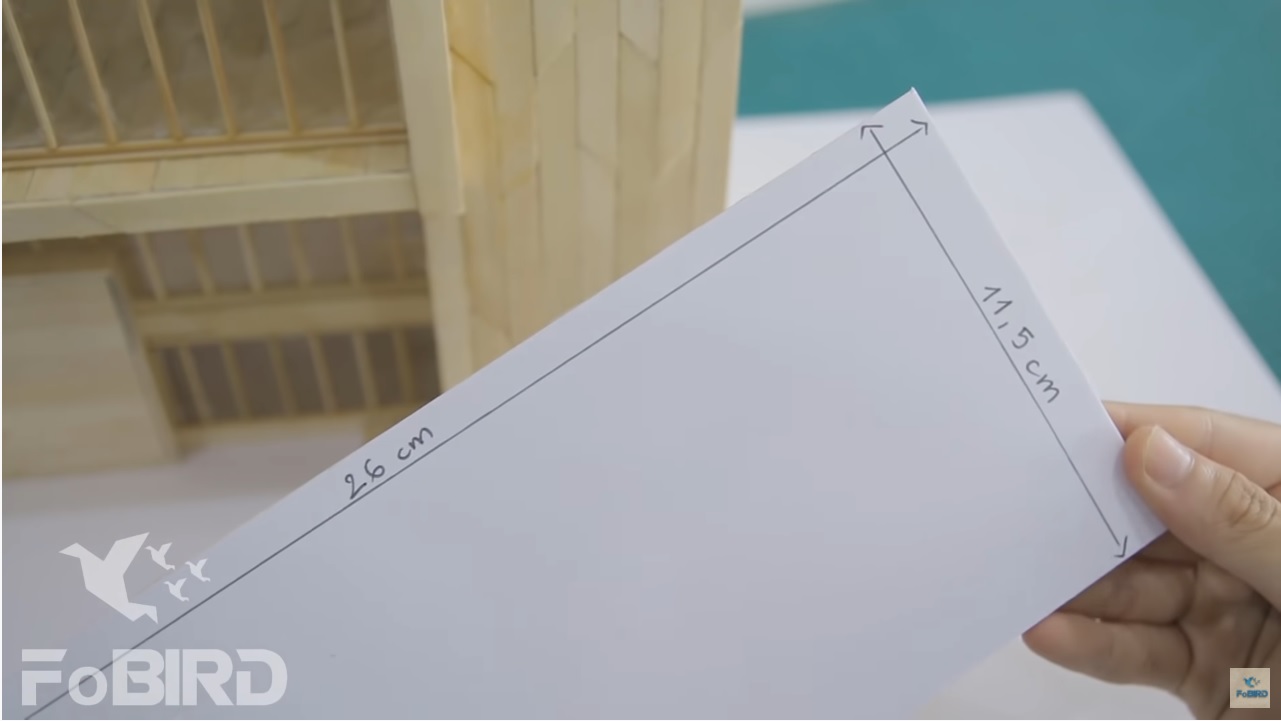
On the right side of the house, use a wood plate (or popsicle stick plate) and stick it on a mat board in 11.5 x 26cm.
Then put together the walls and doors like above.
Don’t forget the stair.
The upper floors are the same.
Now attach the big plate to complete the other wall of the house.
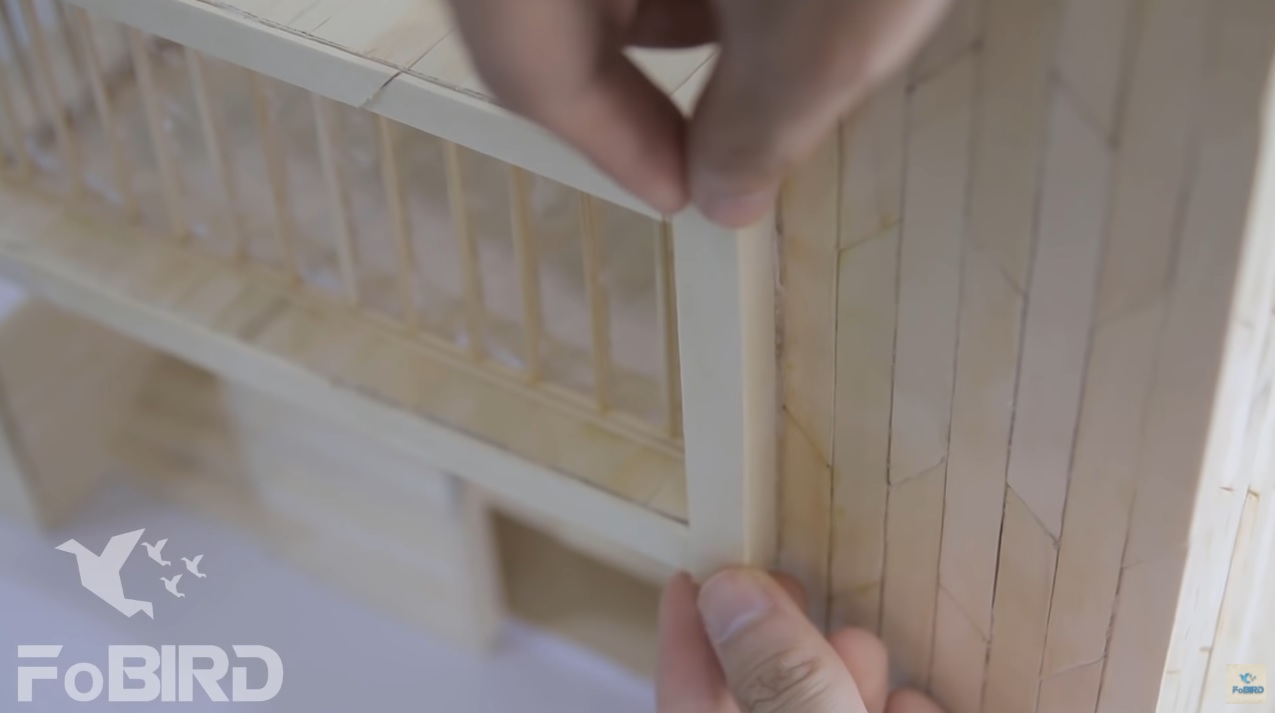
Add edges for this wall, eliminate extra materials.
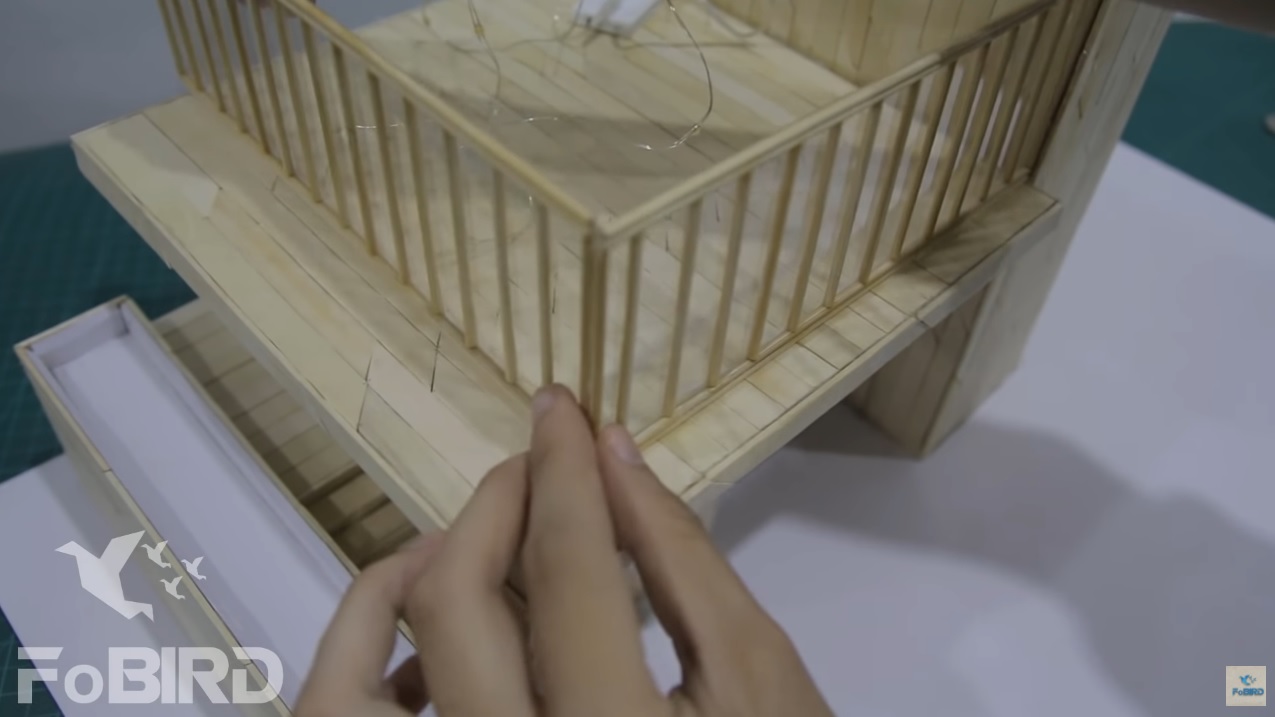
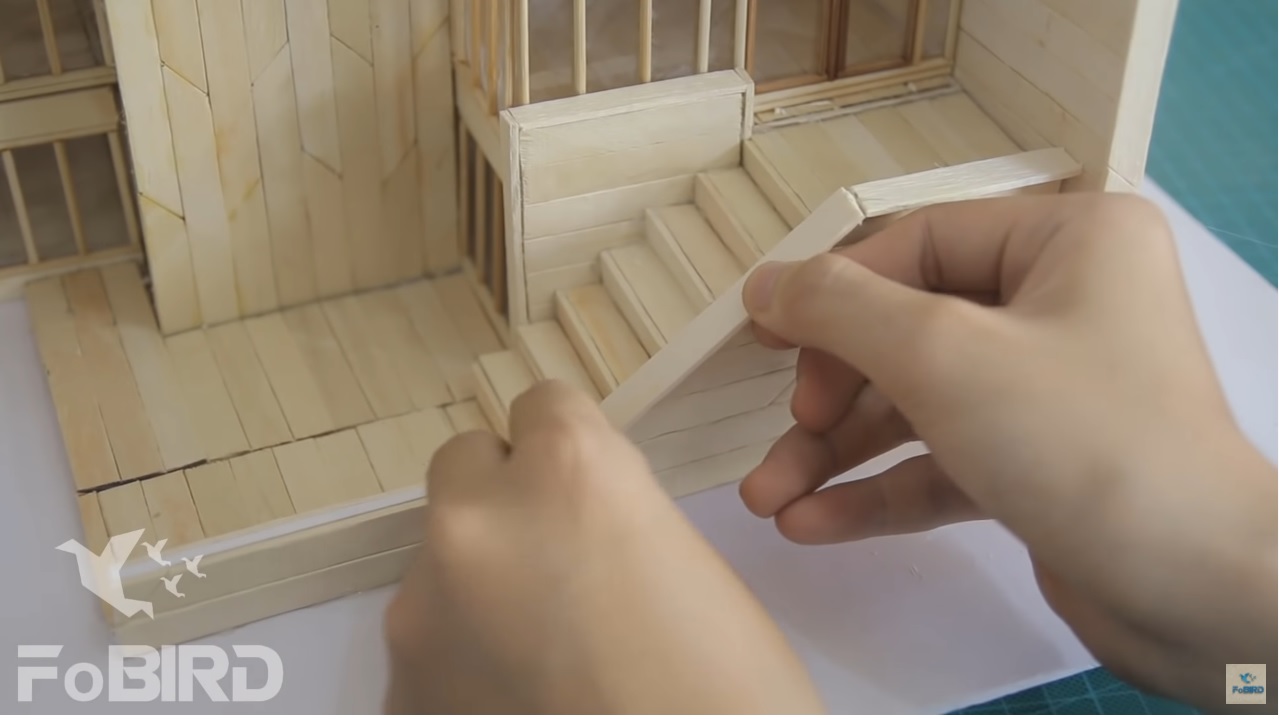
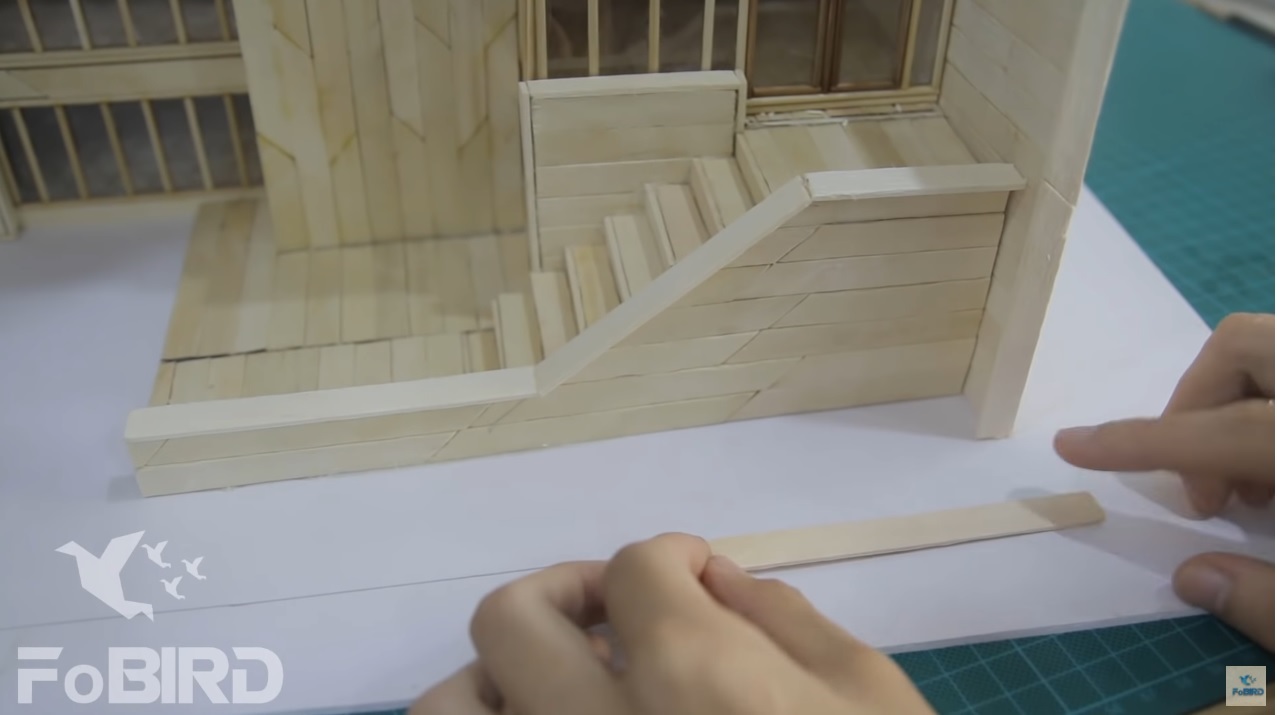
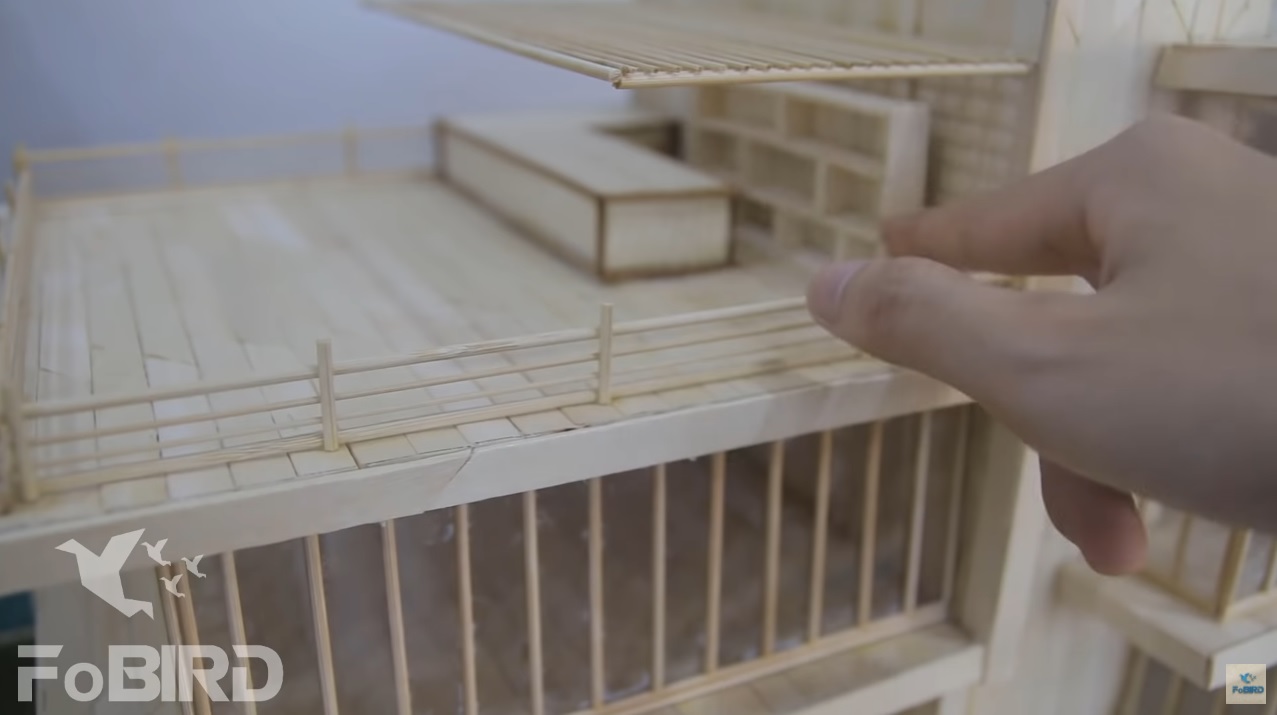
Next, finish the stair and handrails.
Finally, the back walls of the house.
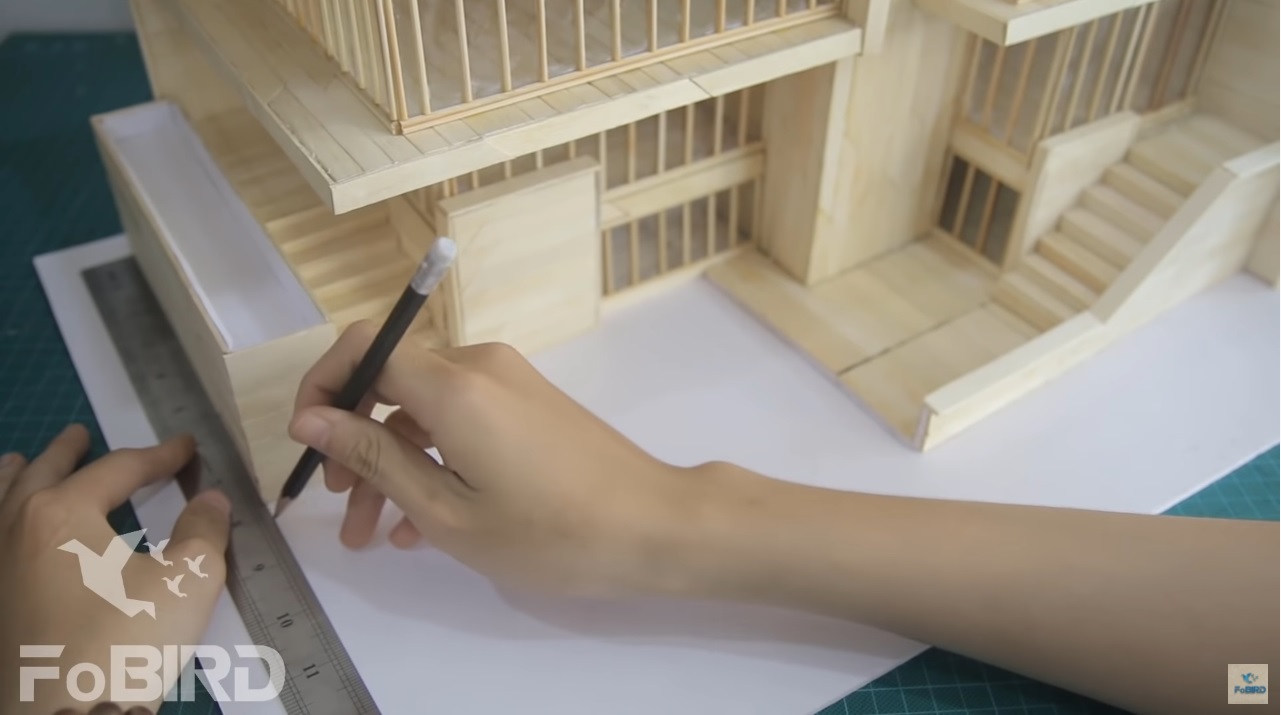
Step 5: Build the fence and entrance door
First thing first, use ruler and pencil to mark the position of the fence and entrance door.
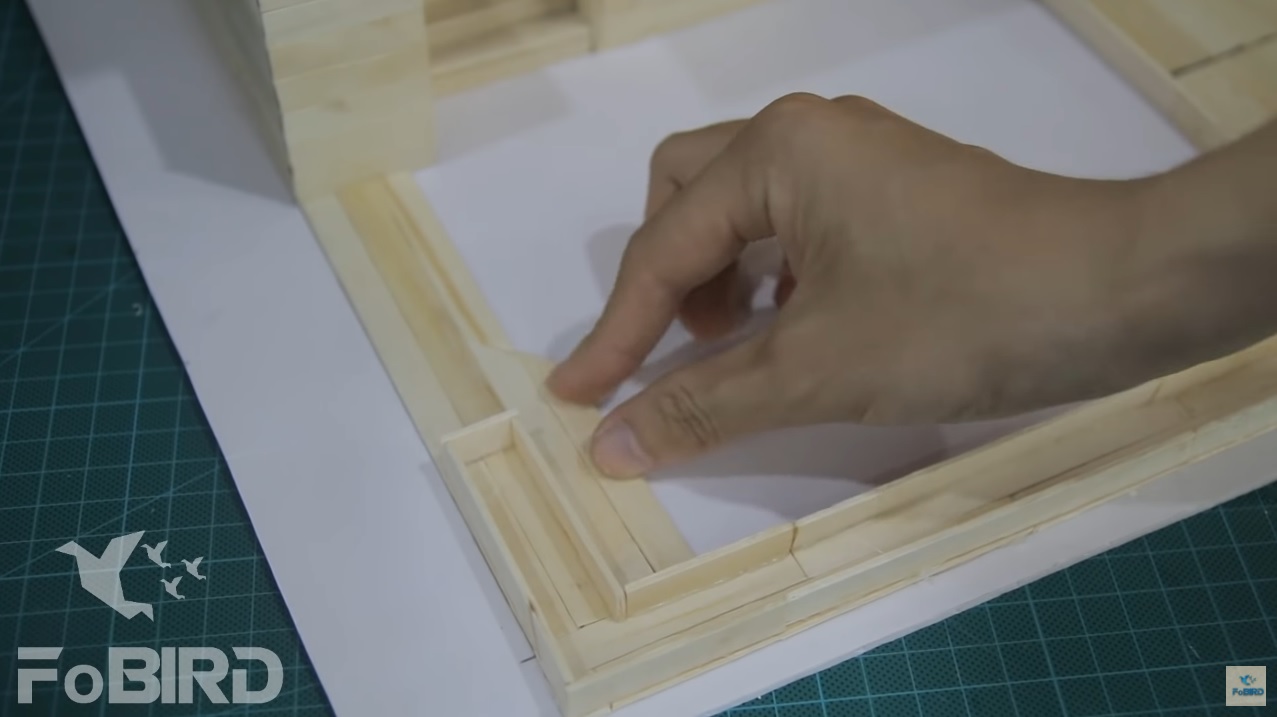
Place popsicle sticks on the outside of the marked area. The lines should be alternate.
Add more popsicle sticks at 90degree.
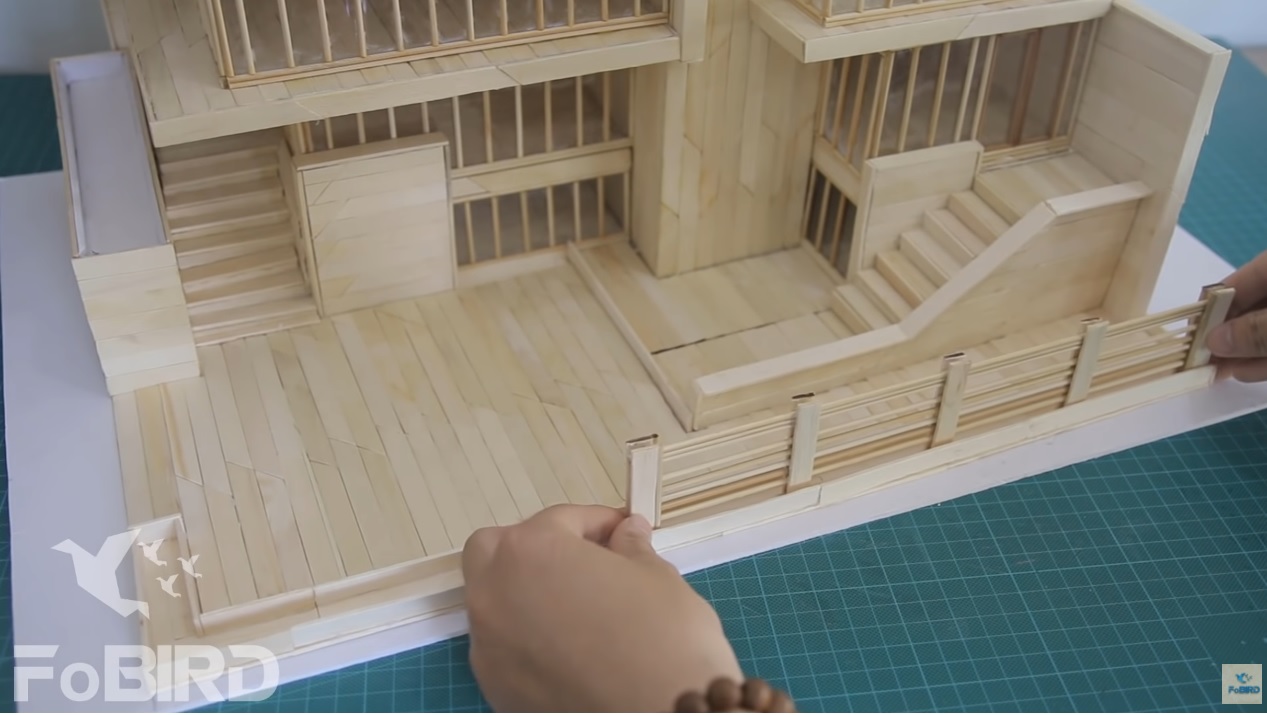
Then, attach a fence on top of the sticks. The design of the fence depends on you. You can make a fence similar to the one in this picture or you can craft a different one by following instructions in our other articles.
Next, you can be extra and add a board in front of the house and write funny things on it. But if it seems too complicated, you can skip this part and make a normal fence.
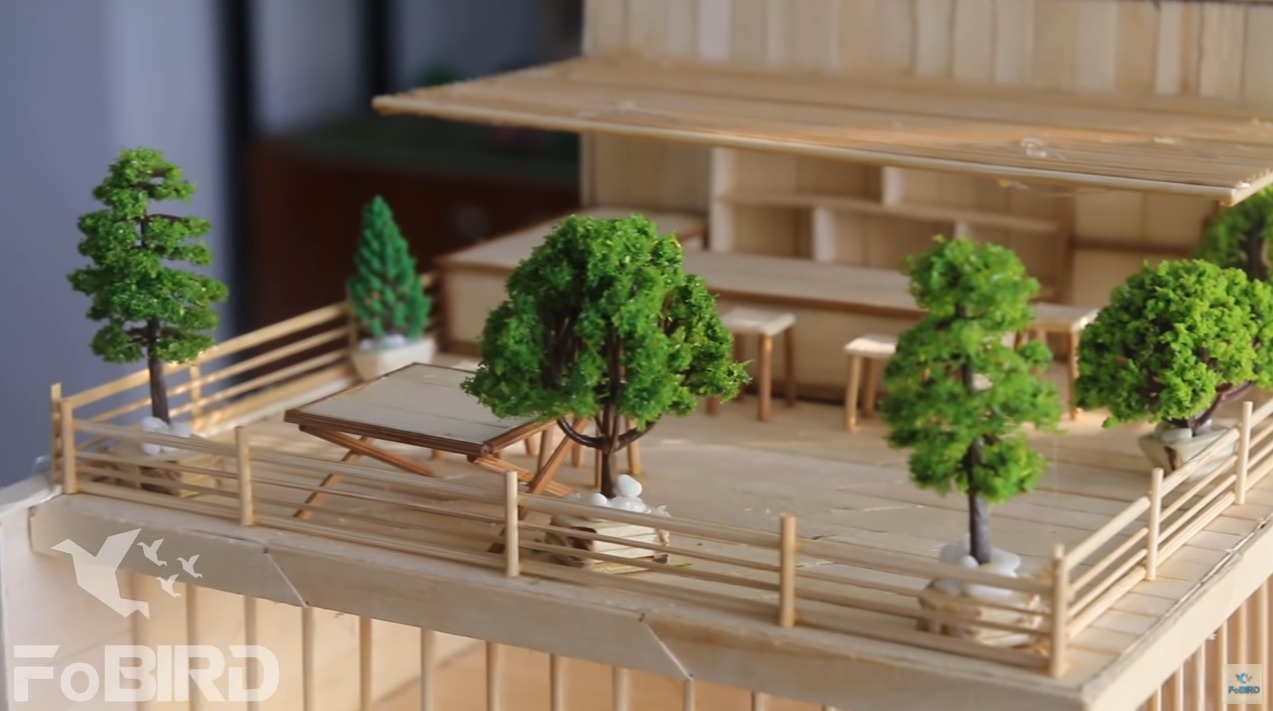
Step 6: Complete the rooftop and decorate with furniture
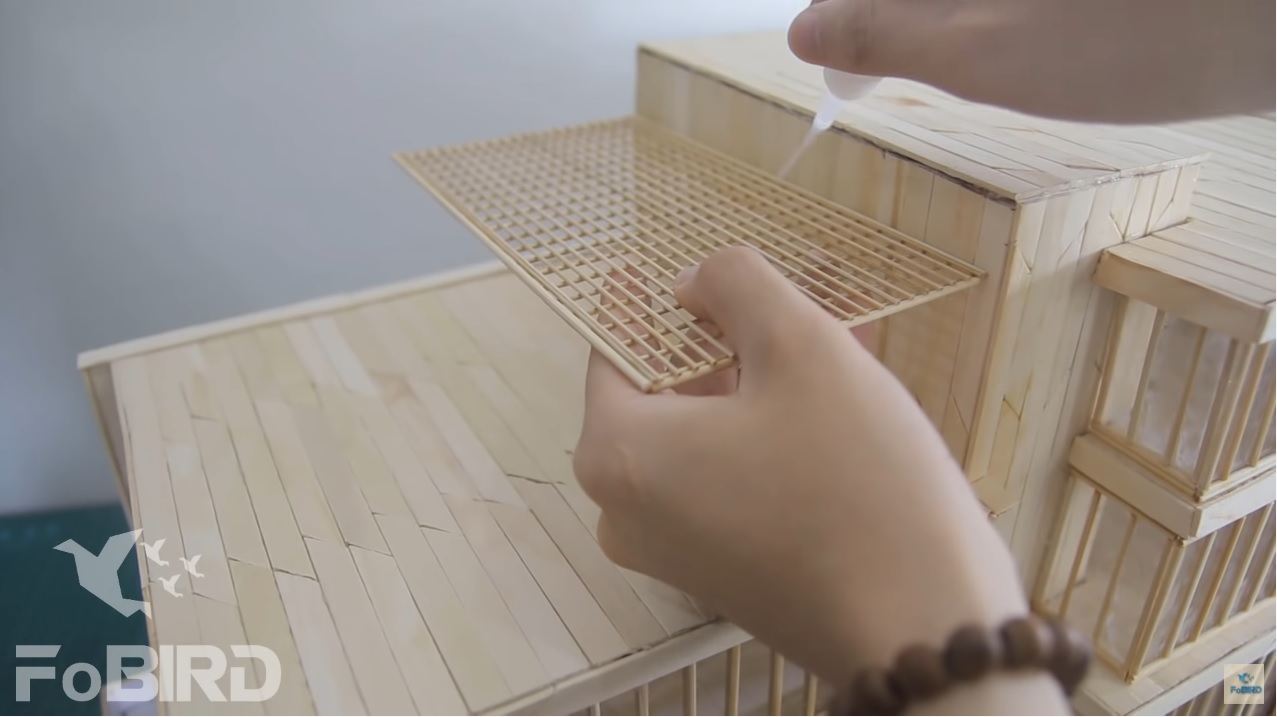
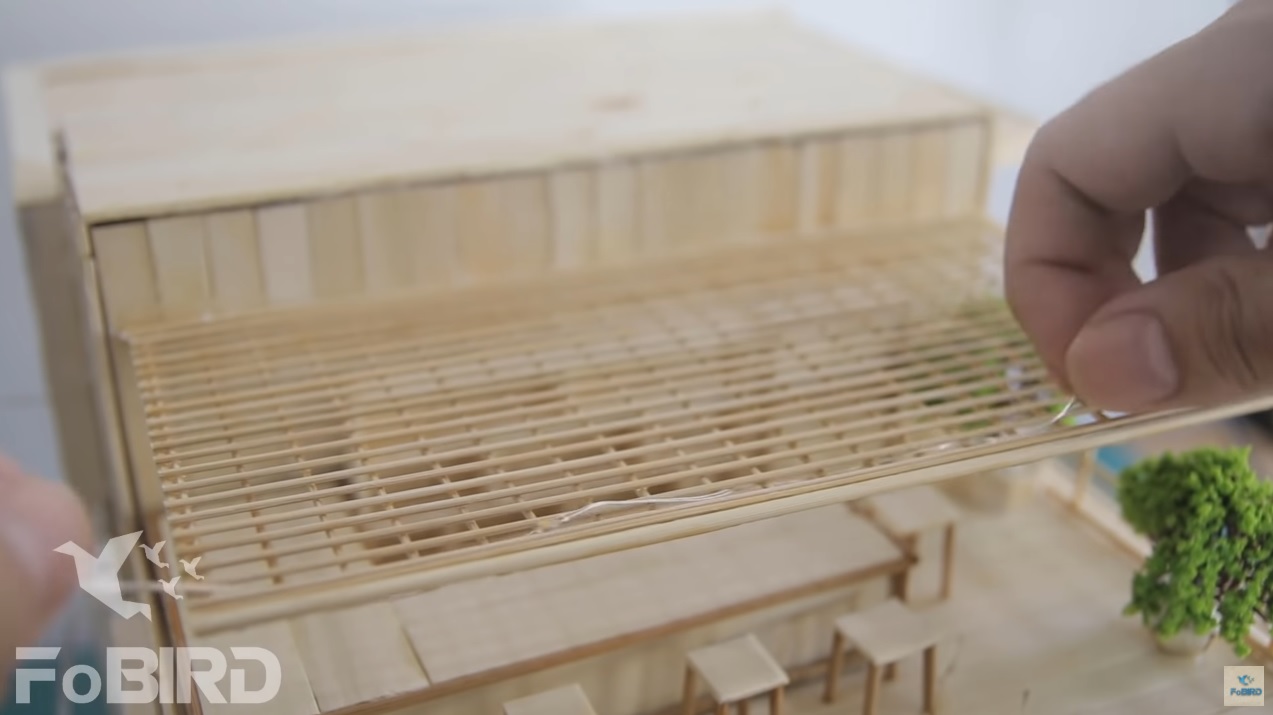
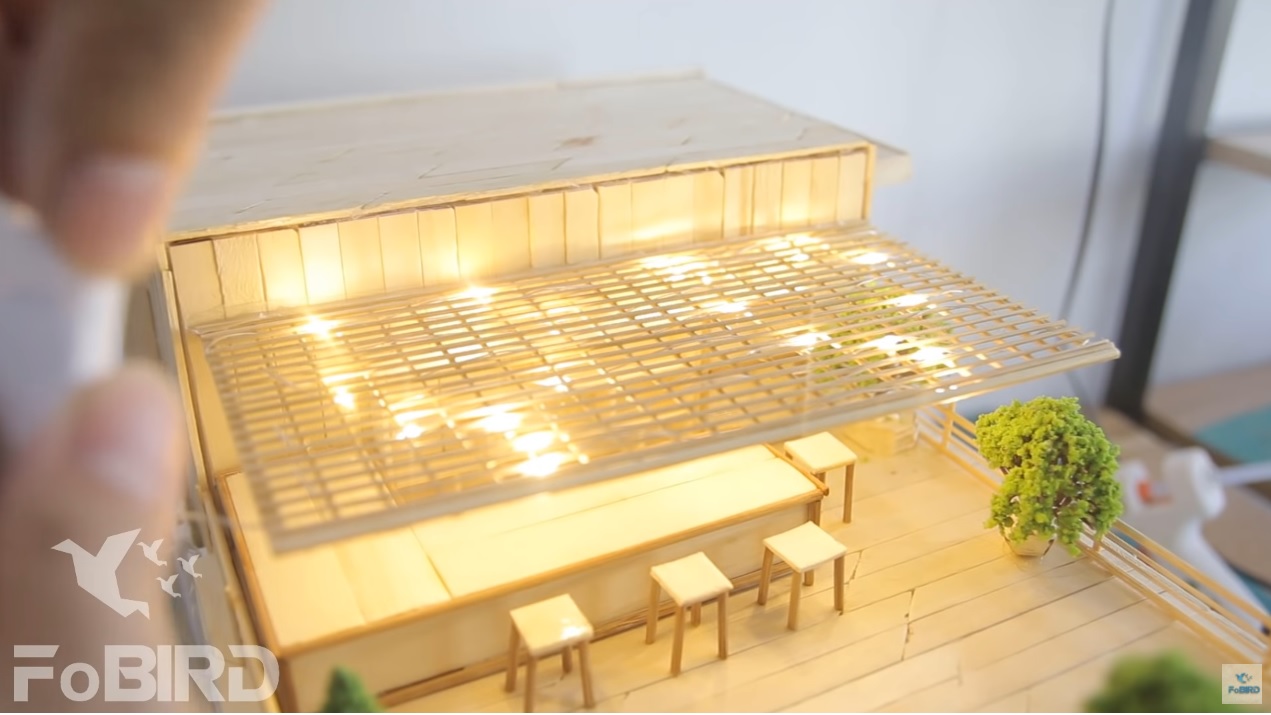
To make the balcony even more open, make a cover with holes. It Is extremely simple, all you need to do is sticking toothpicks in parallel, but in 2 directions. Use superglue to do it.
For the rooftop’s balcony, repeat the step.

After that, go on and accessorize the house with furniture like chairs, tables, cabinets, etc. Check out our articles to find out how they are made.
Don’t forget the Led lights. They beautify the balcony’s cover perfectly.
Step 7: Decorate the house with cute pieces of trees and grass
On the first floor, put a small grass plate according to the size of the pot.
Glue trees on using glue sticks. Make sure that the trees are even.
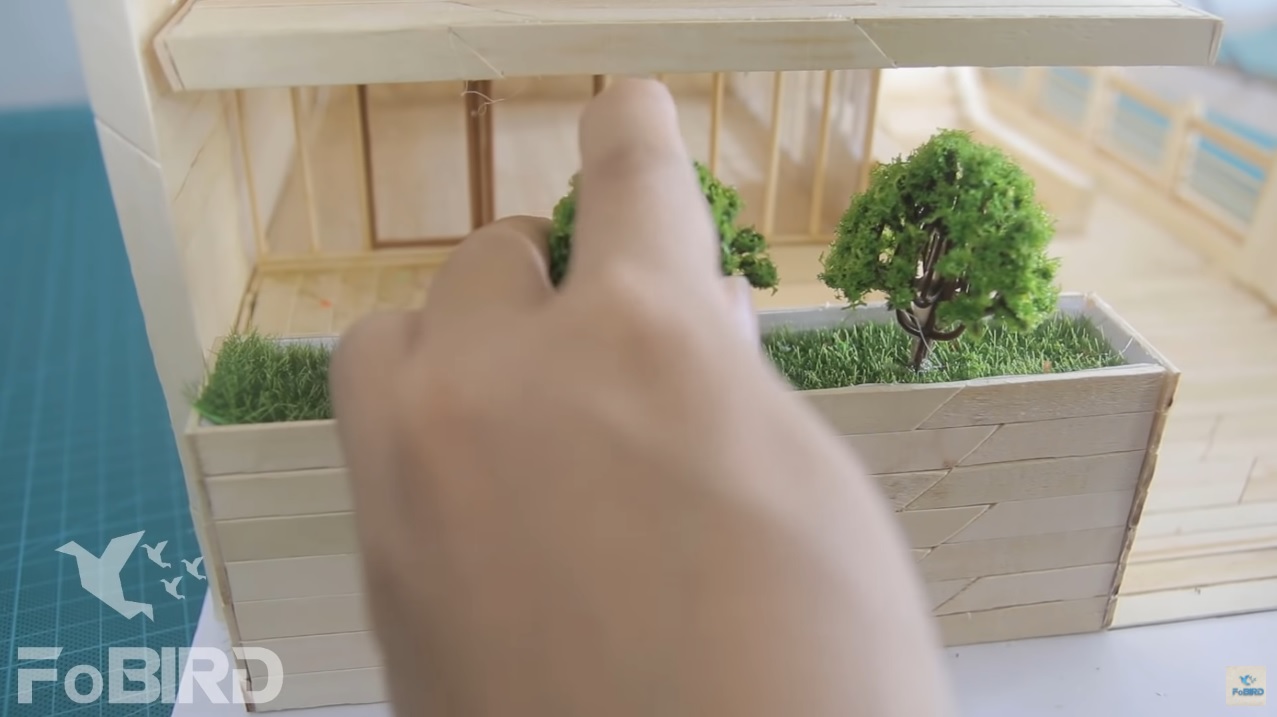
To make plant pots for other floors, cut 3-4 sticks and stack them up. Dig a hole in the middle, spill melted glue in it and put in a tree. Use white rocks to cover excessive glue.

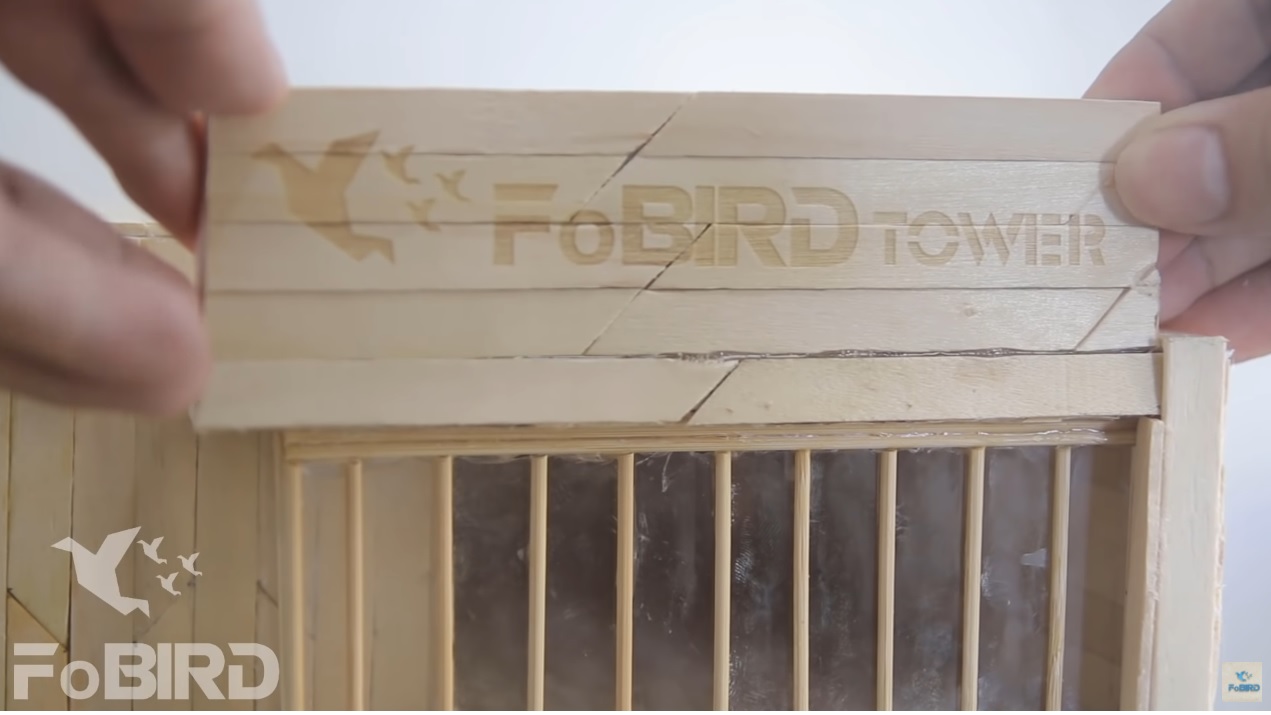
For the roof, make a cute signboard and design it as you please.
There you go! That’s how you make an impressive massive and gorgeous house with popsicle sticks and Led lights. So easy! If you truly invest your time in it, we are sure that you will succeed in building this house. Good luck!
https://www.youtube.com/watch?v=Qb6Jk-42wS0
By: FoBIRD.com