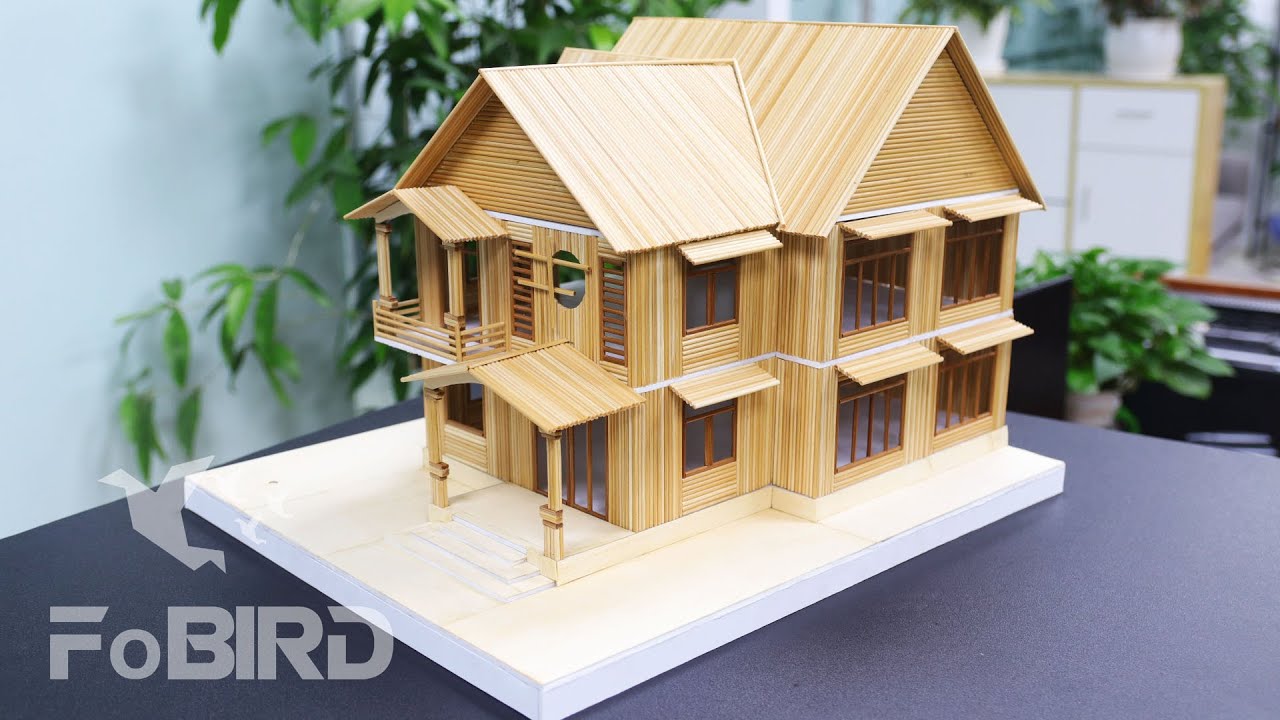
Wooden stick house
How to make a wooden stick house easily for beginners
In this article, we will show you 2 designs of wooden stick houses that are extremely easy to make. These are the first models that we built. If you are a beginner then these are perfect designs that you can work with right away.
1/ How to build a simple 2-floor wooden stick house step by step
Prepare the materials:
- Detailed sketch
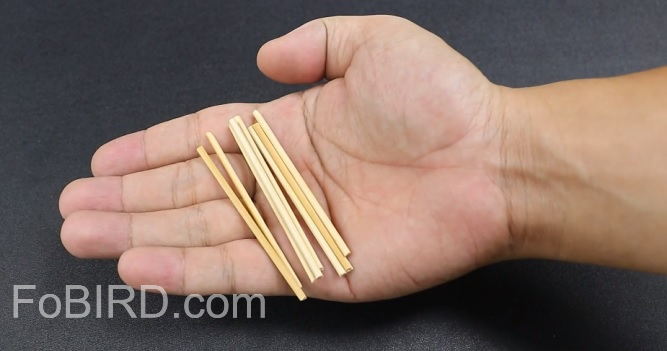
- White wooden sticks with a diameter of 2.5mm
- Brown wooden sticks with a diameter of 2.5mm
- Superglue
- Cardboard
- Scissor, ruler, pen
- Special scissor for wooden sticks
- Papyrus paper
- Spray paint for a polished finish
Experience on how to build wooden stick house for beginners
- Choose the design
Since you have just begun with the art of building wooden stick houses, it is recommendable that you choose simple designs. By successfully building these houses for beginners, you will collect more experience on the way and more interest to build more complicated designs.
- Preparing the sketch is very important
A detailed sketch with every necessary measurement is the first thing you should get your hands on. The sketches guide you to build correctly and they save you 50% of the time you normally would spend on a design.
- Prepare well the materials
Preparing all the materials thoroughly helps you finish the house perfectly. However, the most important material that you should pay attention to is wooden sticks. If the wooden sticks don’t meet the requirements then no matter how carefully you build the house, the final product won’t look good. In other words, wrong wooden sticks waste away every work you put on the model.
We recommend wooden sticks with a diameter of 2.5mm. If you choose smaller wooden sticks, it will take a lot longer to finish building the house. On the opposite, if you choose bigger wooden sticks, the final product will lose its elegance since the size of the main materials is too large.
Also, you shouldn’t opt for cheap wooden sticks that have gone through chemical work. wooden sticks marinated in chemicals are crunchier than natural ones. They don’t work well with details that require bending. More importantly, these wooden sticks have lost their natural shine and they look bleached. The final product will lack naturalness.
In this article, we use wooden sticks made of trees of the bamboo family. This material doesn’t go through chemical work since it already has a bright ivory shade. Also, it is very flexible. Therefore, people who are used to building house models favor this material greatly.
- Save up
Instead of buying materials separately, you should buy a kit with full products. Not only will you have enough materials to work with, but you also can receive extras like delivery fee discounts, etc. That way you can save extra money.
Steps on how to build a wooden stick house:
Before jumping on building the house, it is important to view the sketch carefully. That way you won’t miss the small details or the size of the walls. Order the process wisely so that you won’t lose too much time or mess up the materials by putting them in the wrong place.
The first step is to cut the wooden sticks with a special scissor that is designed to cut wooden sticks easily. The length should be 7cm. Place them together to make walls. It is important to use special scissor since a normal scissor makes the ends of wooden sticks break or rugged.
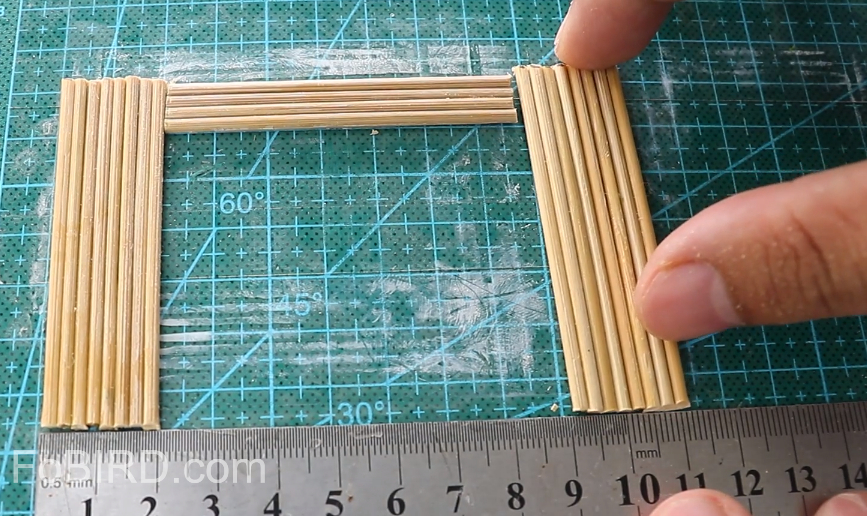
Place the wooden sticks together to build walls according to the measurements shown in the sketch. Here is a tip: place a ruler on the cutting mat or a surface, which is secured with a layer of tape or glue, and apply the wooden sticks evenly with the help of the ruler. Then, use superglue to keep them in place.
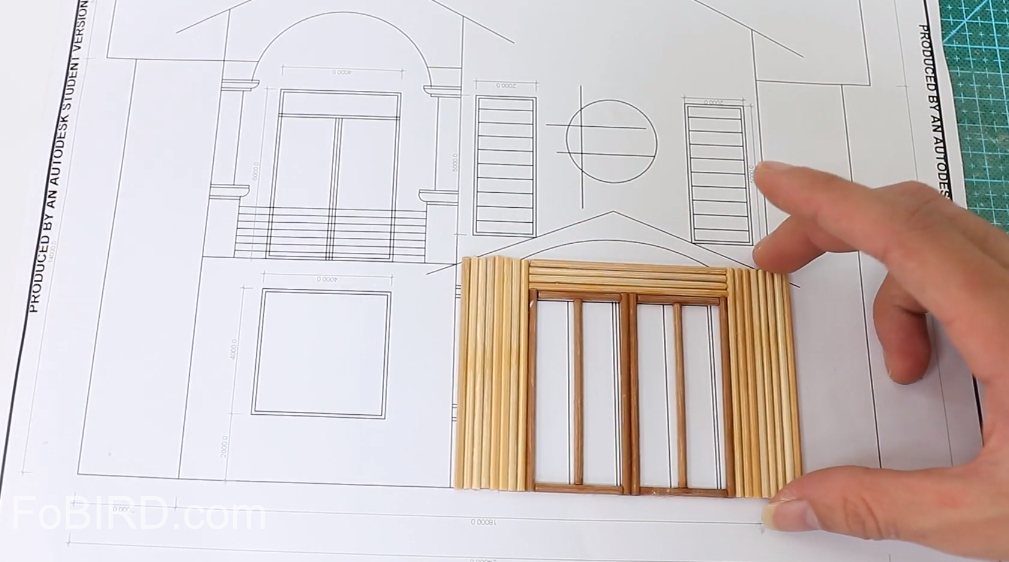
The measurements on the sketch are supposed to be true to size of a real model. So after finishing each detail, place it on the sketch to check the size.
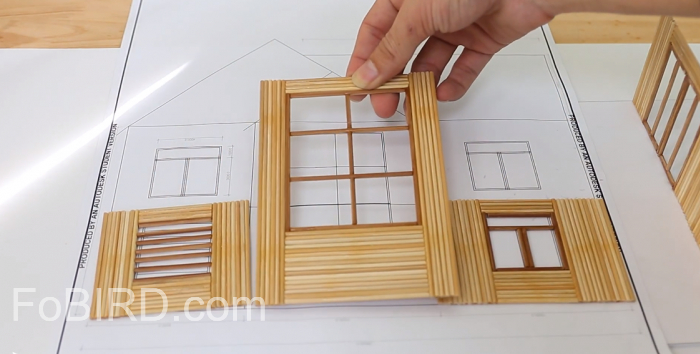
Continue to build walls like the sketch shows. Each side has a corresponding wall. For doors and windows, use brown wooden sticks for a touch of uniqueness.
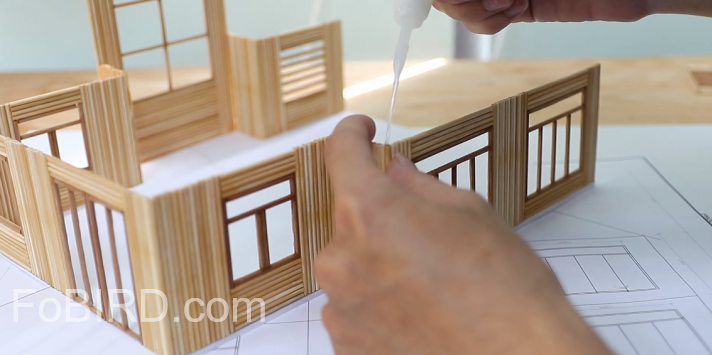
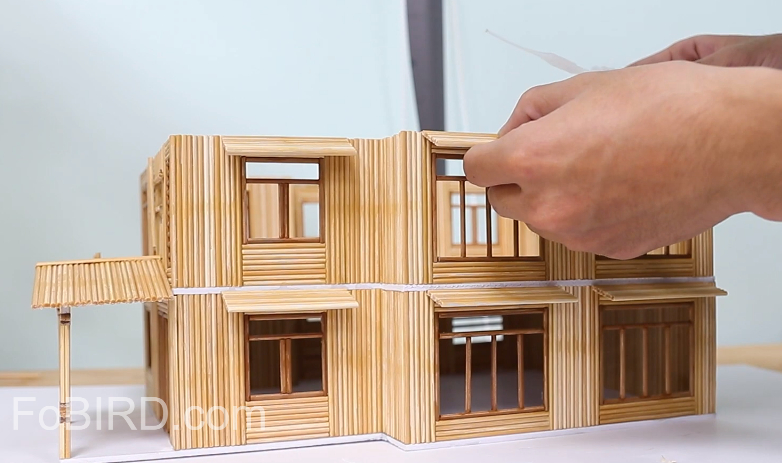
Next step, join the walls together and build the first floor. you only have to follow the sketch and place the details accordingly. Remember to put the walls at 90 degree with the floor and they must be sealed tight together.

After completing the walls of the first floor, cut the cardboard to make the platform for the second floor.
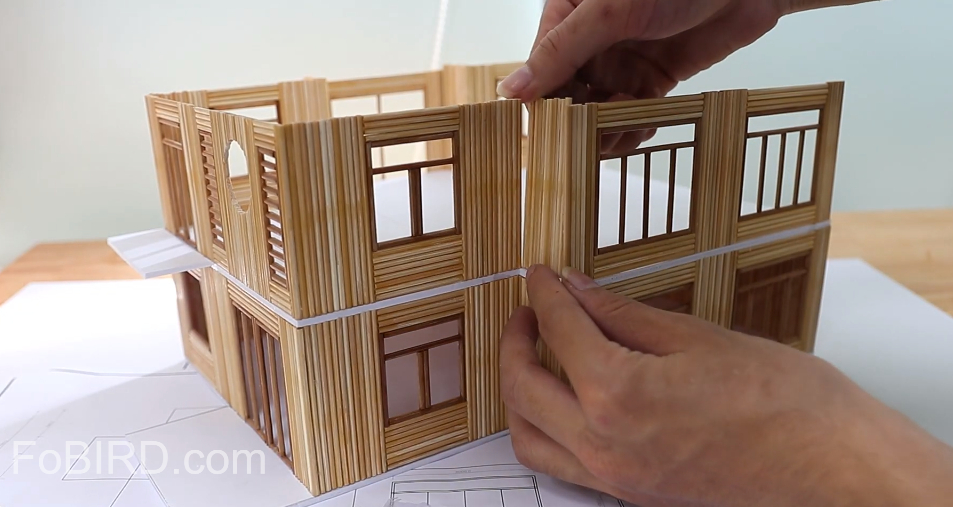
The same as the first floor, we build walls and stick them together to make the surrounding walls. The walls are very similar between those of the first and second floor. The difference lies in the doors and windows.
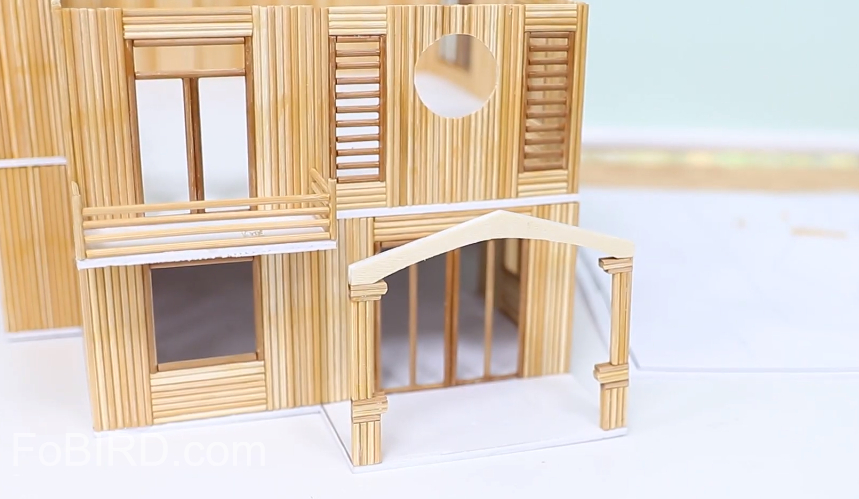
Now we build the pillars for the eaves. Cut wooden sticks in small pieces and stick them together to build the pillars in front of the house. Above the pillars there is a decorative detail. Cut the cardboard like in the sketch then use papyrus paper to cover the outside of it. In this picture, you can see that we have secured 2 pillars evenly in front of the house with the decoration.
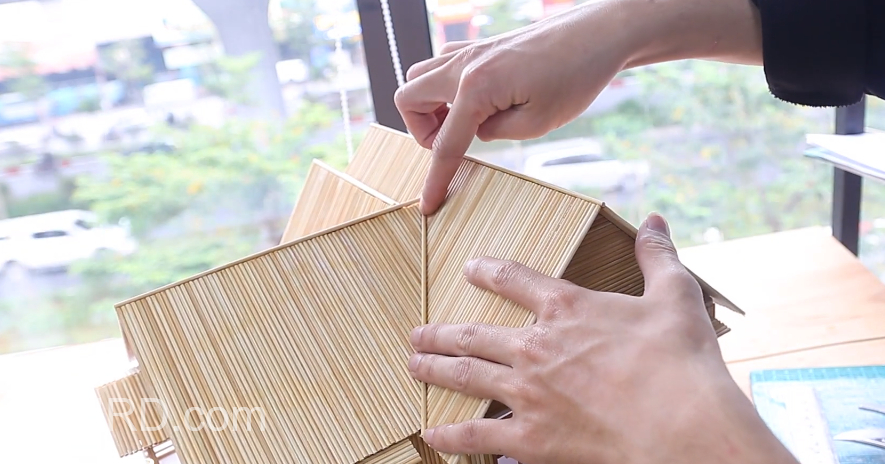
Next, we join the wooden sticks in a big plate and use them to make the eaves, not only for the front door but also for the windows and the balcony on the second floor.
Make small covers for every window from small to big outside of the house. Remember to tilt them when you glue them on just like in the picture.
Continue to build pillars for the balcony on the second floor.
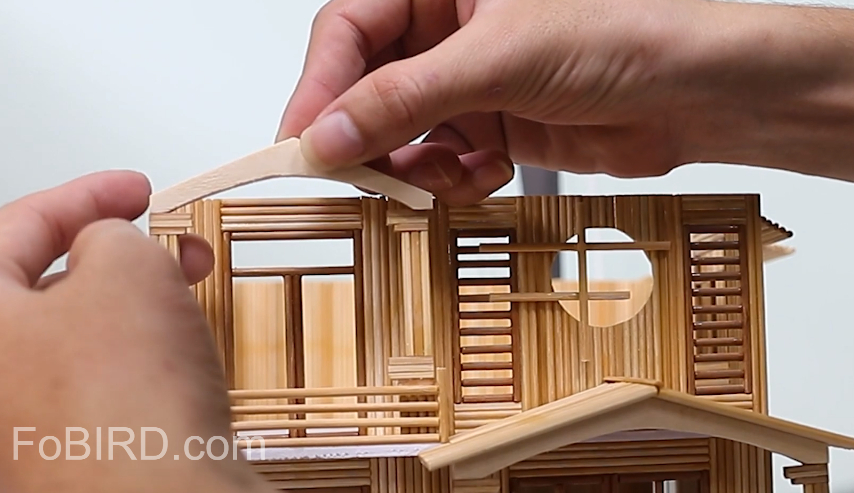
Move on to building the roof. Use cardboard to build a frame first. Remember to follow the measurements attentively.
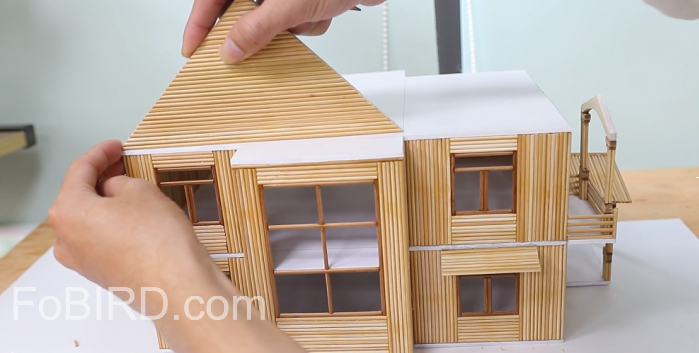
After cutting the cardboard for frame, place wooden sticks directly on it and stick the roof on the house.
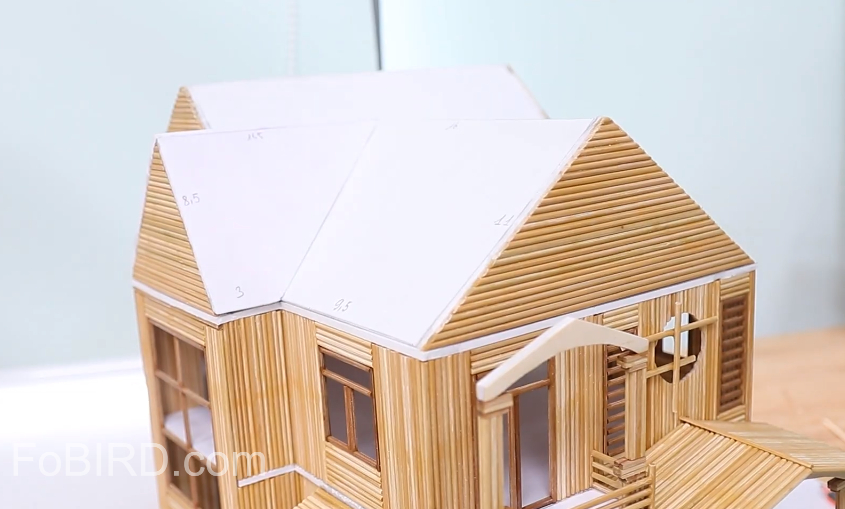
Here is the result after sticking the roof on.
Put wooden sticks on the roof to finish this part. Later, use a long wooden stick to cover the joint between the two pieces of roof.
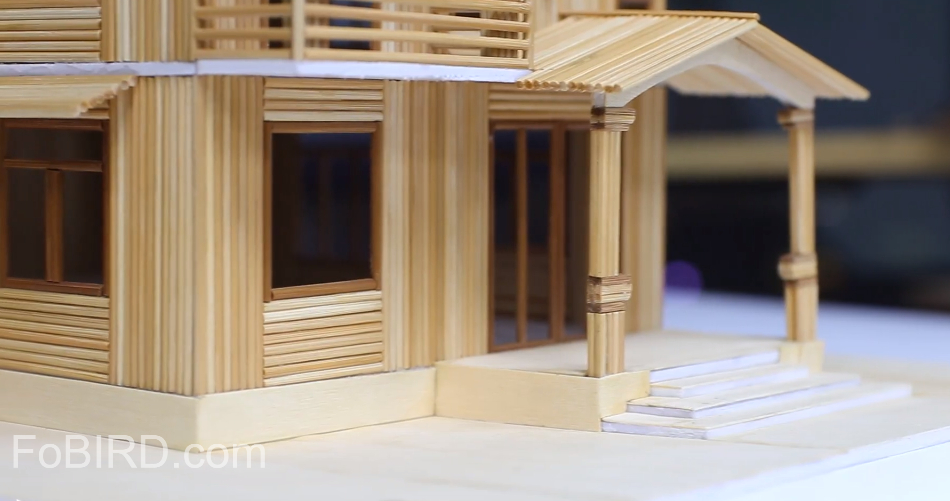
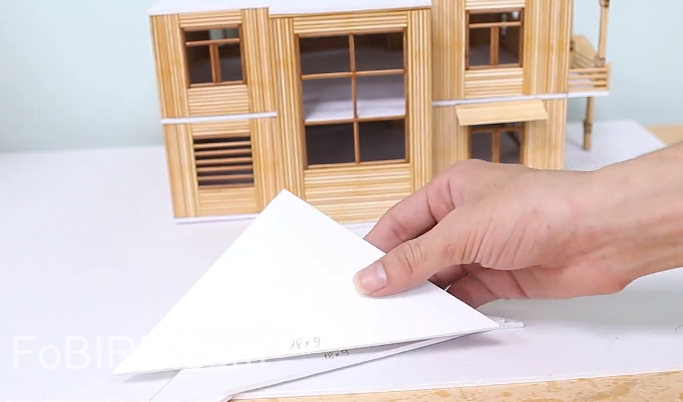
Lastly, carefully put the model on a big cardboard. You can use cardboard to craft a porch and add papyrus paper for better appearance.
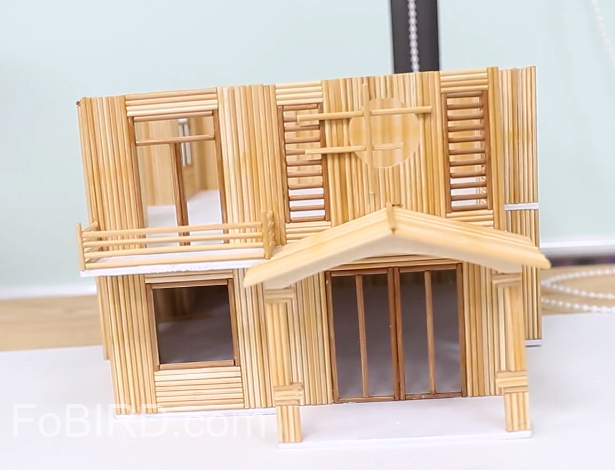
And here is the final product. To keep the model beautiful and long-lasting, spray a good amount of polishing spray over the house. If you want to watch our video on how to make the house, check this out.
https://www.youtube.com/watch?v=L8Ihrc99ig4
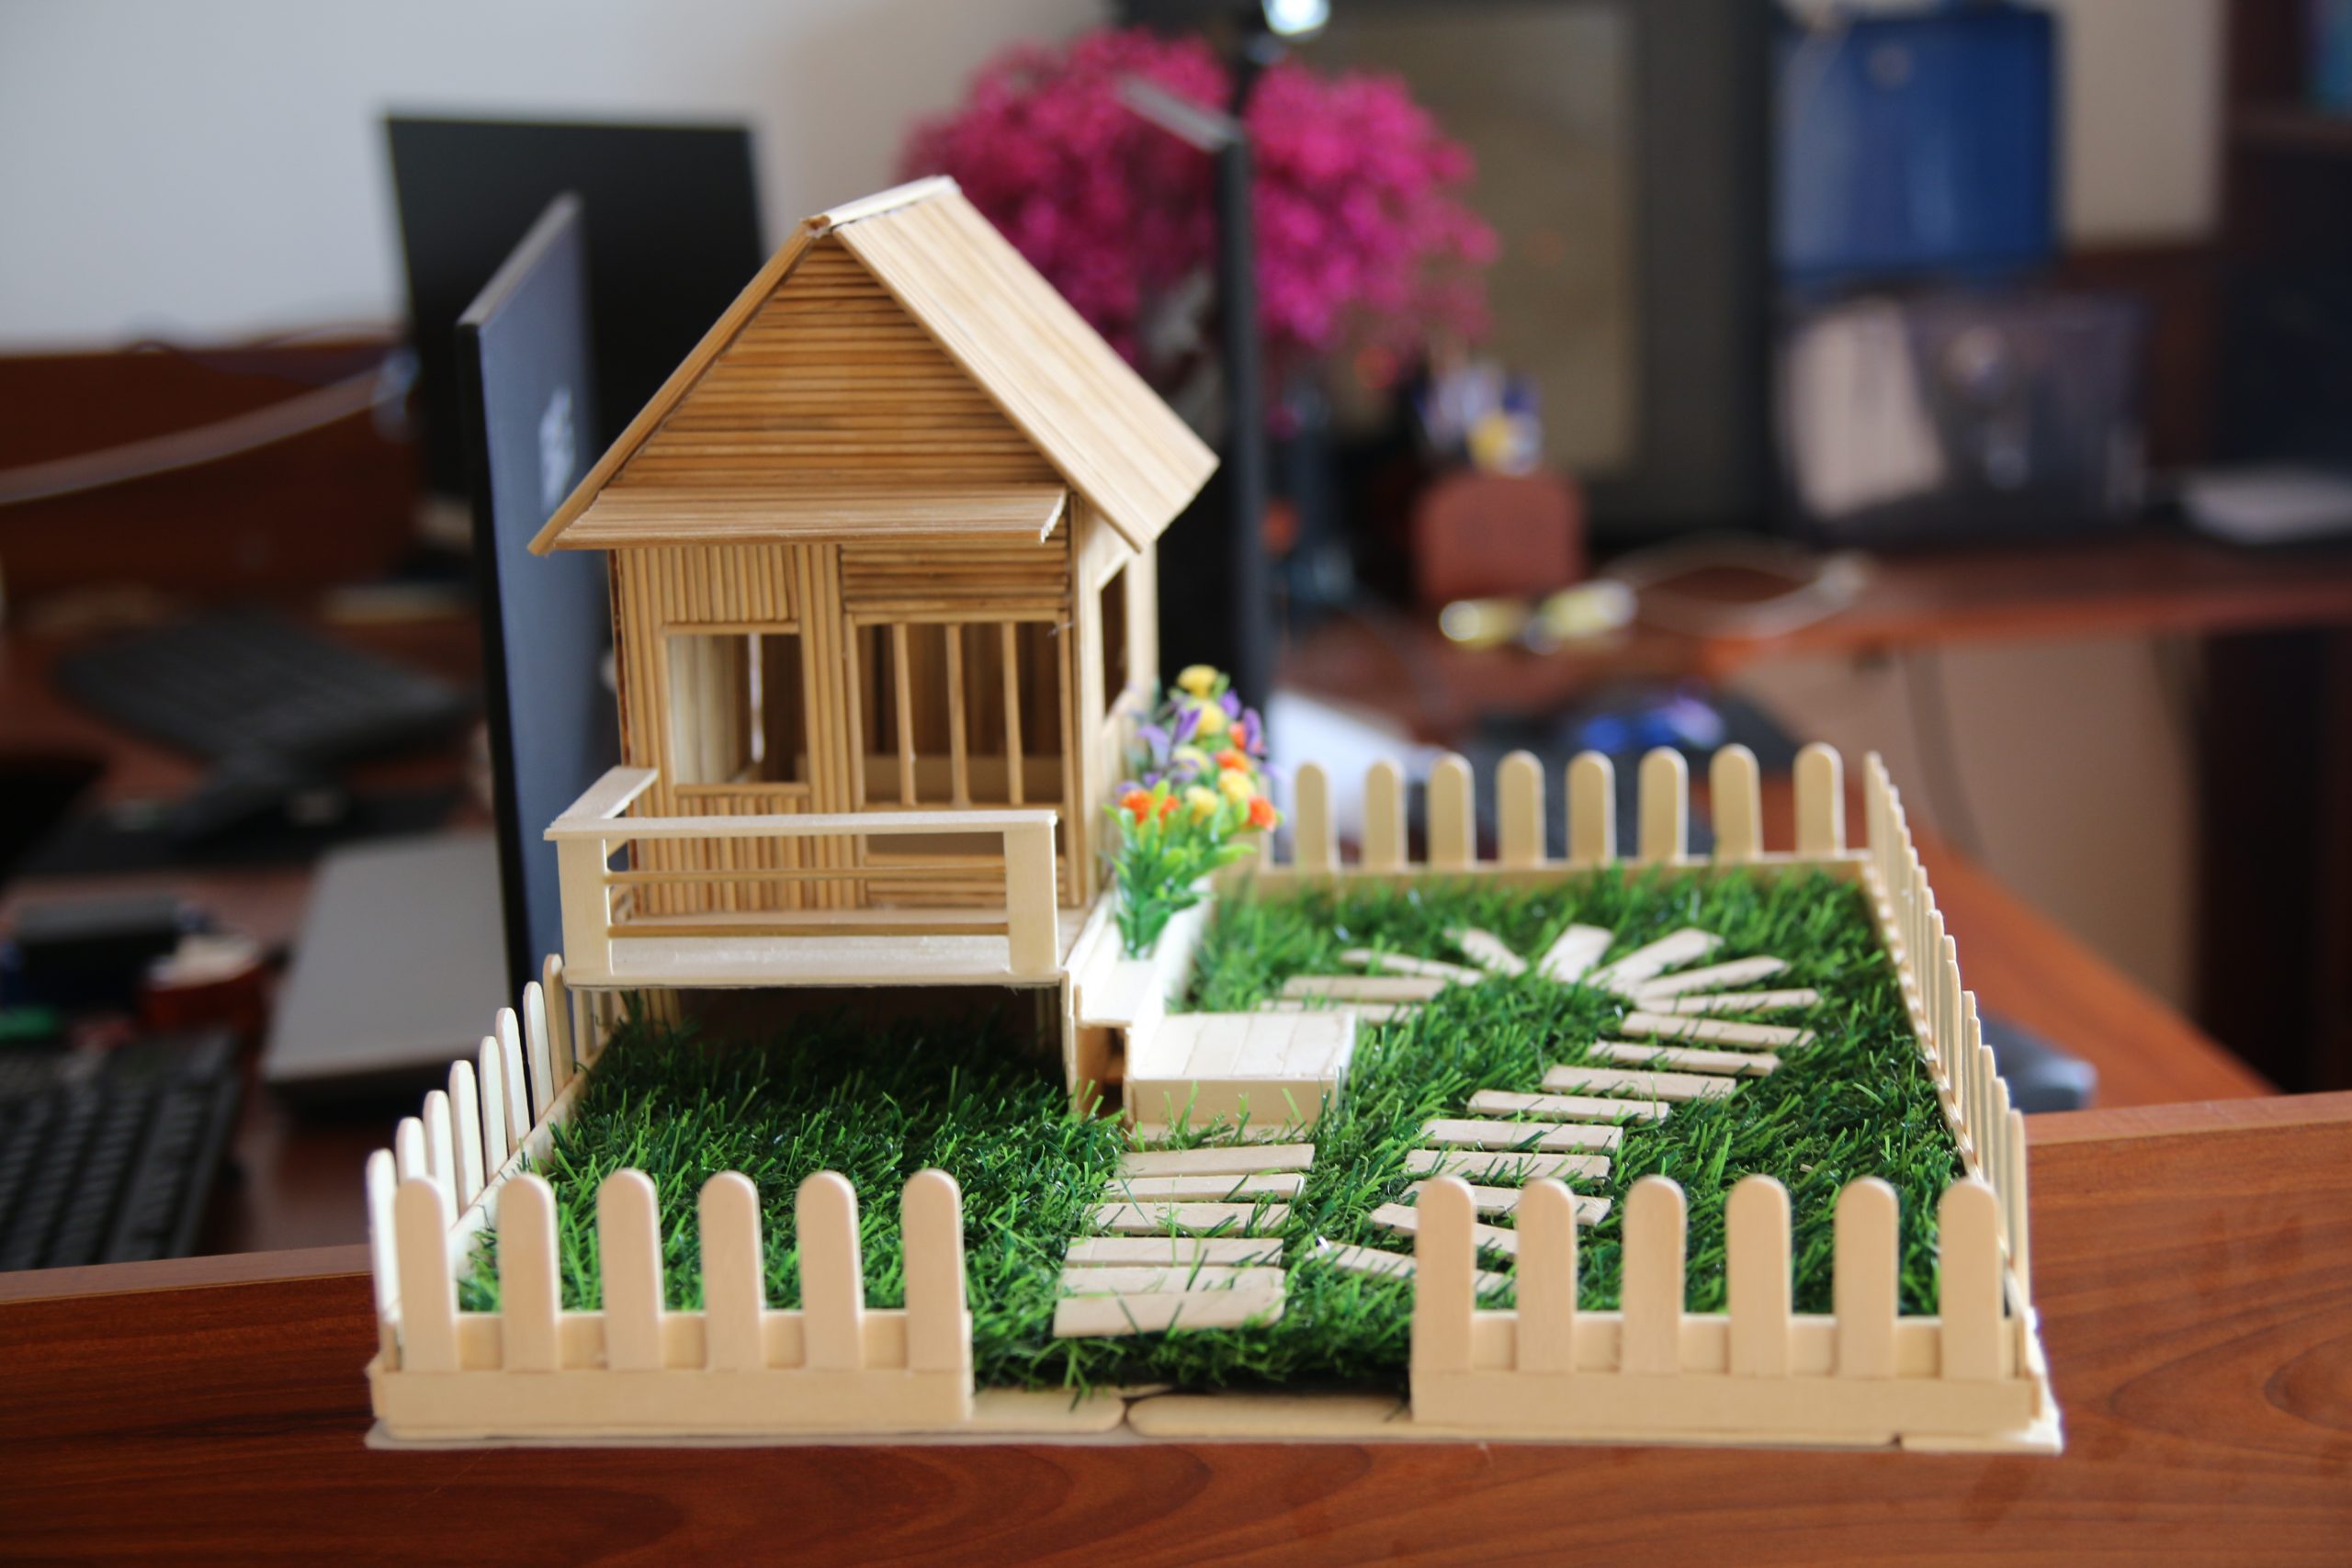
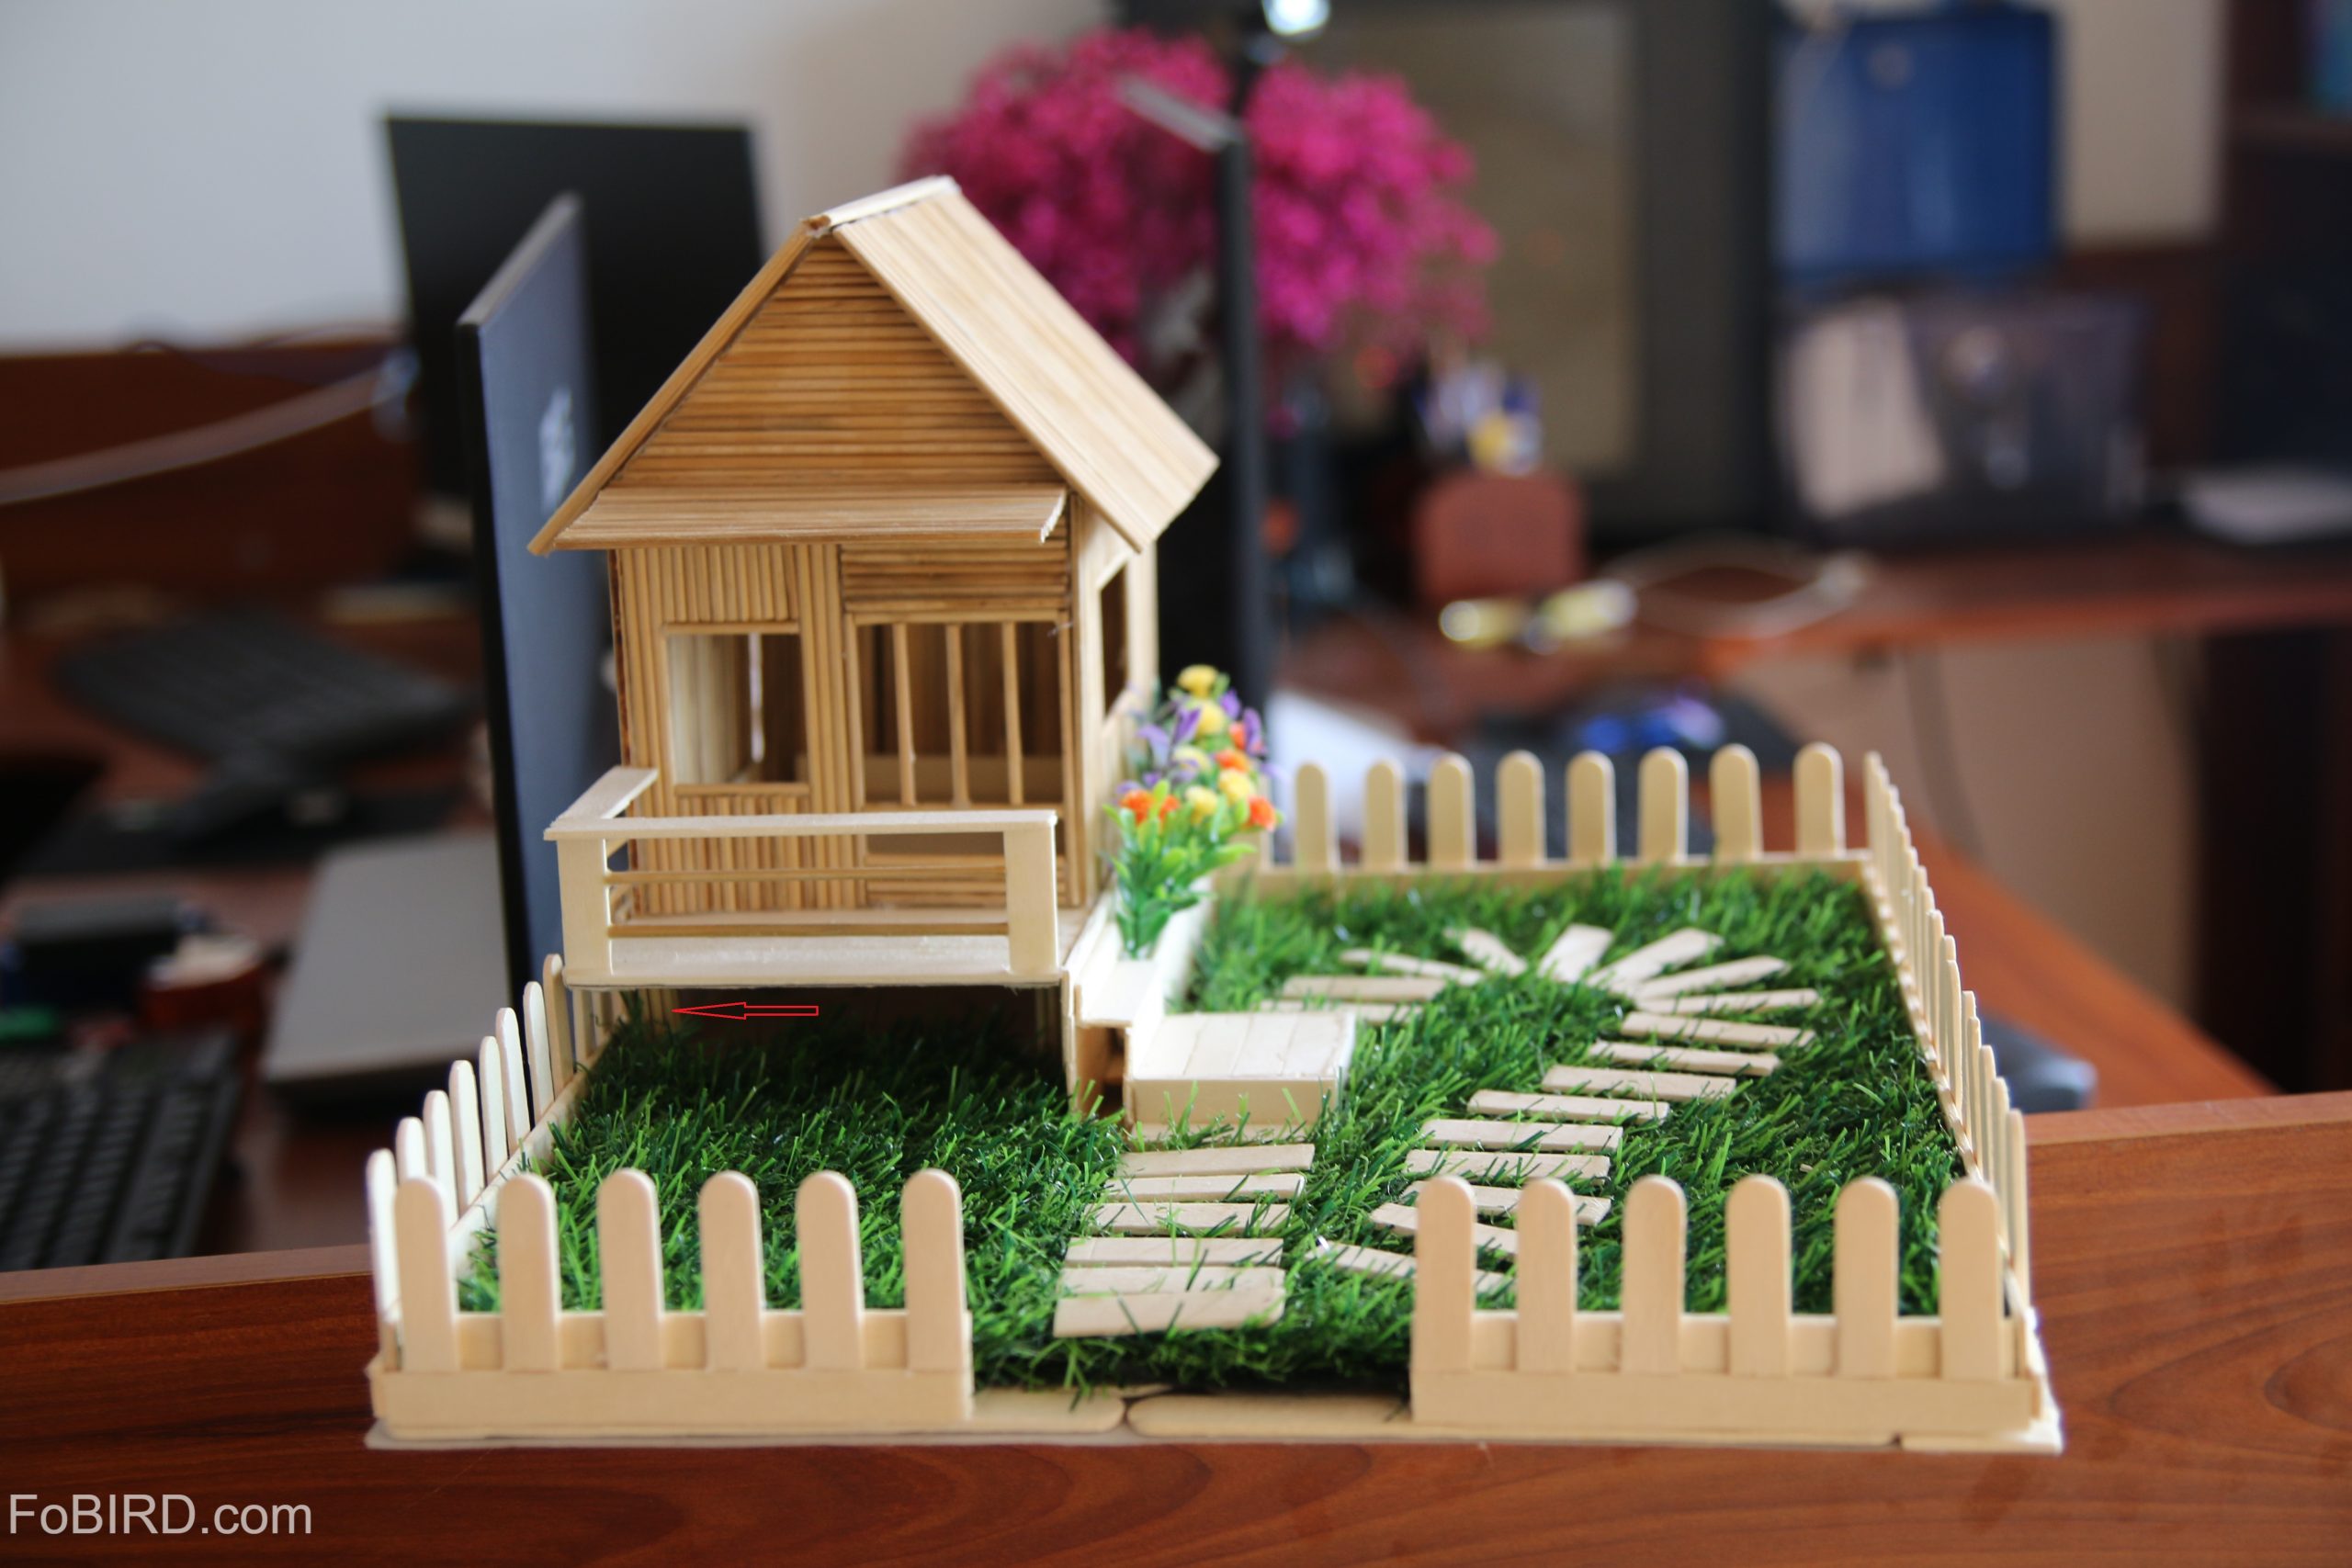
2/ How to build 1-floor wooden stick house
We worked with this house model a long while ago. About the design, we are very satisfied with it but there is one thing that we regret doing. We used cheap wooden sticks to make it so the walls seem like they have mold on them. If you want to achieve a better result, make sure that you use good-quality materials.
This model is quite simple so we only offer the info about measurements. There won’t be any sketch nor video for guidance. Nevertheless, the measurements are more than enough for you to work on this simple house.
Prepare the materials:
We use wooden sticks with a diameter of 2.5mm for this house. This is the perfect wooden stick’s size to build a house model. Smaller wooden sticks take more time, bigger wooden sticks are not elegant.
Beside wooden sticks, we also use:
- 500 wood sticks of 1cm x 11.5cm to make the fence
- Flowers for decorations: 1-2 bouquets
- A piece of synthetic grass, 30cm x 30cm
- Glue gun and glue sticks
- Special scissor for cutting wooden sticks
- Superglue
- Battery box
- Led lights in blue (we used this color to light this house, you can choose others if you want to): 10 bulbs
- 1 piece of hard cardboard, 30cm x 40cm
The reason why we use both superglue and glue stick:
When you put the wooden sticks in place, you must use superglue. It has a watery texture and doesn’t leave big lumps of glue on the surface, which make the walls look bad. However, when you glue icecream sticks together, superglue isn’t recommendable. It turns the natural color of the sticks darker. Furthermore, sticking icecream sticks with superglue is pretty hard. Therefore, for details like grass yard or icecream sticks, glue stick is the better option.
Steps to build 1-floor wooden sticks house easily
A: Make the yard
For the yard, we use cardboard in 30 x 30 to make it and we add icecream sticks on to make the cardboard stronger.
B: Build the house:
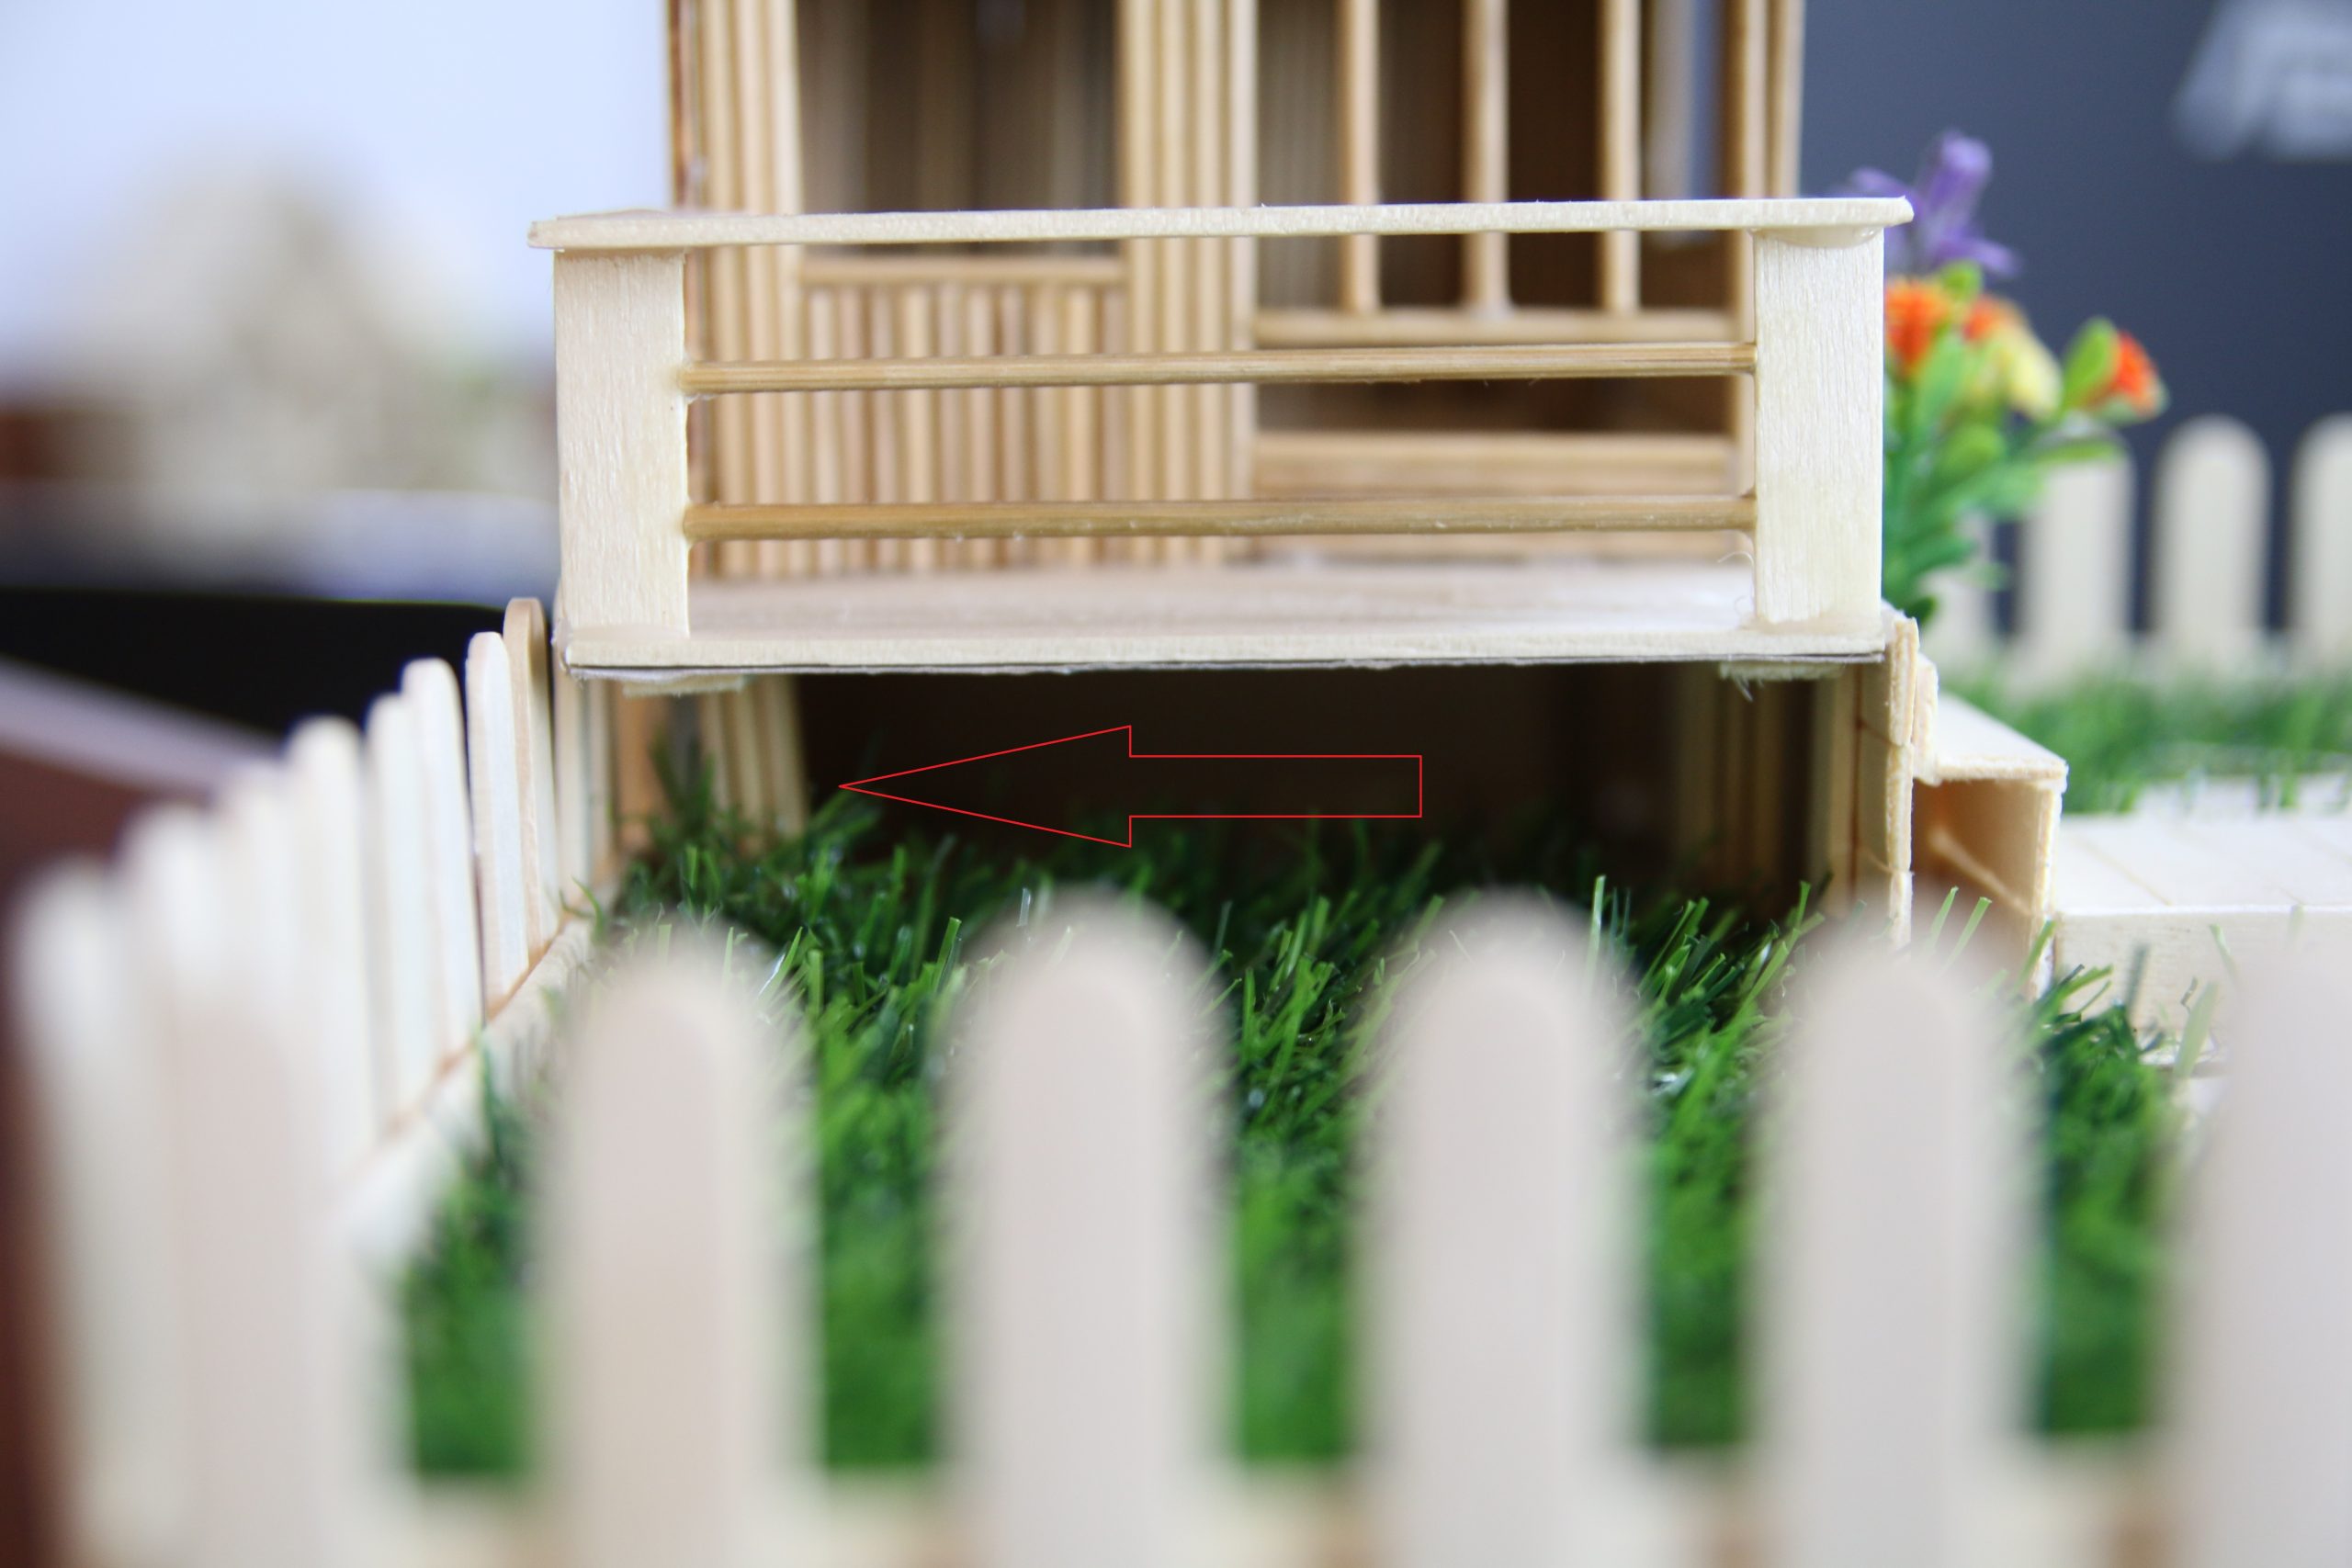
Step 1: Use glue stick and put 18 icecream sticks together to make the floor. The measurement of the floor is 10 x 18cm. Then use small pieces of sticks with the length of 4cm to elevate the house from the ground.
Step 2: Cut wooden sticks in pieces of 10cm then use superglue to join them together and make a 10 x 12.5cm plate. This will be the left wall of the house.
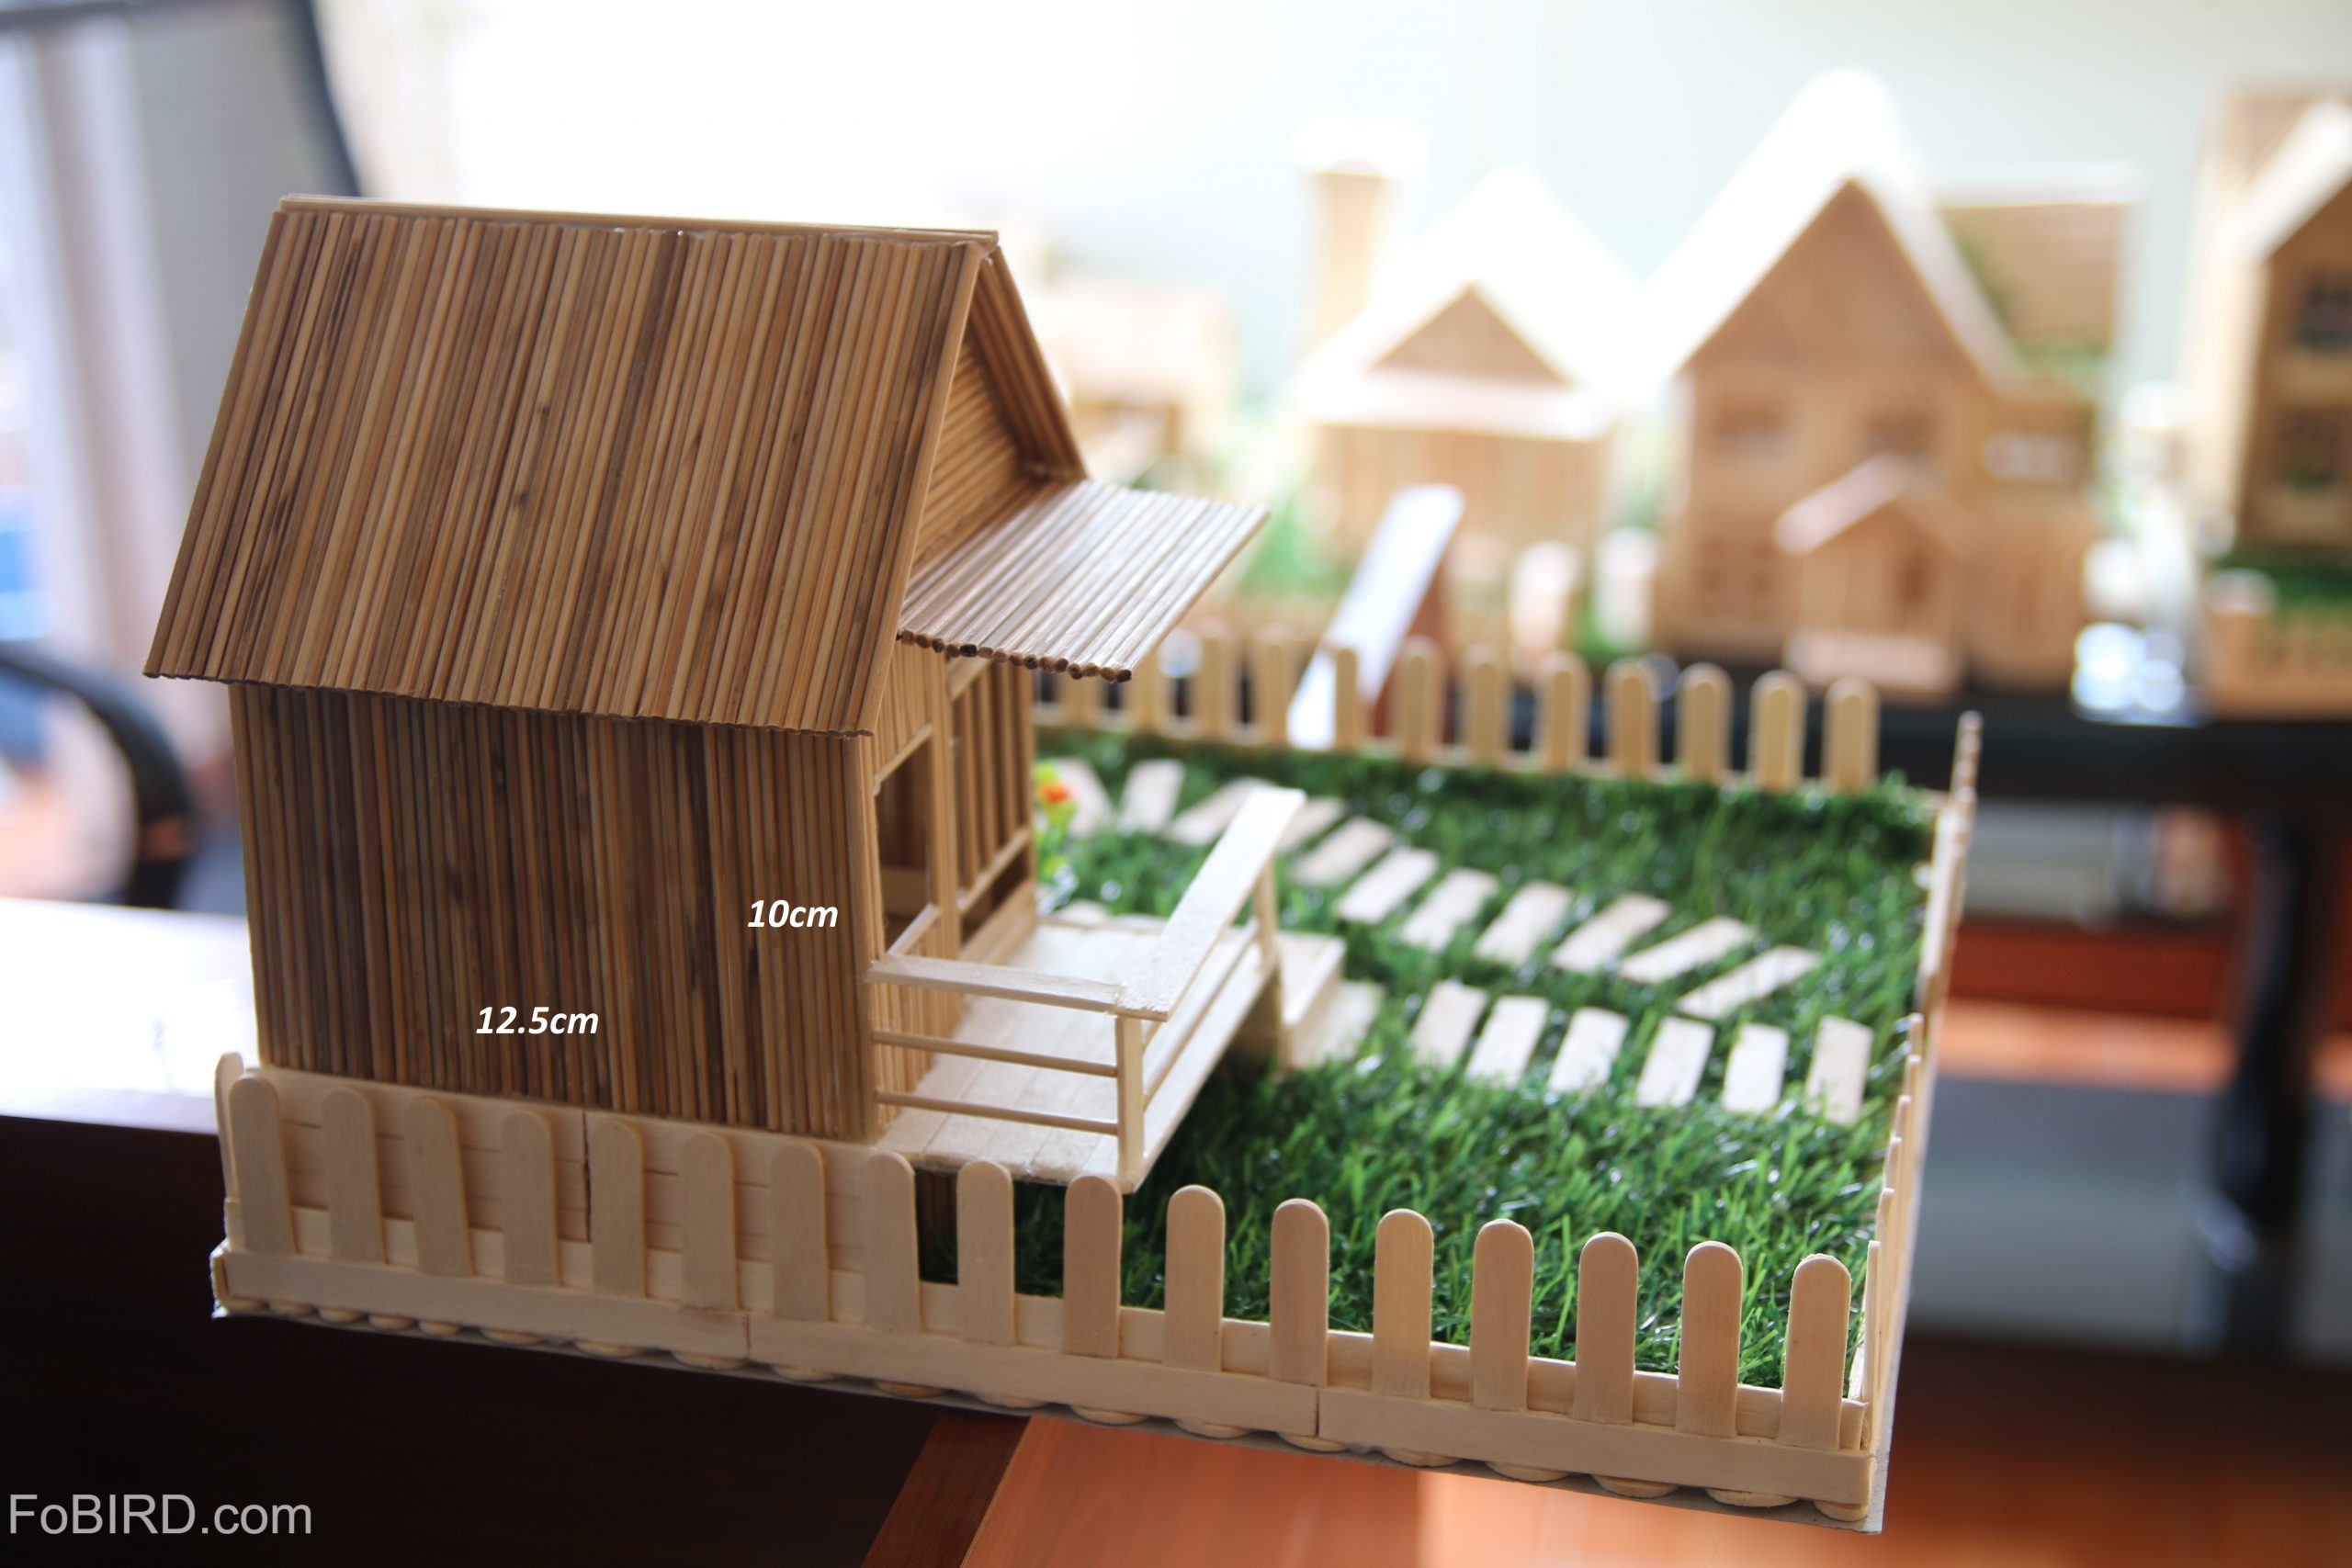
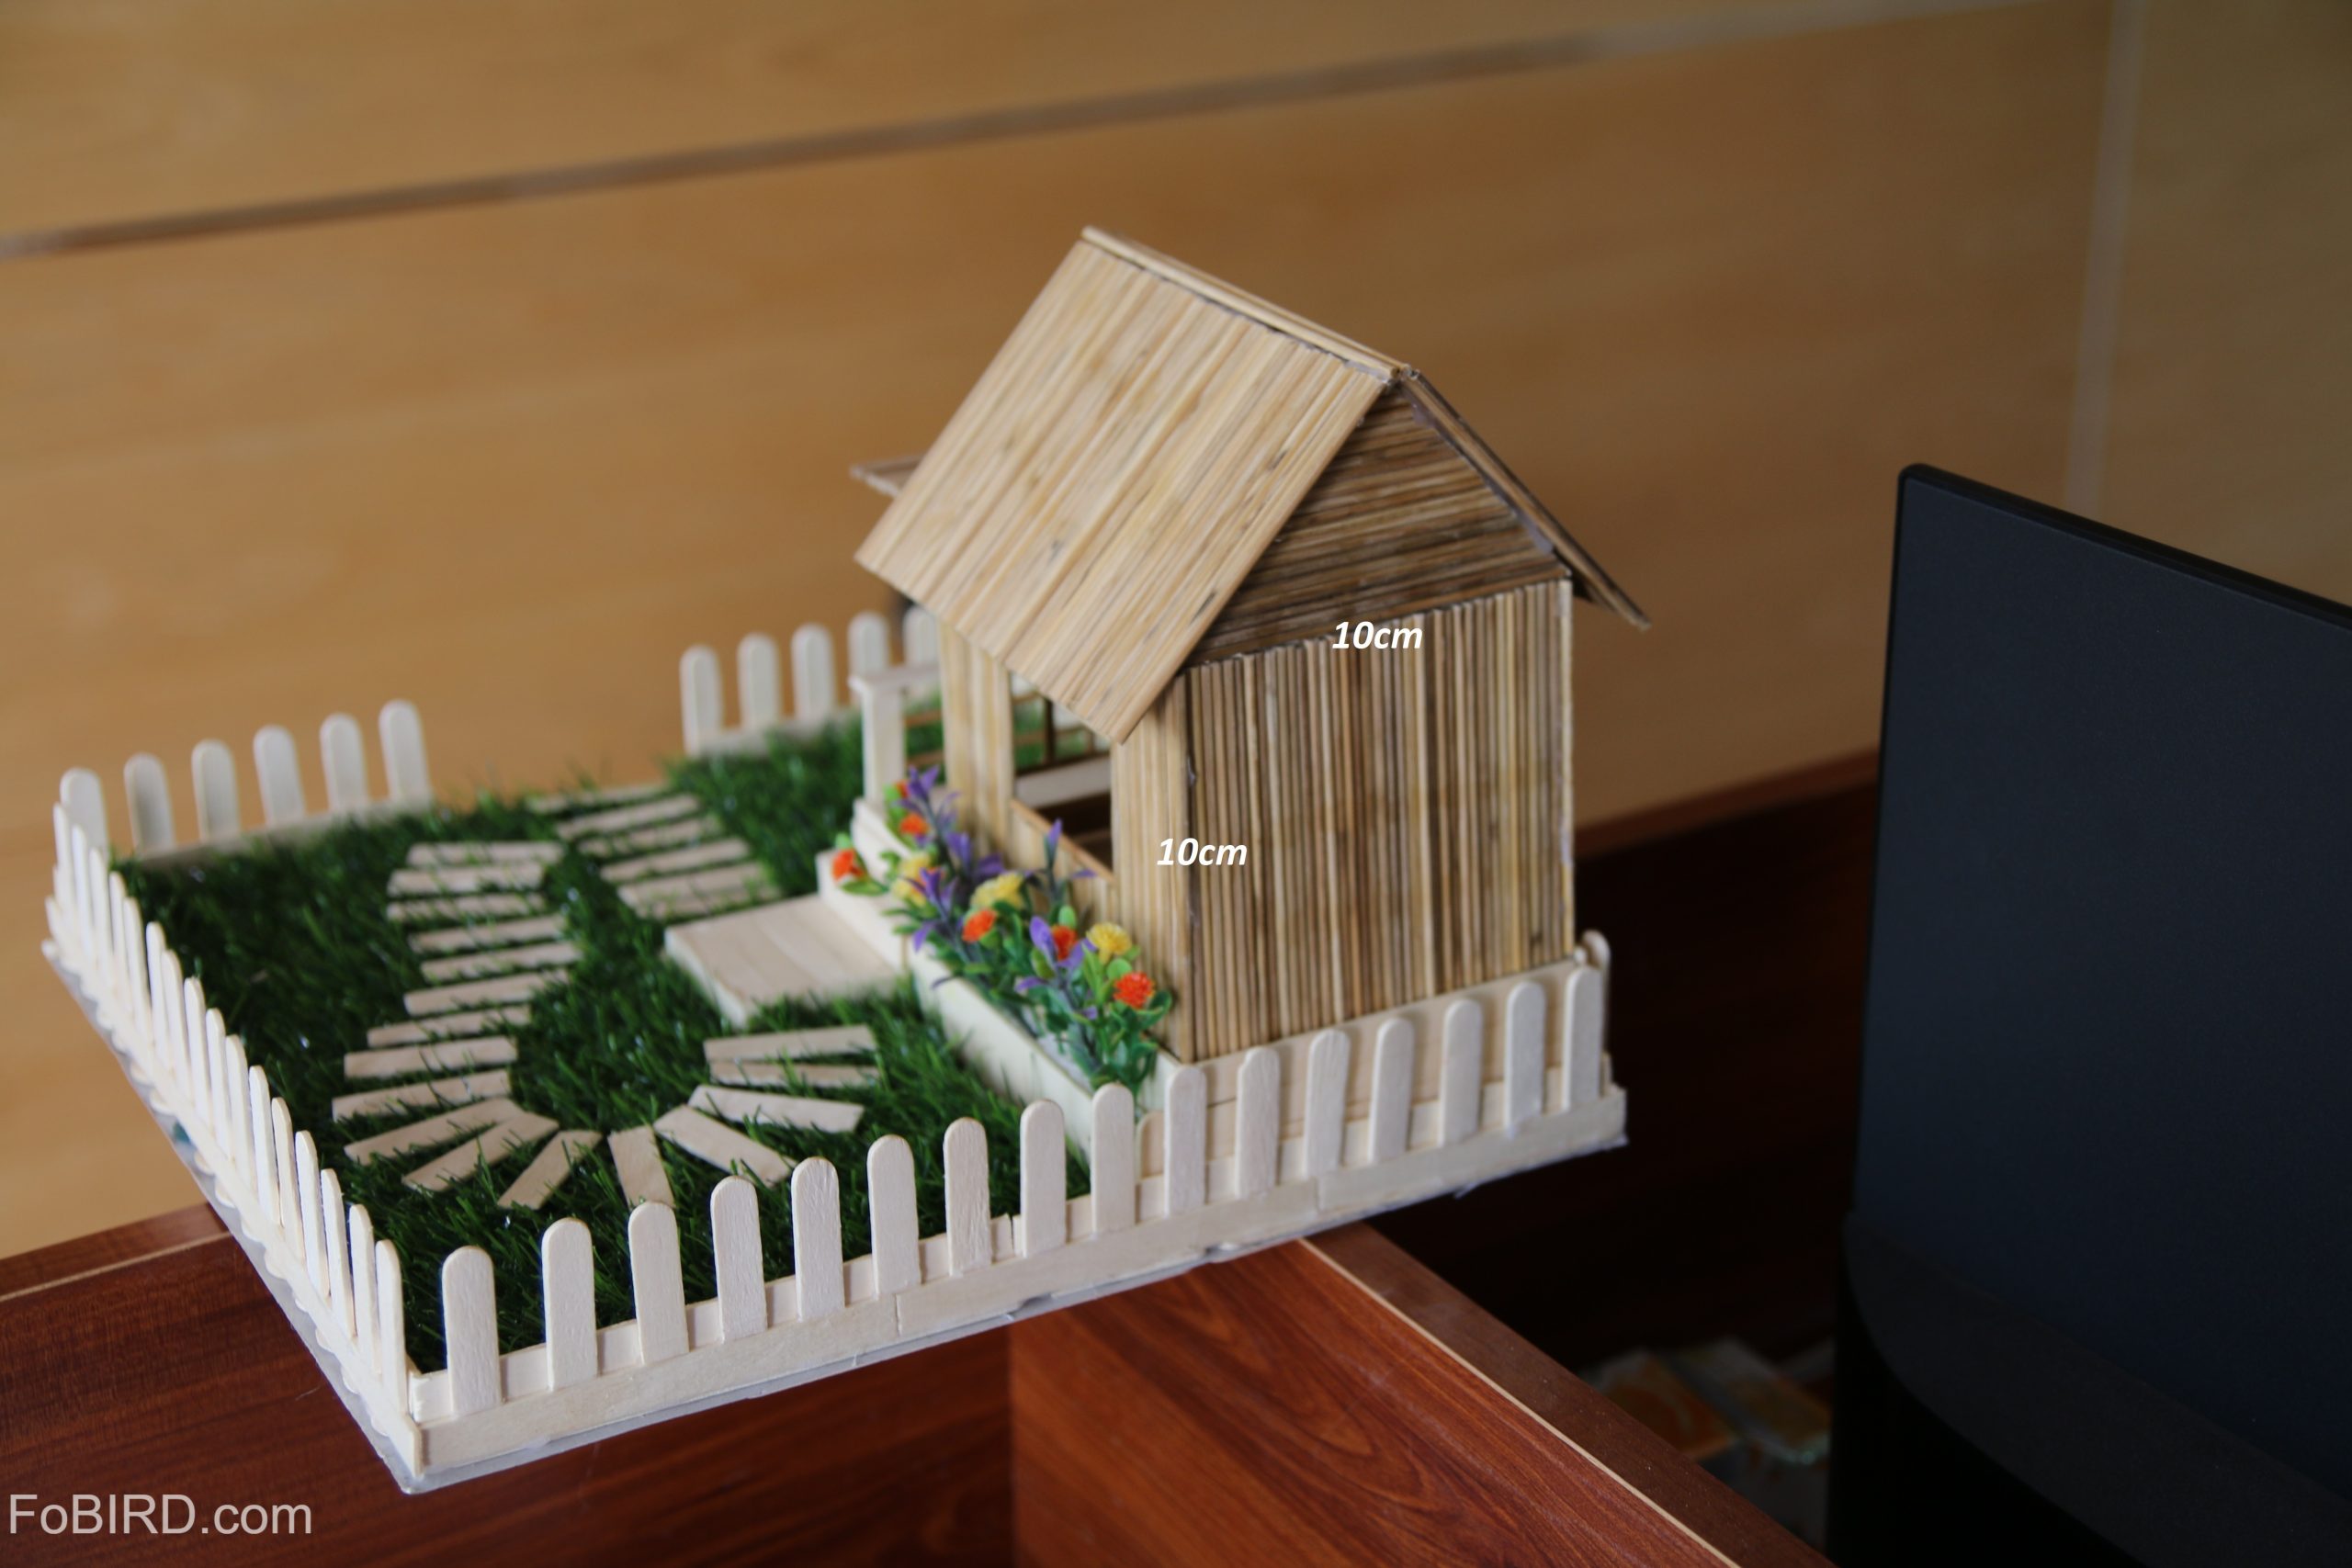
Step 3: Make the back wall in 10 x 10cm using the same method as step 2.
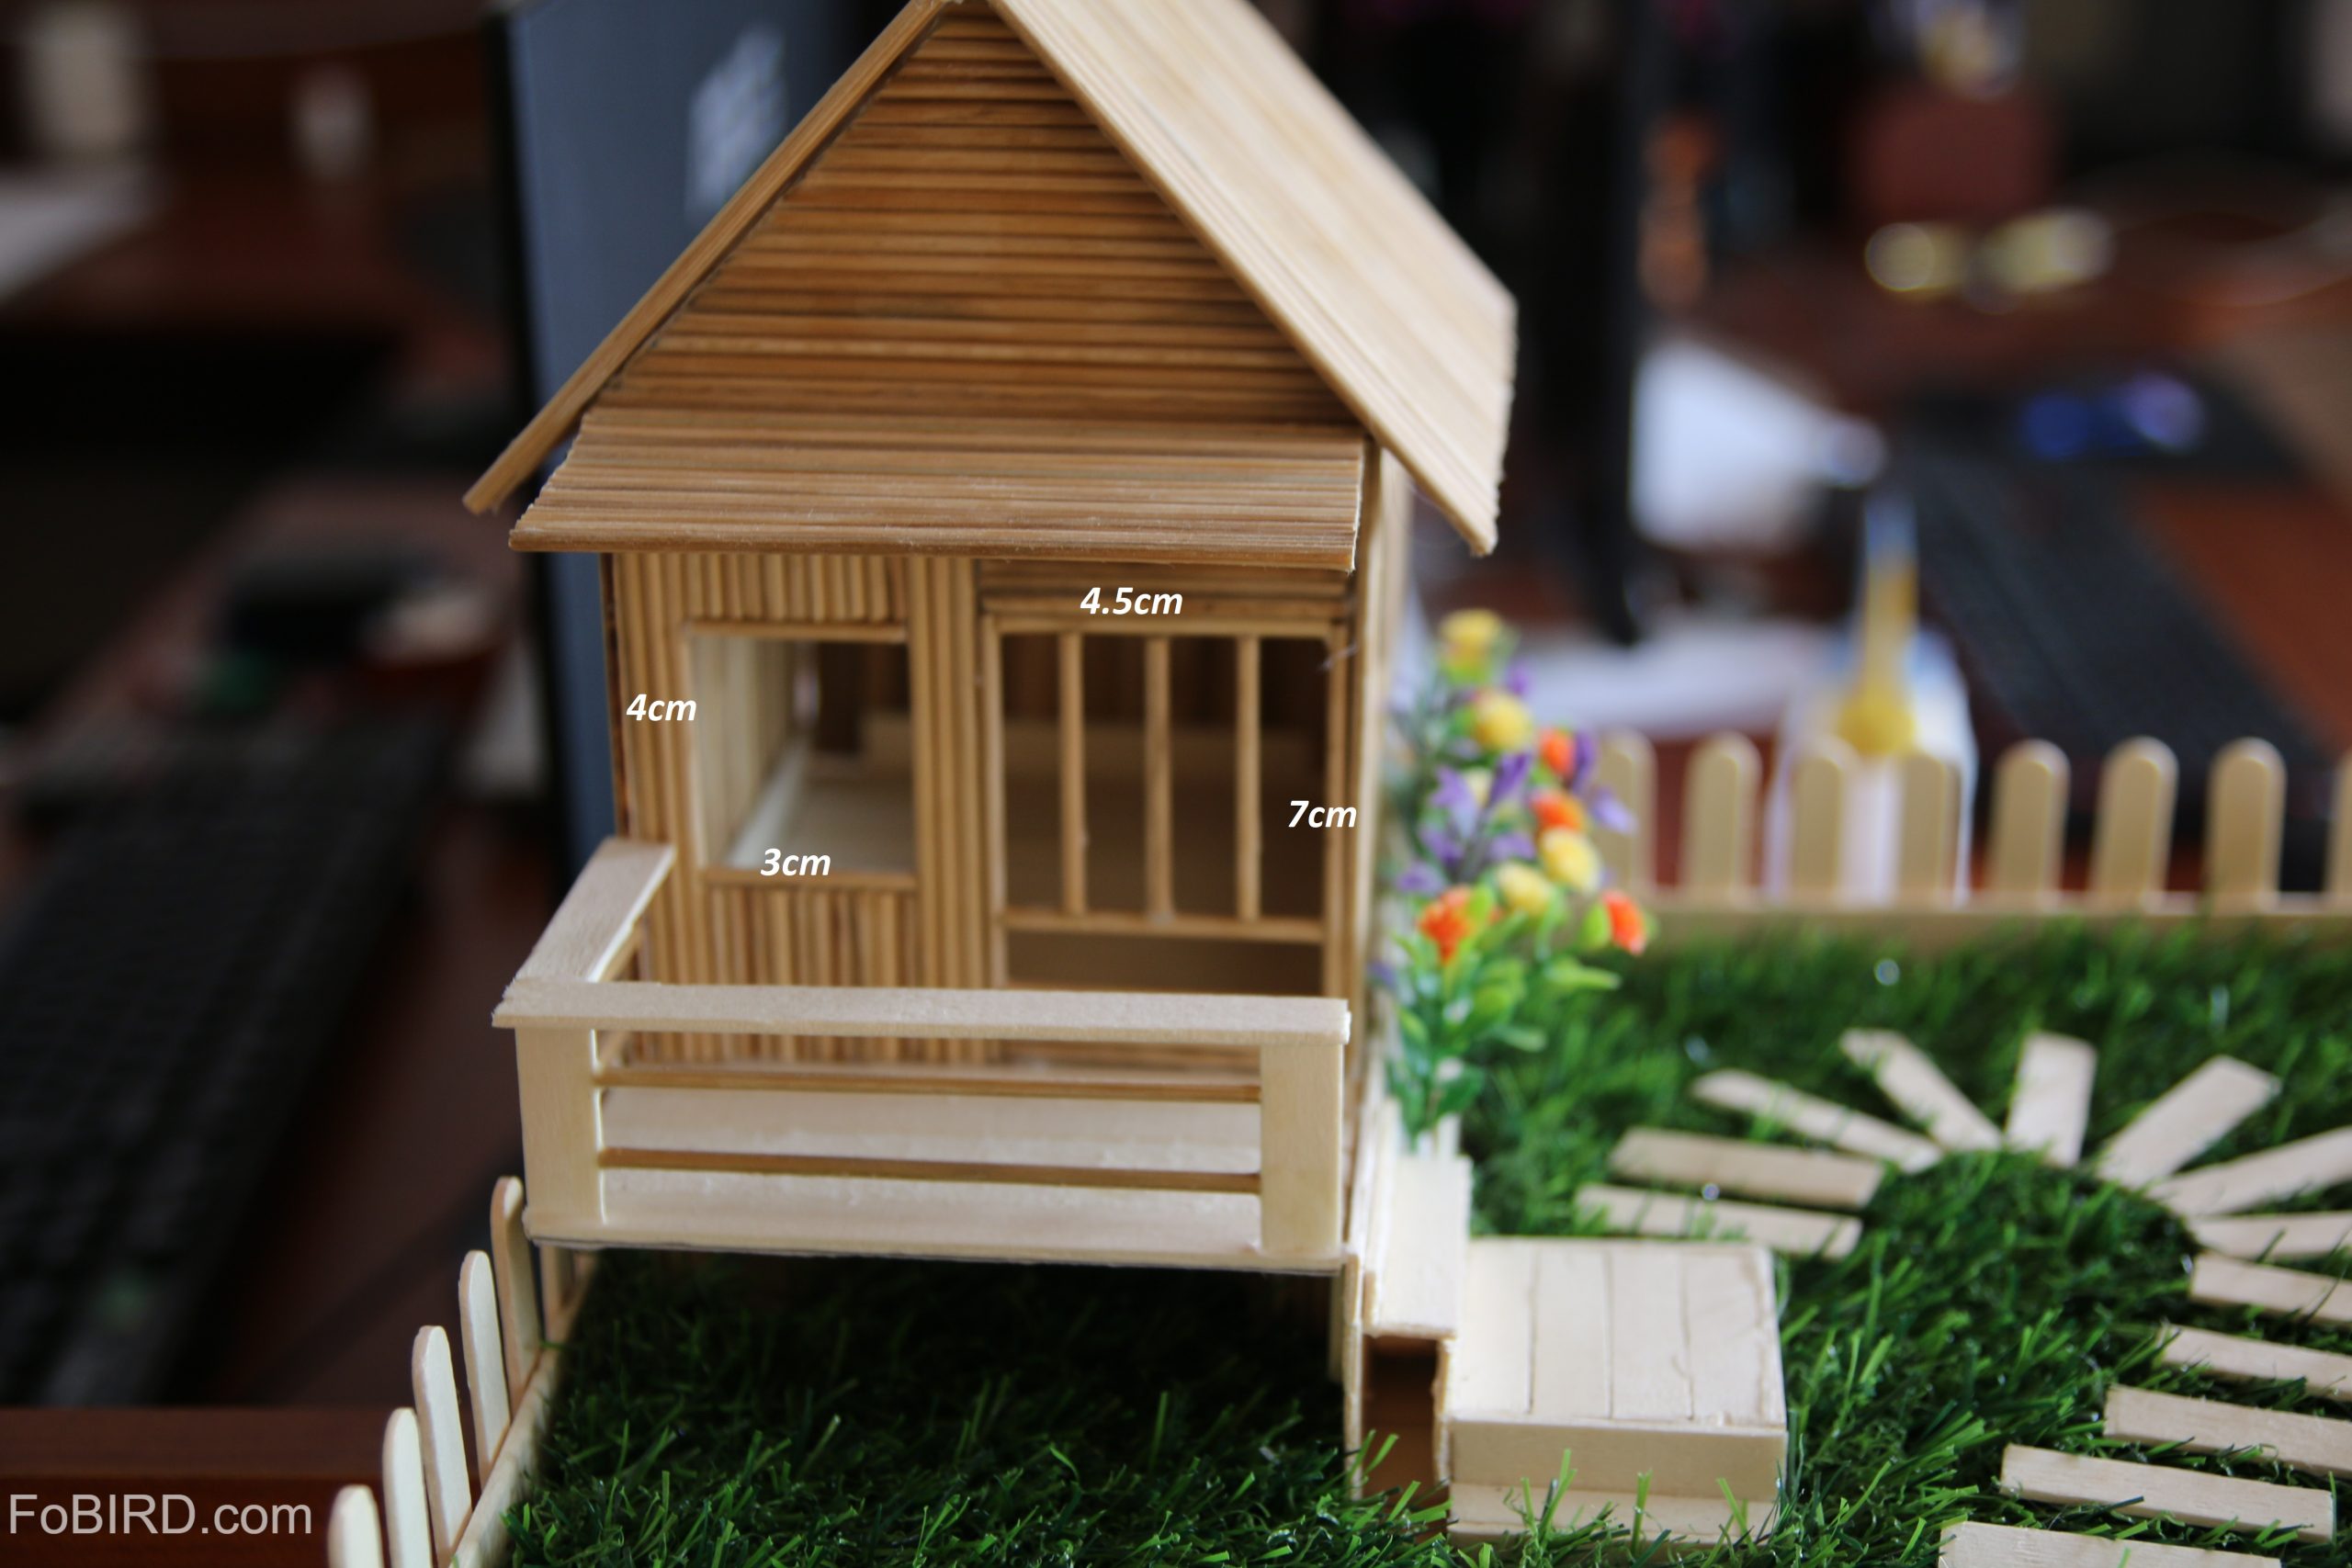
Step 4: The right wall is similar to the right wall but you must leave a 4 x 5.5cm space for window.

Step 5: Similar to the back wall, but you must leave 2 spaces:
- On the left, leave a spot for a window of 3 x 4cm.
- On the right, leave a spot for a door of 4.5 x 7cm. To decorate the door, stick on some wooden stick pieces that are 1 cm apart.
Step 6: Stick 4 walls together and then secure them with superglue on top of the floor that you have prepared in step 1.
Step 7: For the eave, you can add wooden sticks and make a plate of 10 x 4.5cm. Then, put it on the front wall where the door and window are.

Step 8: Make 2 triangles of 8 x 8 x 10cm and place them on top of the front and back wall of the house.
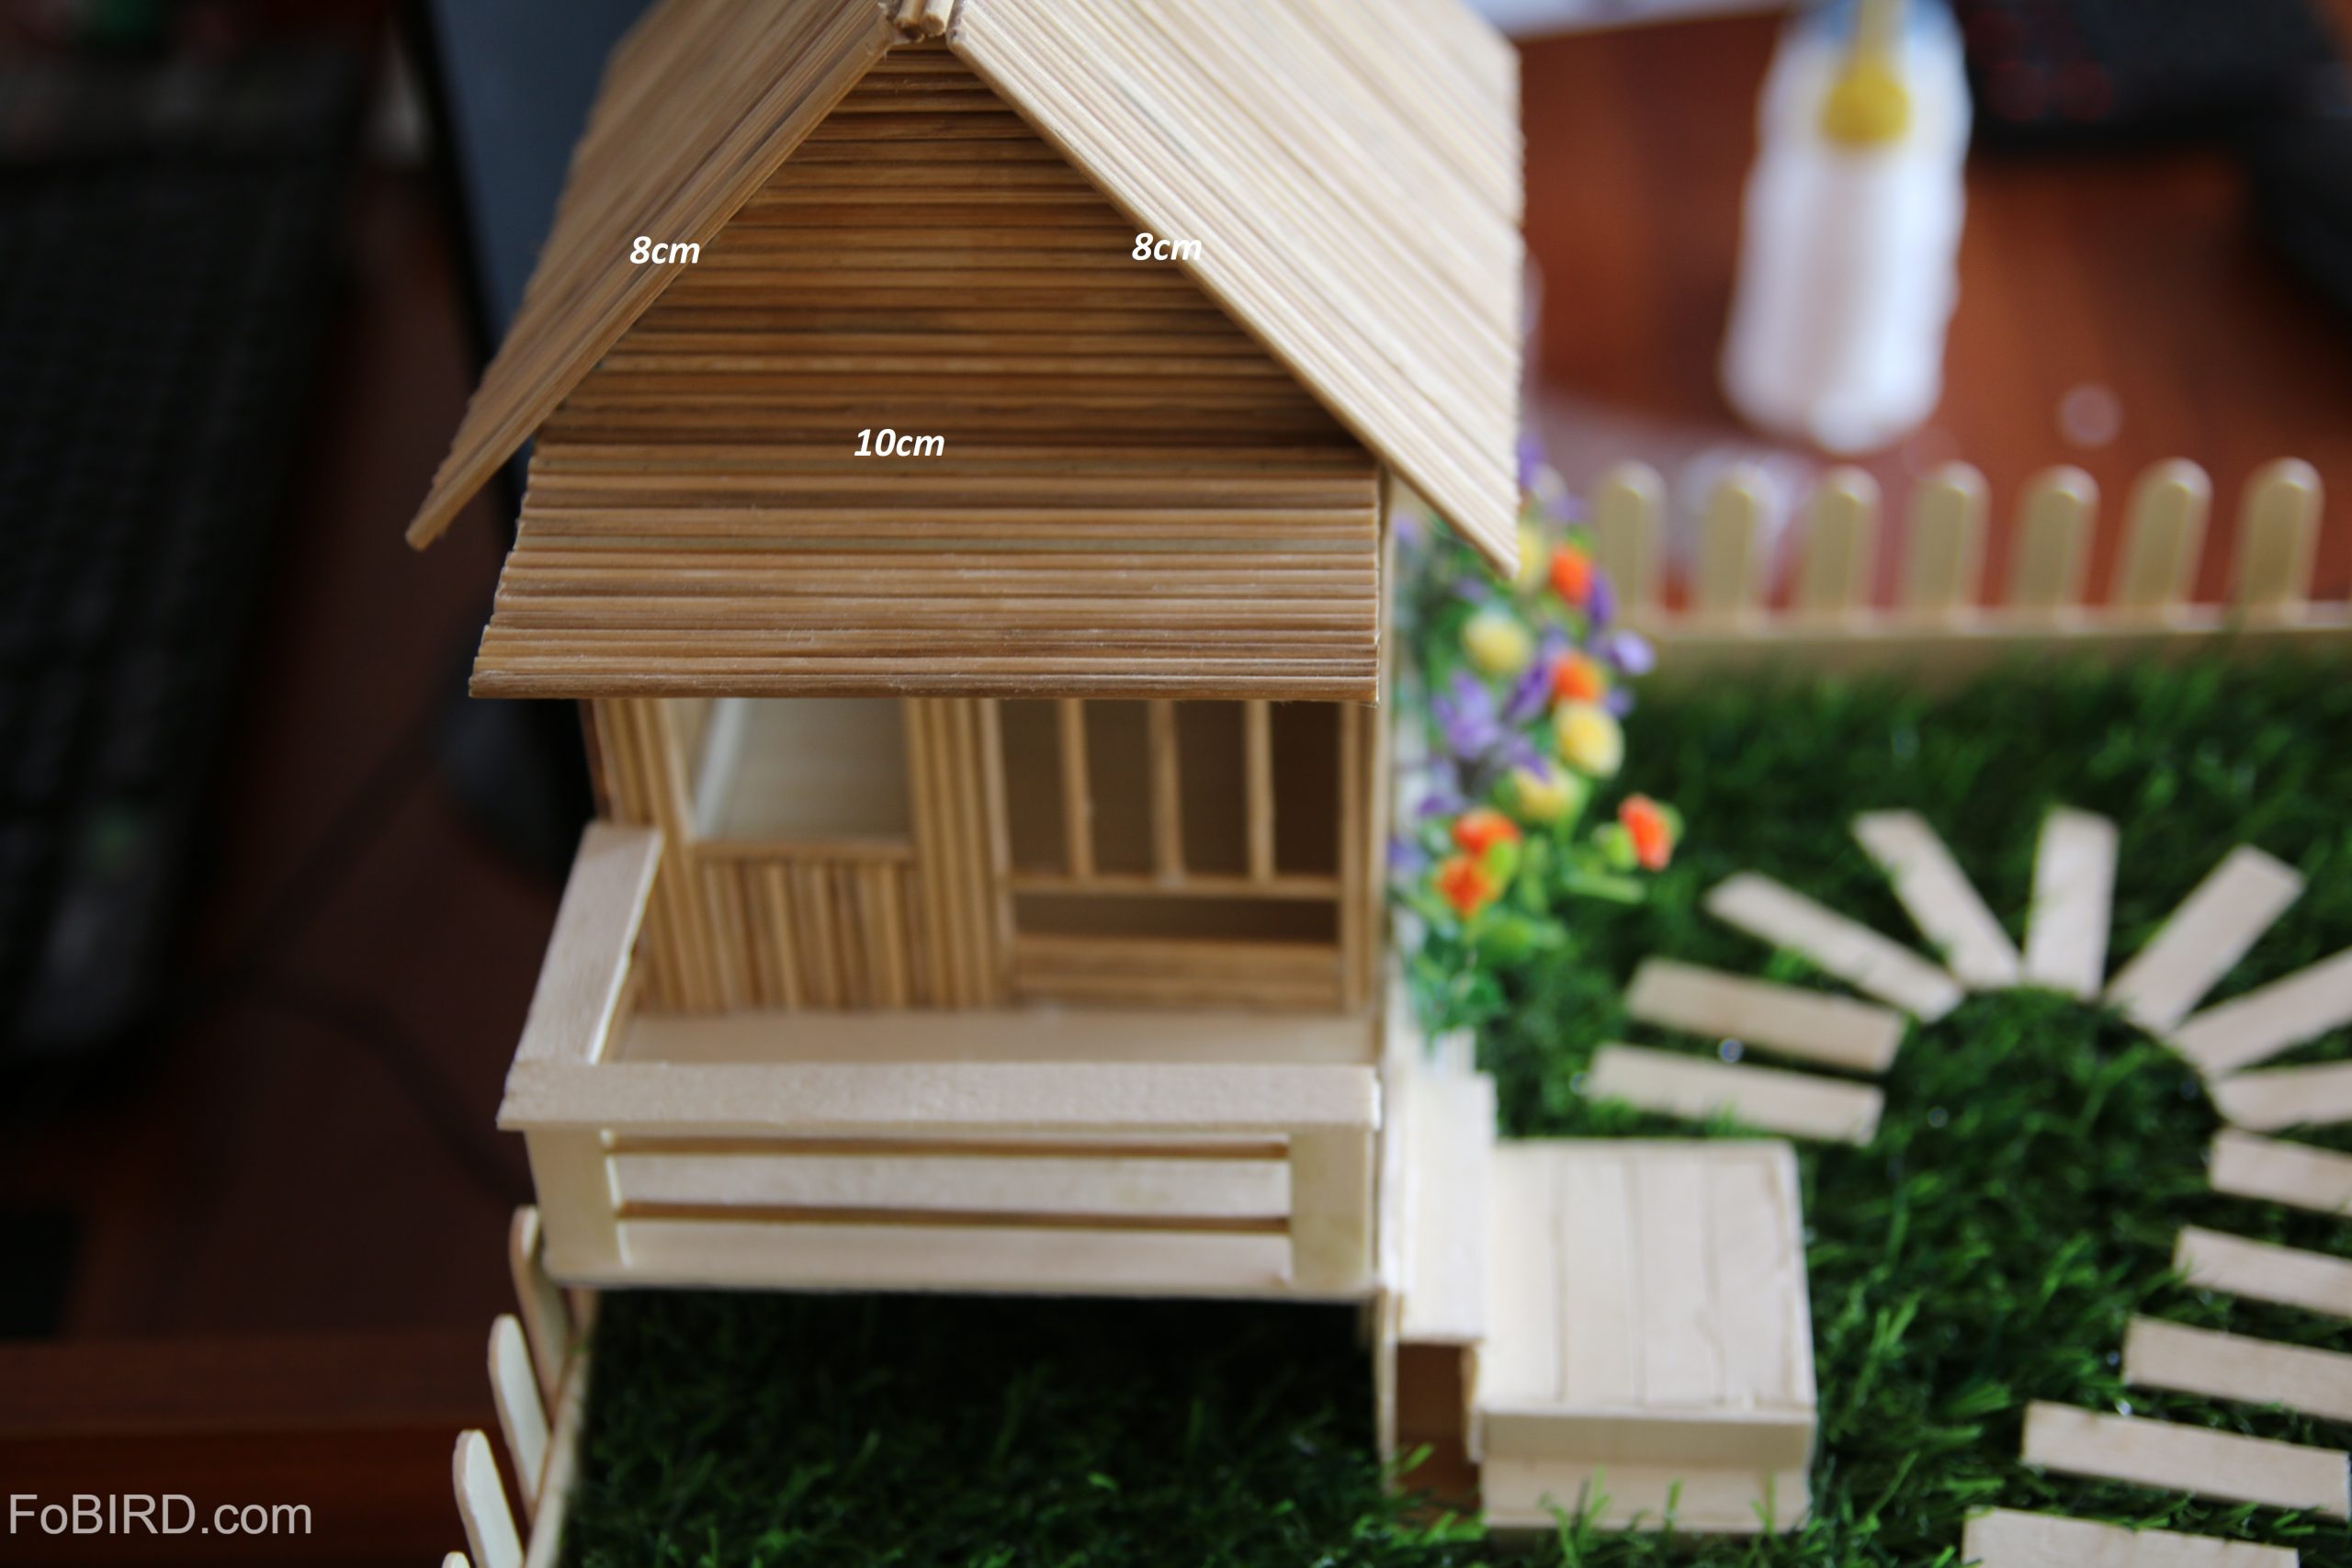
Step 9: Continue to join wooden sticks in 2 plates of 10 x 13cm. Place them on top of the house from left and right side to make a roof.
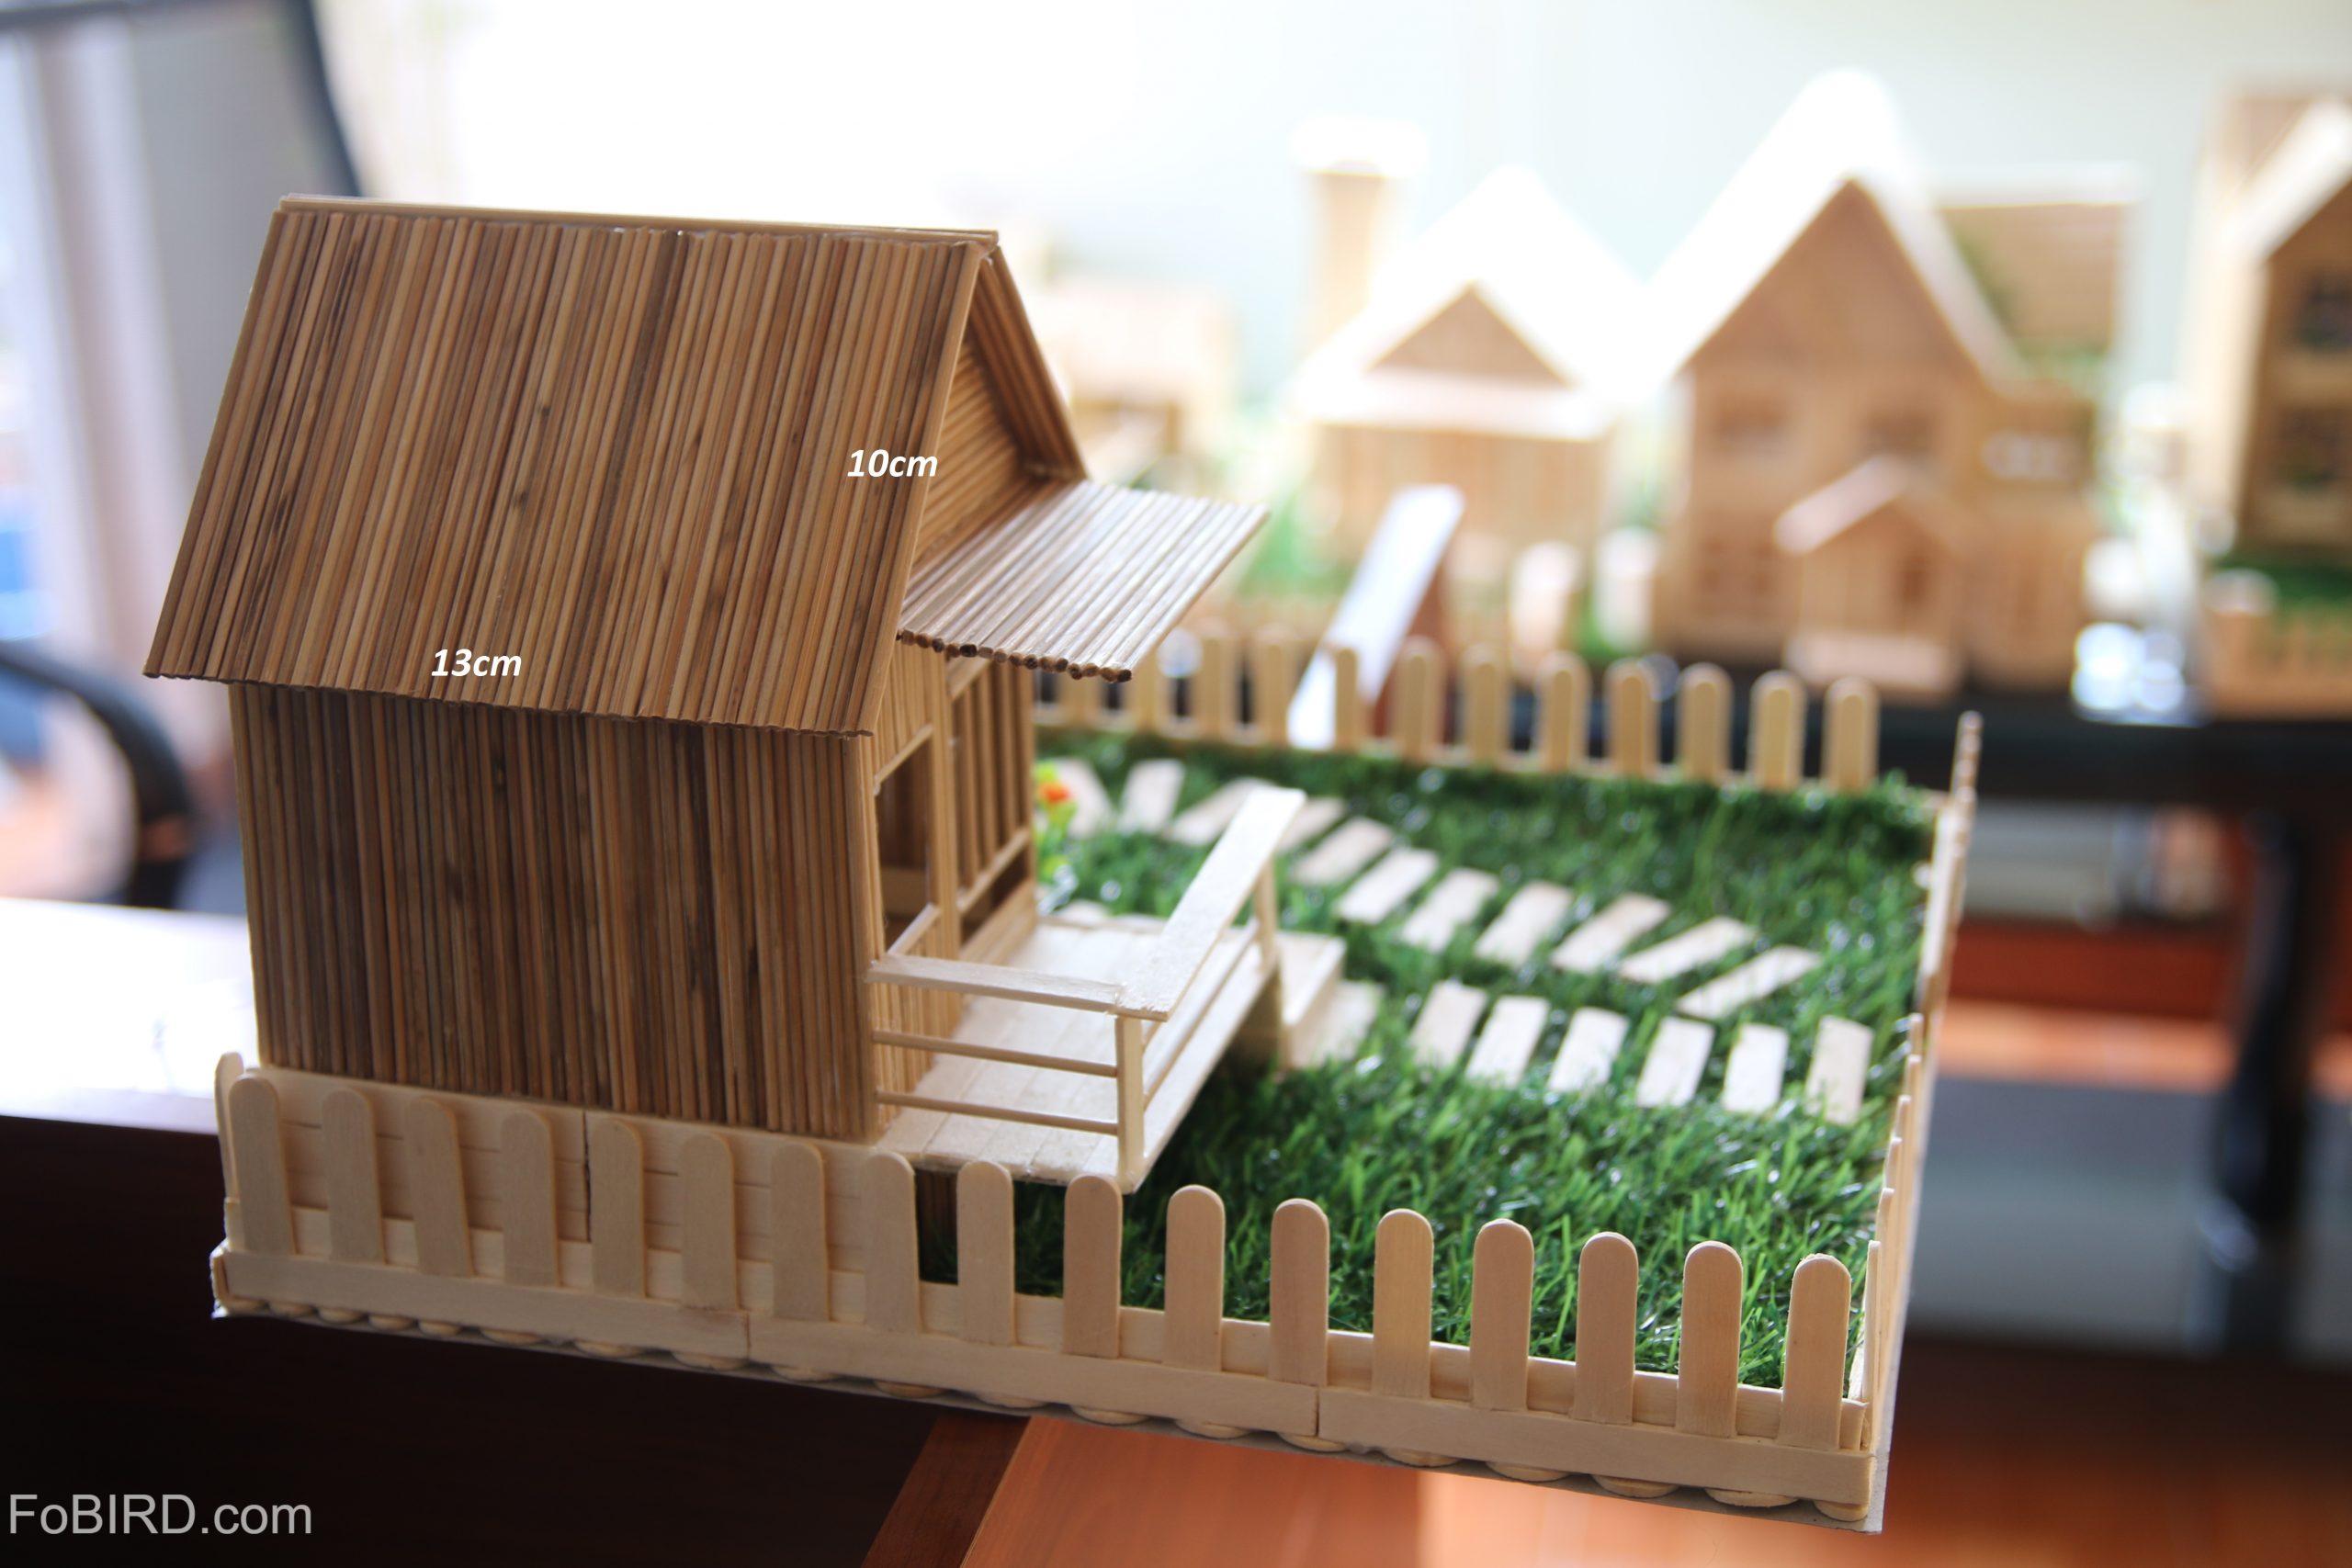
Step 10: For the hallway and staircase, we use icecream sticks and wooden sticks to craft. You can see the measurements in the picture here.

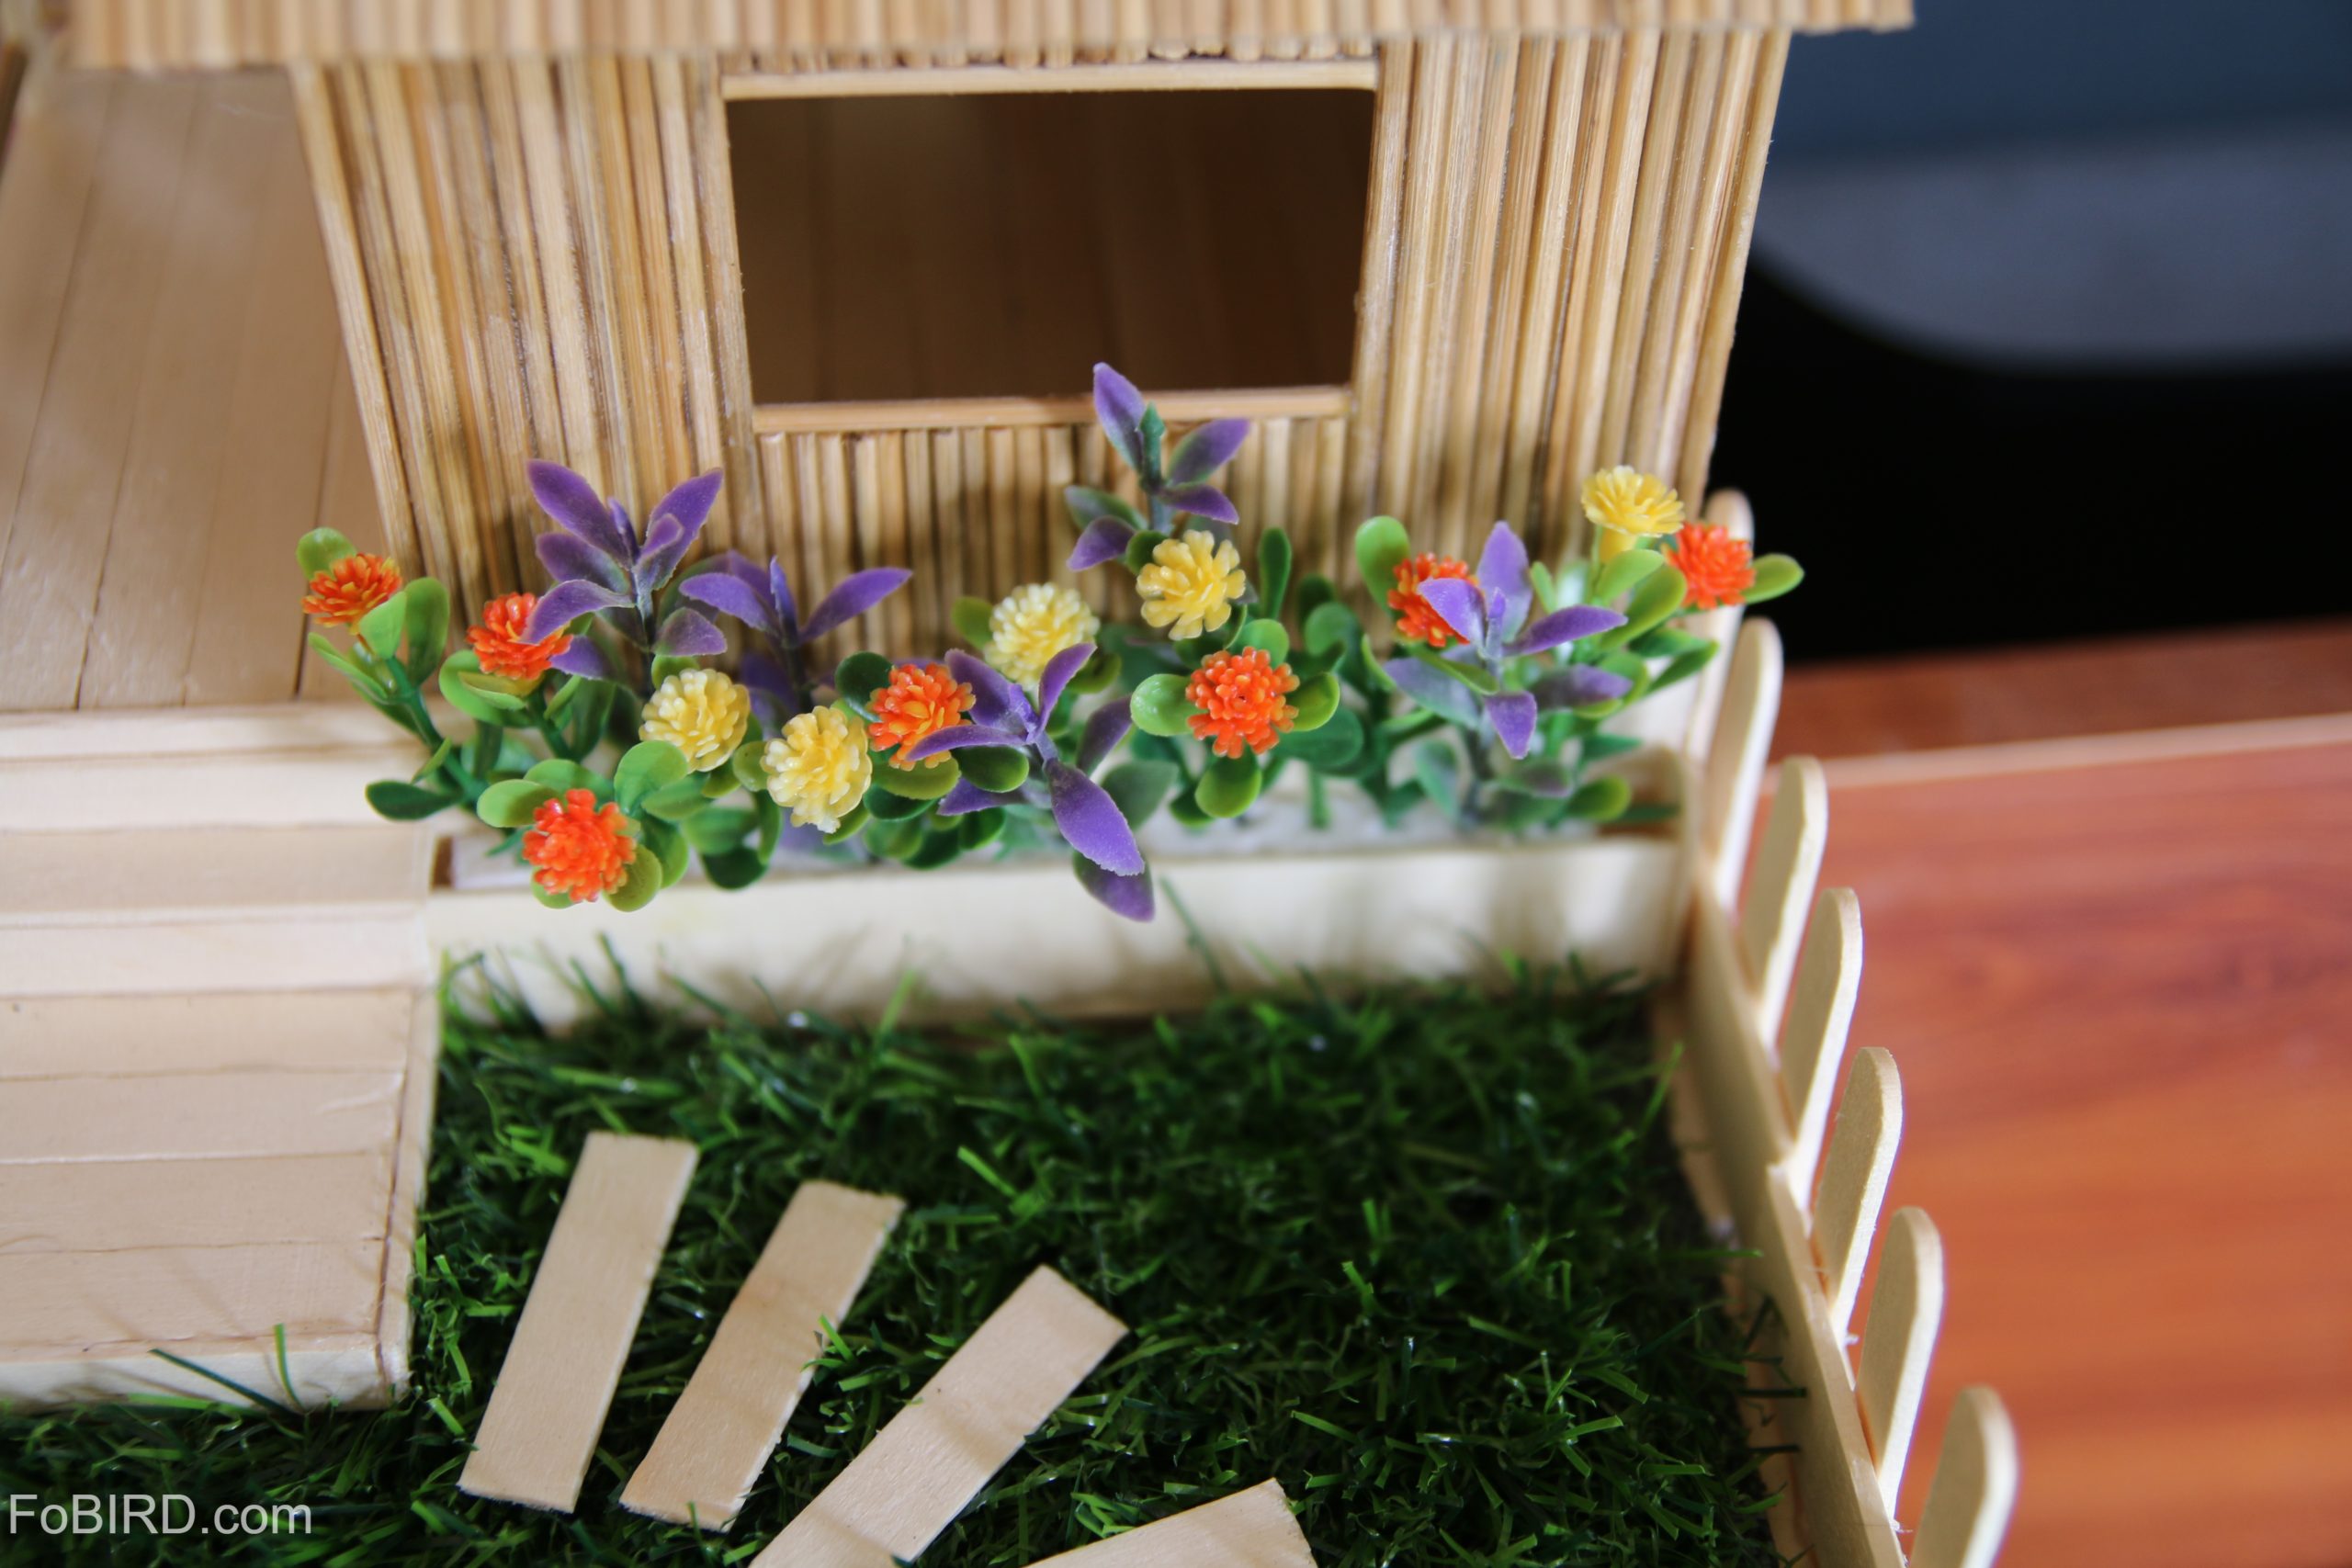
Step 11: Make flower pot
To make a flower pot, you will need icecream sticks. The pot looks great if you put it at the hip of the house. Build a pot of 1 x 10cm then put a piece of sponge in to keep the flowers intact. Choose colorful flowers to avoid a plain look.
Step 12: Craft the fence and decorate the yard
To make the fence, cut icecream sticks in 3.5cm and attach them around the hard cardboard yard. Use glue stick to do this. Then, place the grass piece on top of the yard.
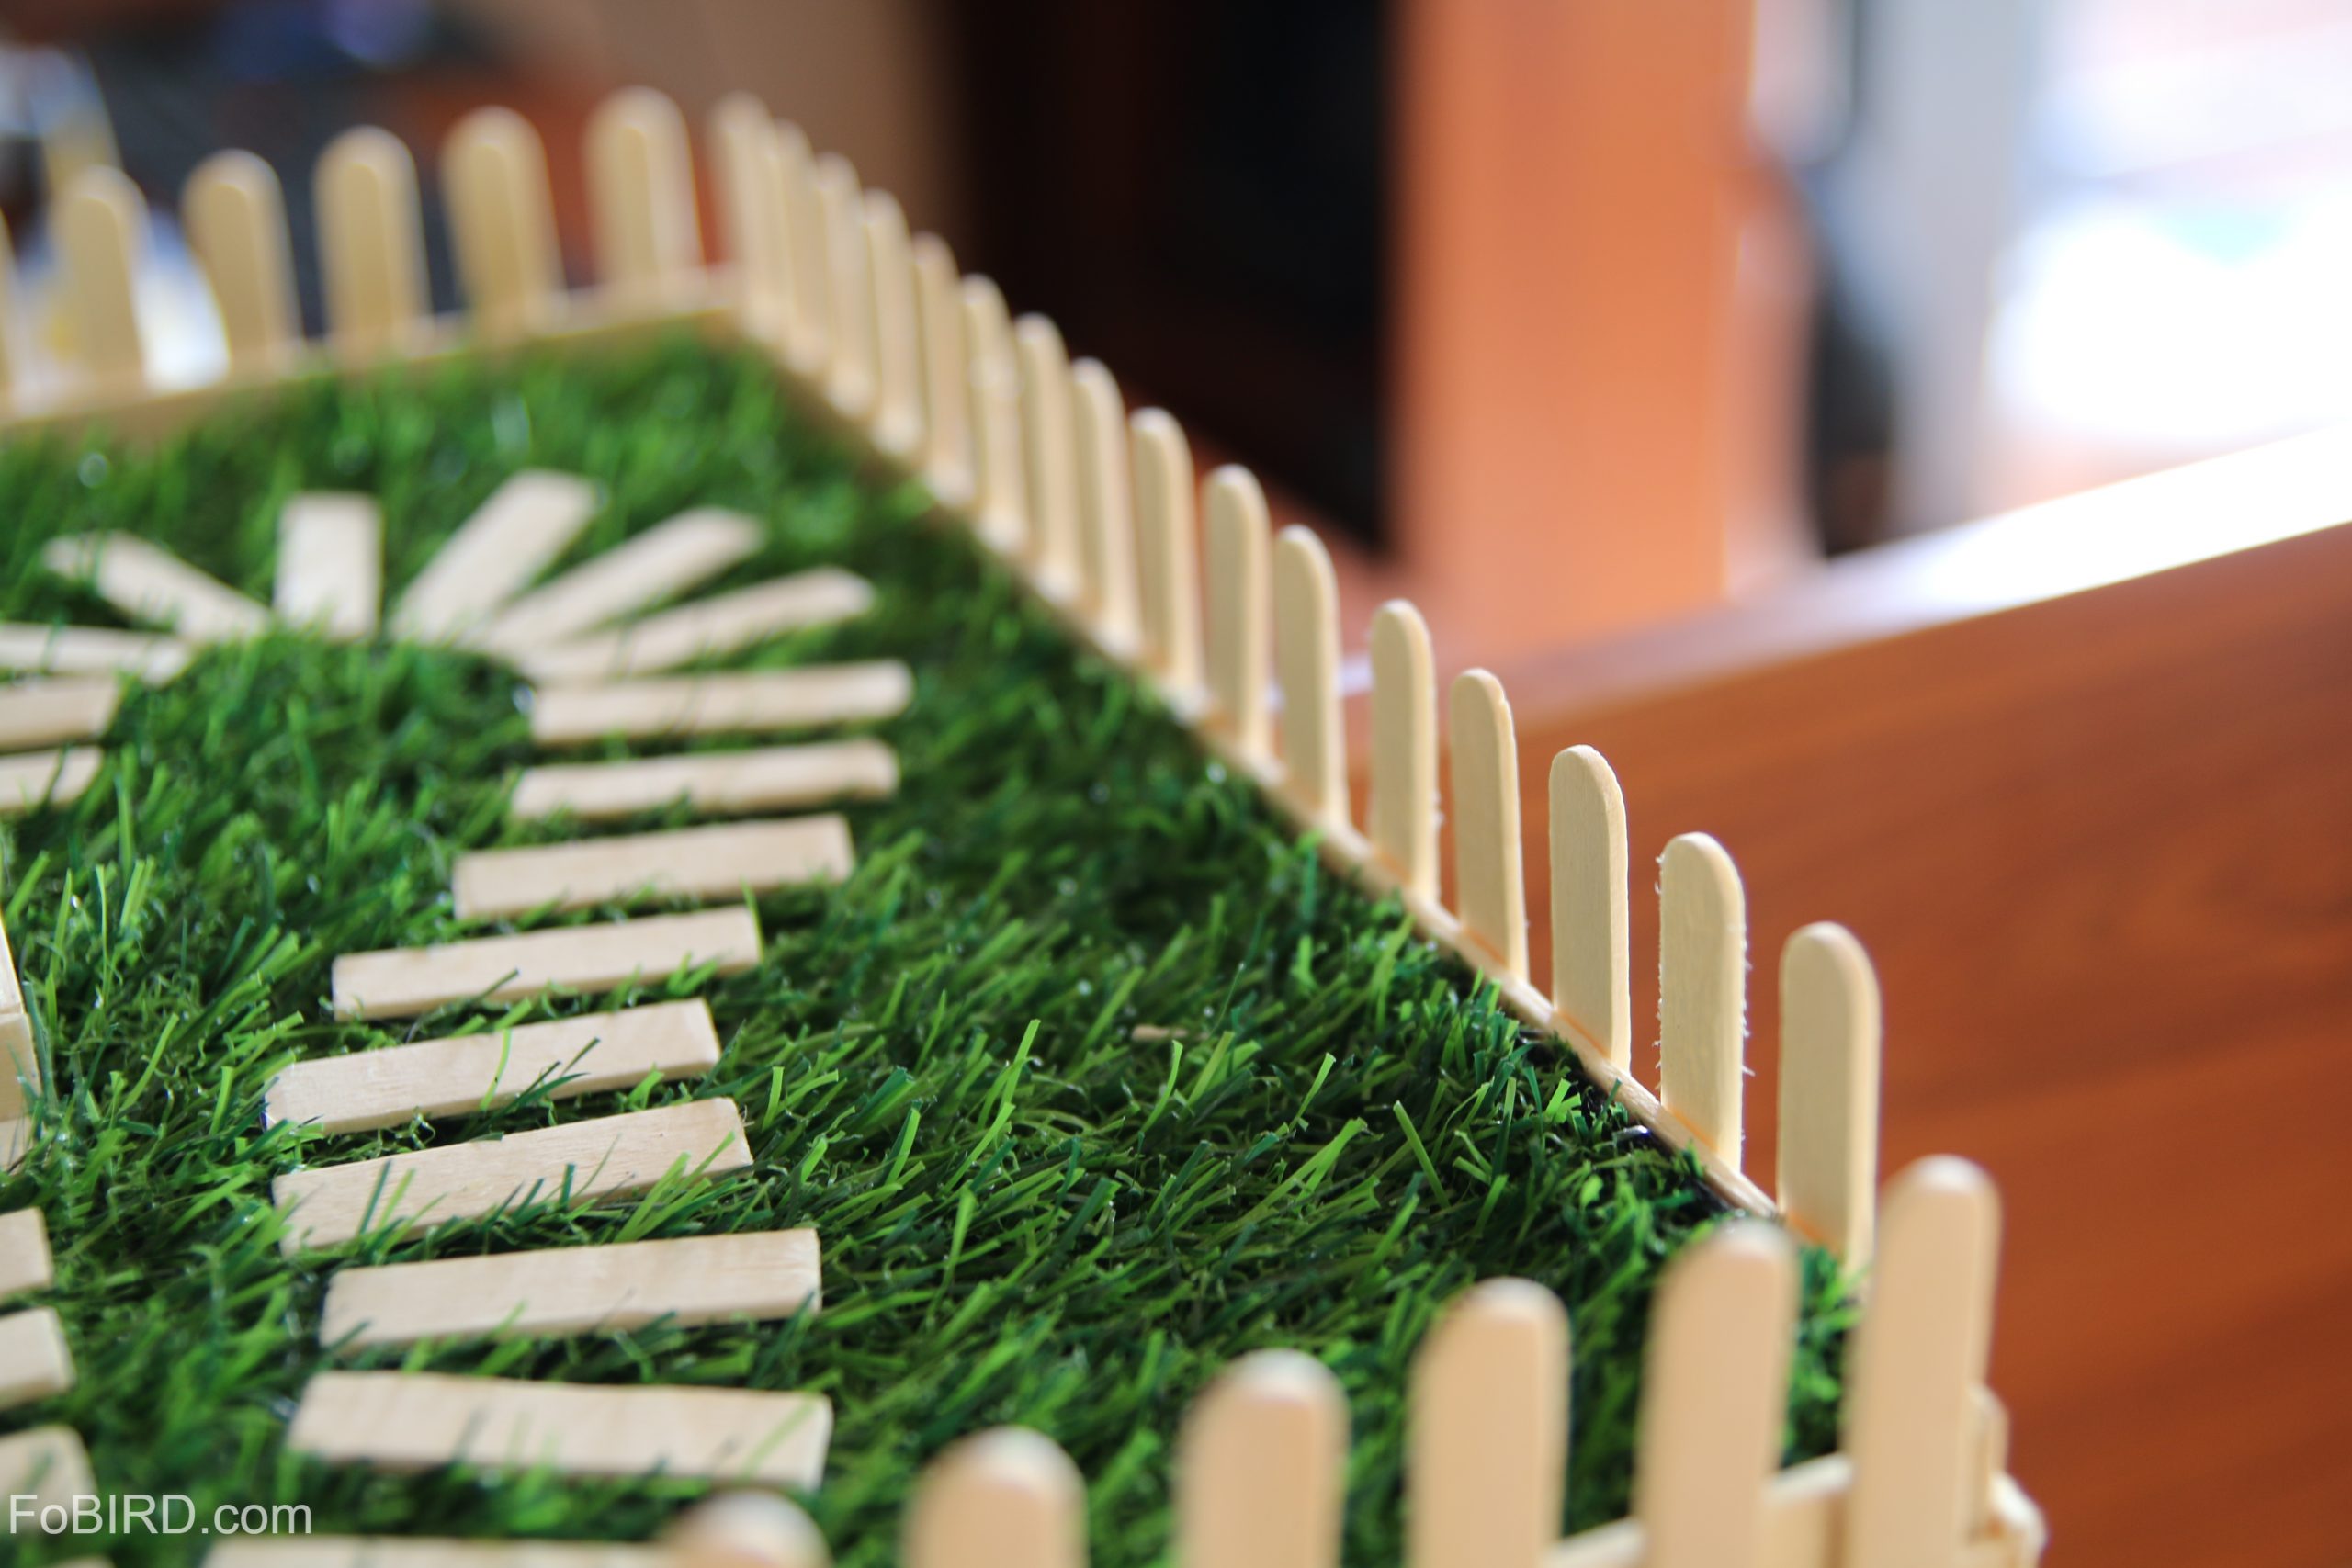
Step 13: Cut icecream sticks in 4.5cm and use glue stick to join them together. Craft the path leading into the house how you like it.
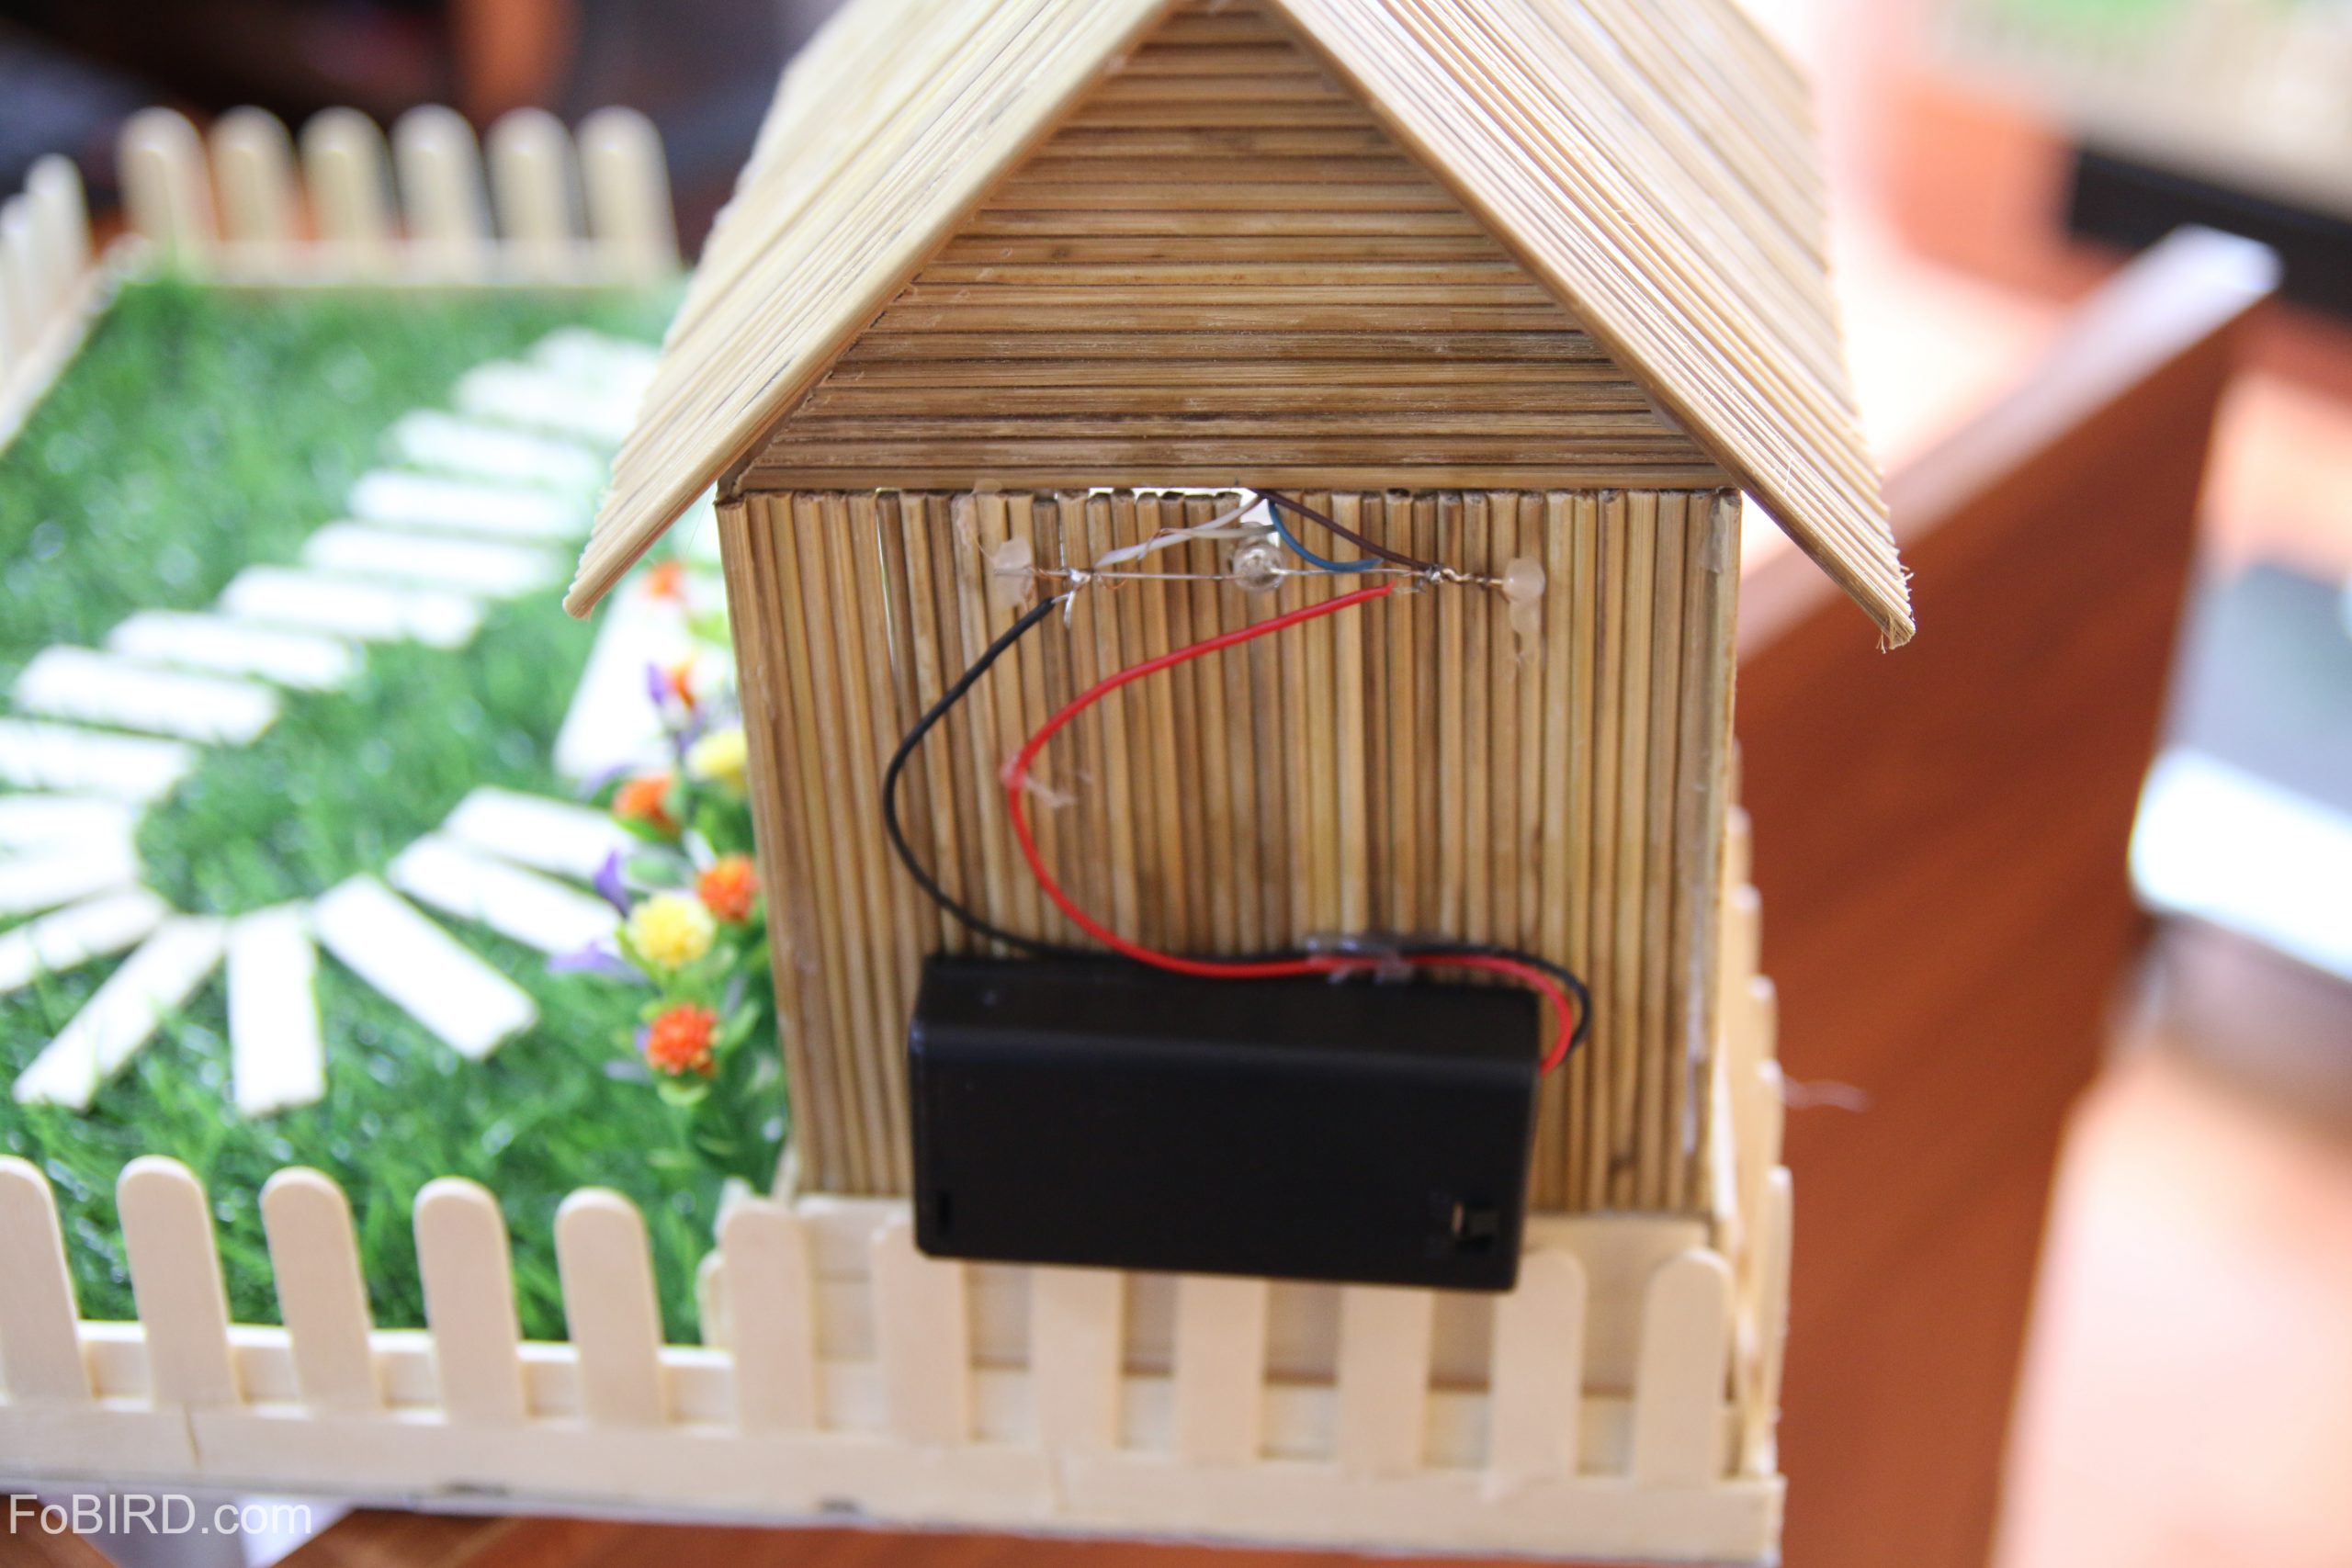
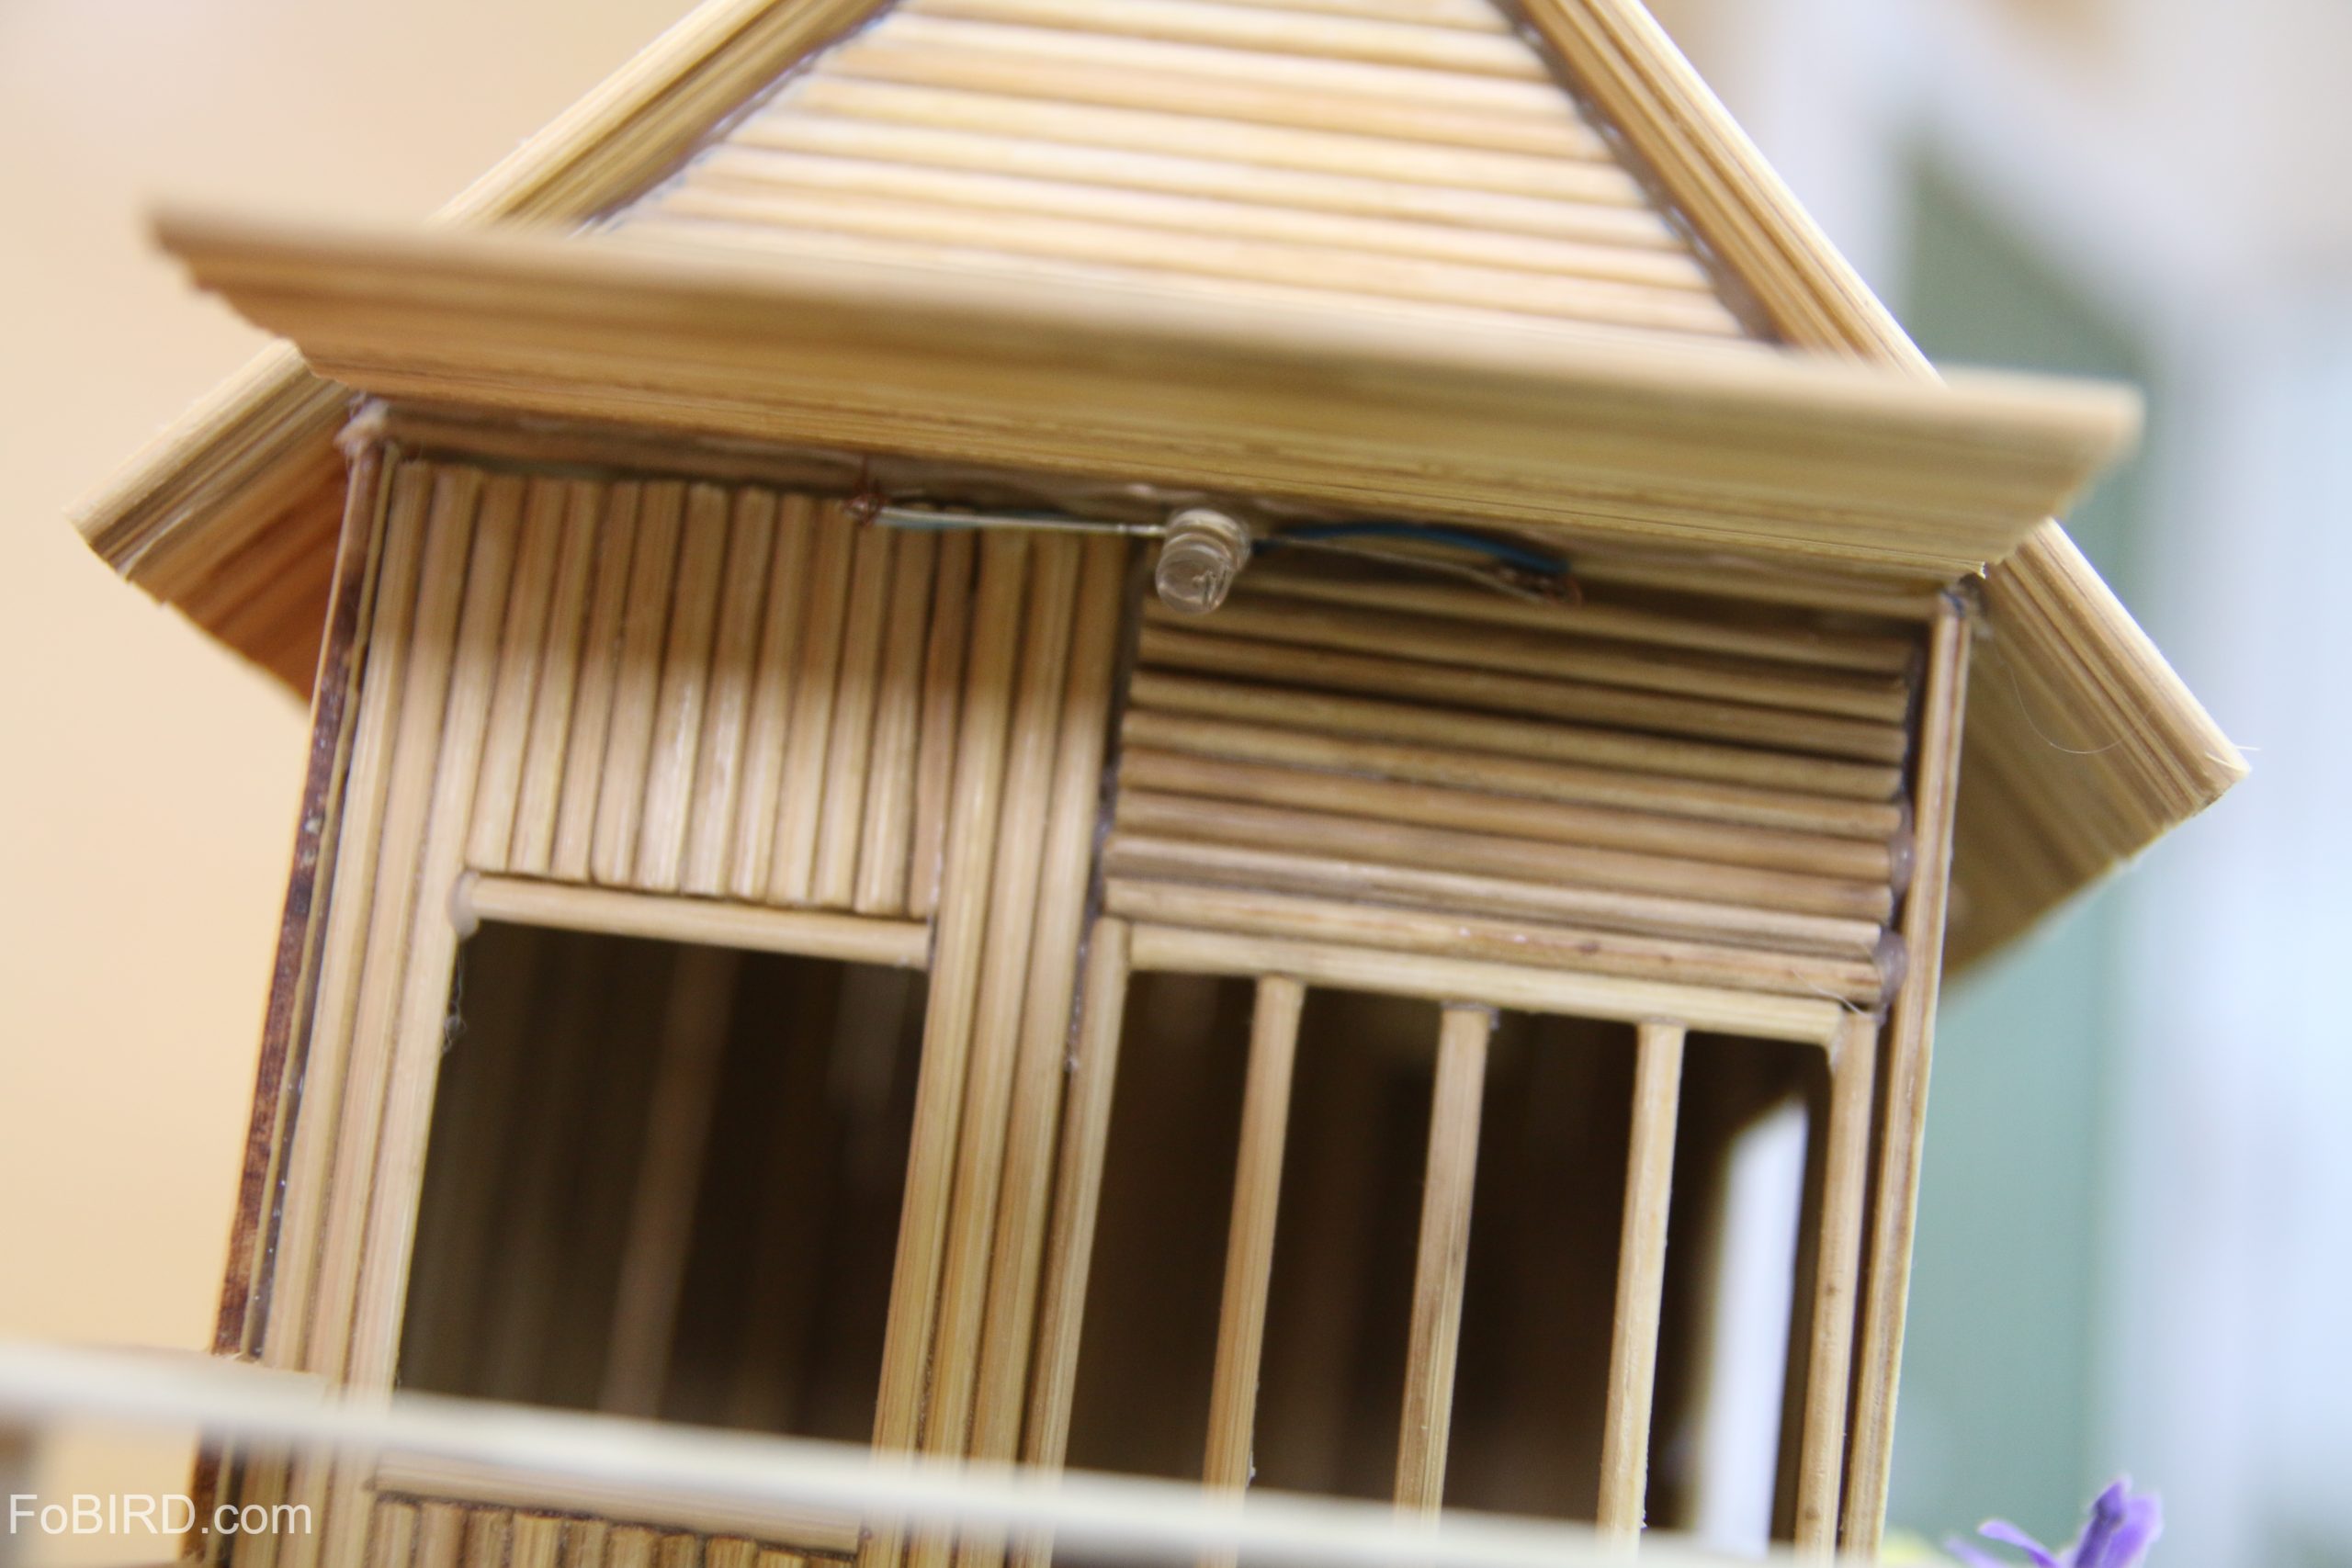
Step 14: Build in Led lights. Here is the map:
The positions where you should have light: on the porch, on the left side of the house and inside the house. Put the battery box at the back of the house for better appearance. Use glue stick to keep it in place. You can use other bulbs to light the yard or anywhere you want to.
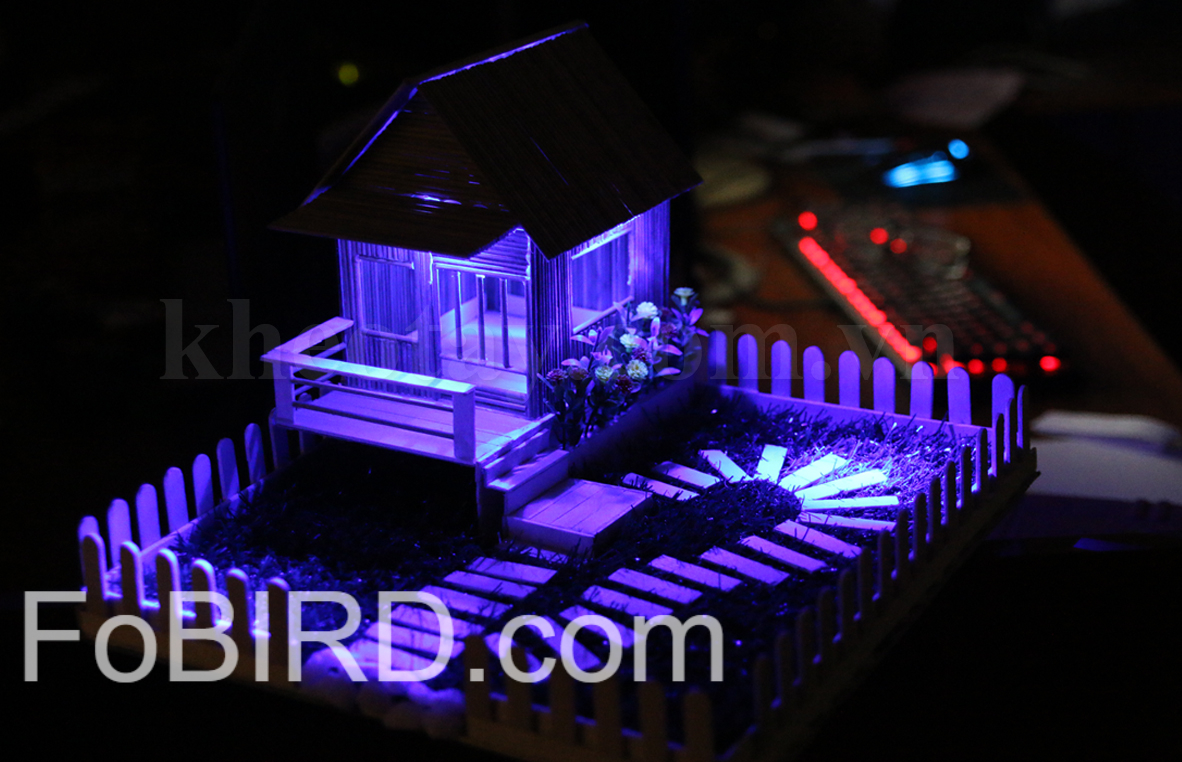
This model was built in 2016. Tbh, every time we look at it, it always makes us emotional since it is one of the firsts. Now, FoBIRD has grown bigger, we have moved to a better office, we substitute materials with better ones, etc. But looking at old photos of our old products never fails to make us feel nostalgistic.
The article ends here, hopefully you have built a cute wooden stick house model for yourselves. Don’t forget to check out other articles about wooden stick houses that we have shared!
By: FoBIRD.com

Miniature house Kit – The new Wooden sticks Mansion
Original price was: USD121.20.USD119.00Current price is: USD119.00.
- Including all meterials for build this model
- Item can be shipped within U.S, EU, worlwide
- Included with the drawing
- Ships from and sold by FoBIRD.com