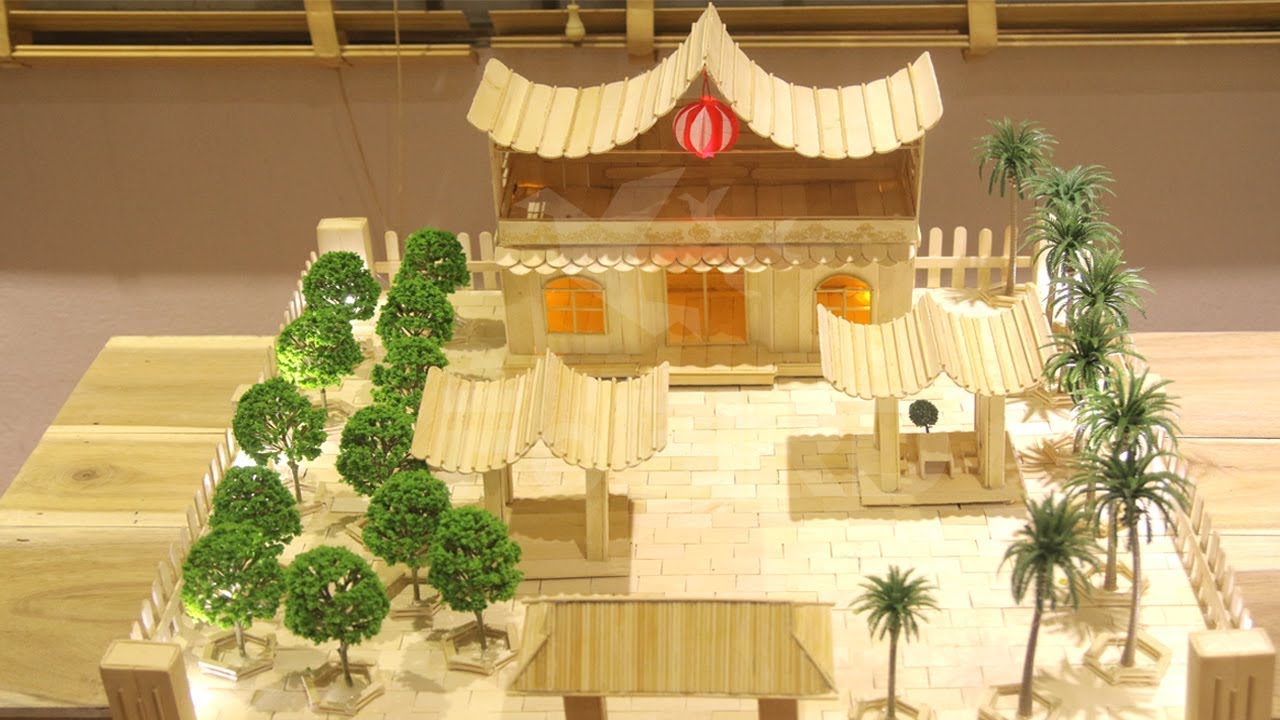
Handmade, Popsicle Stick House
Building popsicle stick Pagoda with tree and LED light
There are pretty a few popsicle sticks house, anyway, the models are generally made accessible without specific instructions. In this page, FoBird will guide you how to make house with Popsicle sticks with architectural motivation from the court. Hopefully after this page, you will be capable to make yourself wonderful models to show or offer gifts to loved ones.
Materials required
- Candle sticker and glue gun
- Popsicle stick scissors
- Cover pattern for yard and flooring work. The floor needs two sheets, one sheet for the primary floor and one sheet for the second floor, each plate is approximately 30*40cm. Also create a yard 60 * 60cm, or two panels 30*40cm also be.
- To furnish, we need more LED, battery box to energy the LED.
- Decorate plants have a lot of templates for you to pick, depending on your preference.
Steps to do
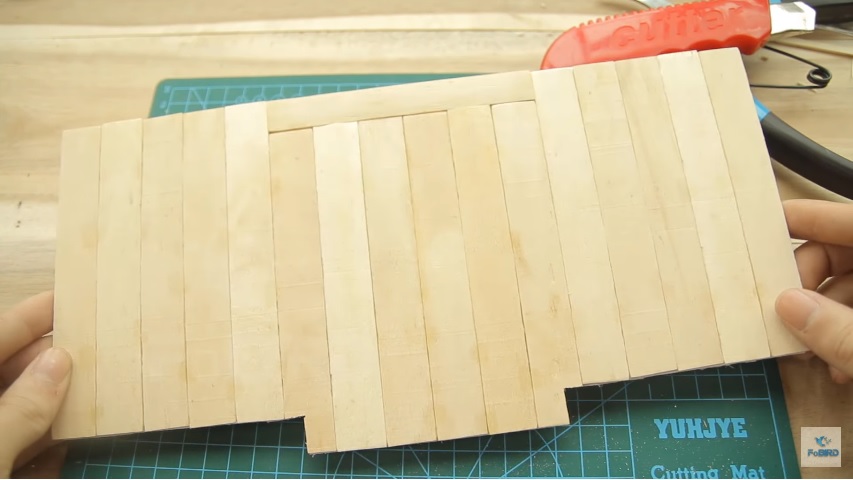
Step 1: Cut the peak of the popsicle stick 2*15.0 to get a rectangular bar. Then sealed on the area made from the model cover.
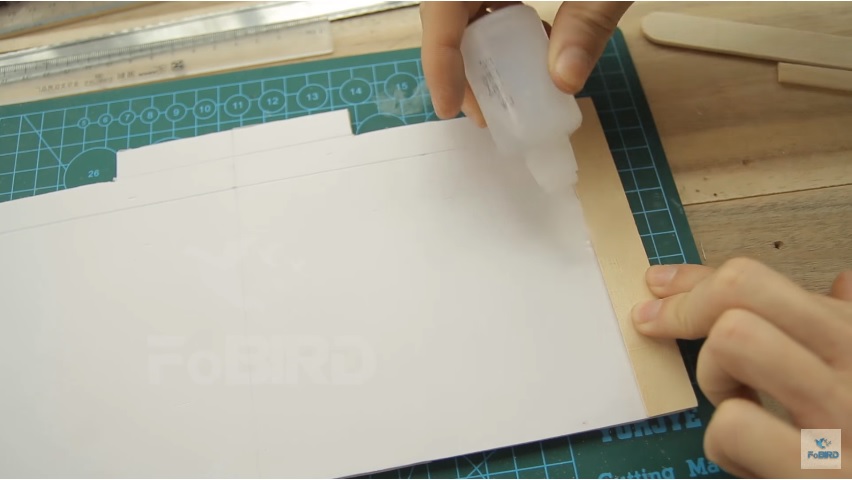
After we have done, we have a floor like this: (the floor is approximately 32cm in length, approximately 12cm in width).
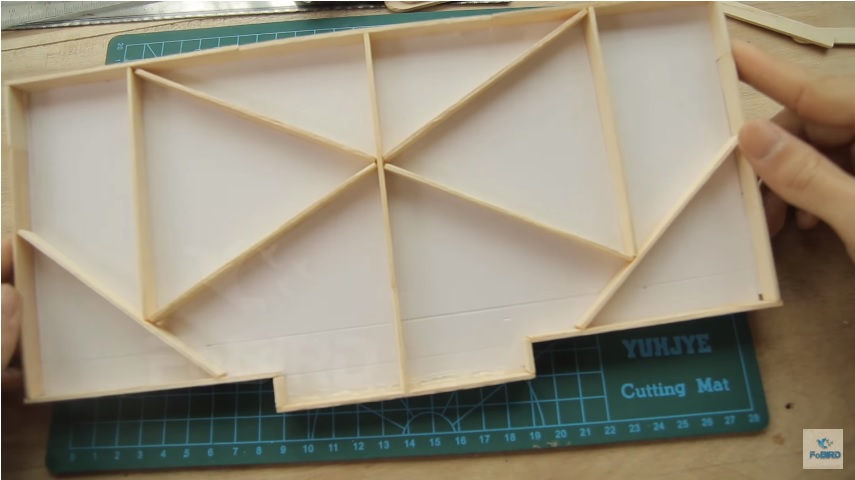
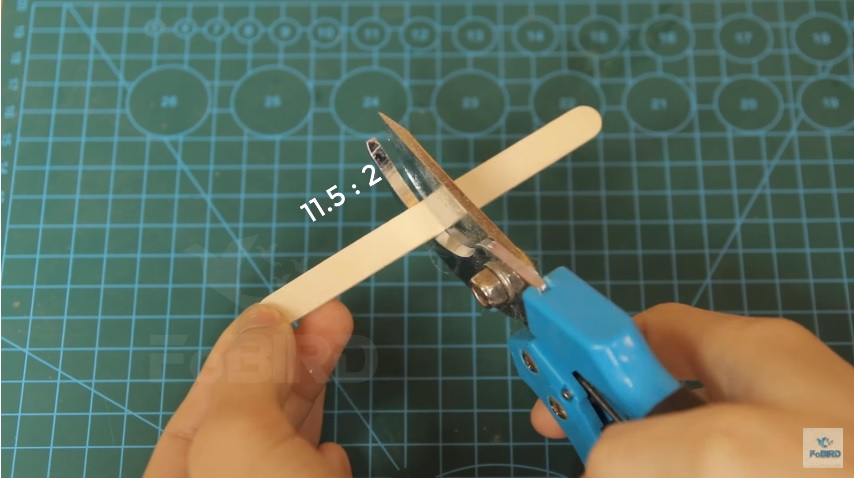
Step 2: Cut the 2 ends of the rod 1*15.5 to obtain the rectangular bar. Then reverse the floor in step one and link the 1*11.5 rods to get a solid floor frame.
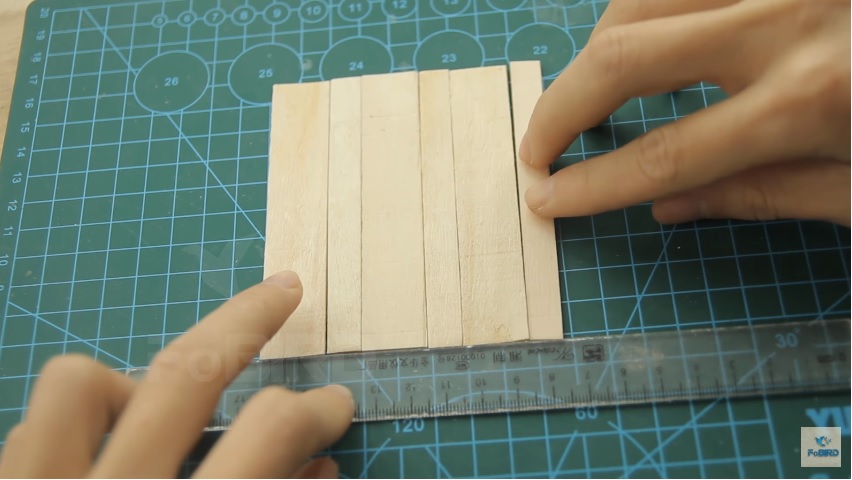
Step 3: Apply a mixture of rod 2 *15.0 and road 1*11.5 to make a wall. Linked with this look the wall will look stunning. This wall is approximately 10cm wide, approximately 12cm in length.
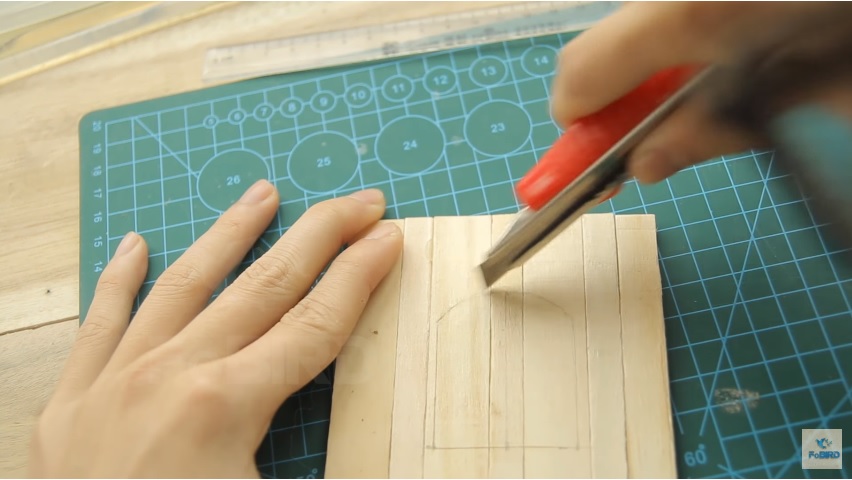
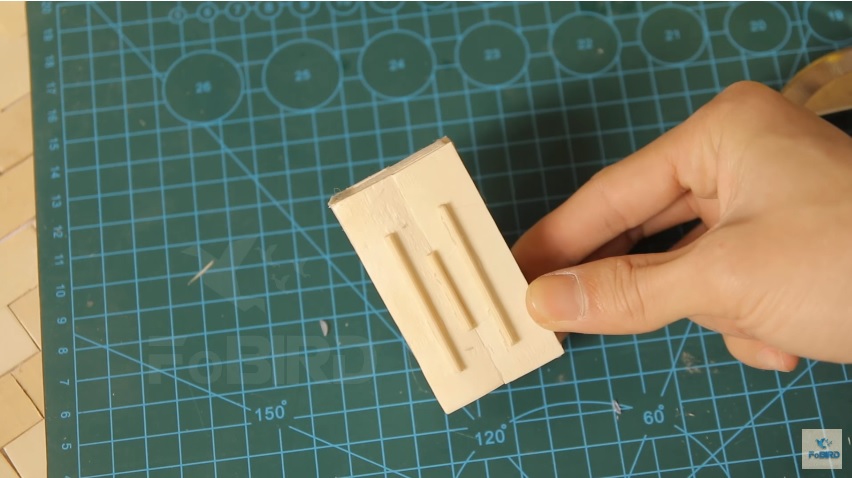
Step 4: Applying a pencil draw a window box on the wall. Then use a knife to slice the window perfect.
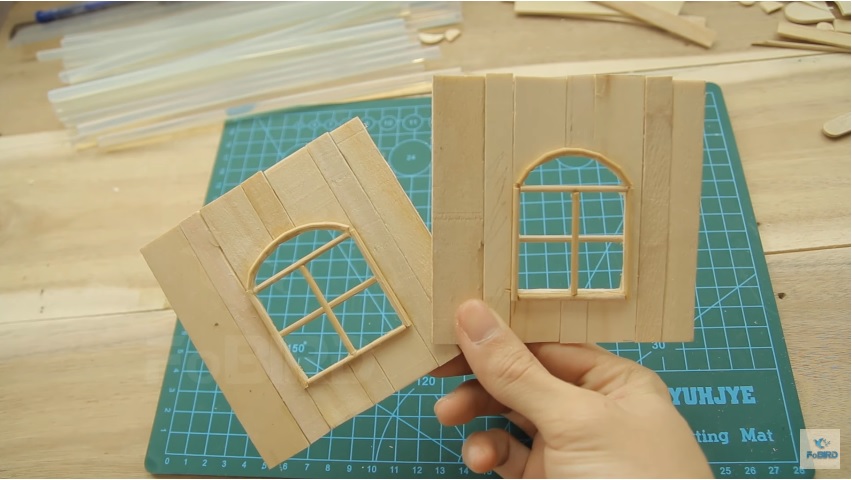
After cutting, we use the toothpick to cut the meat, cut into little pieces to link to the window frame, making the edge of the window. We need 2 panels with windows like this:
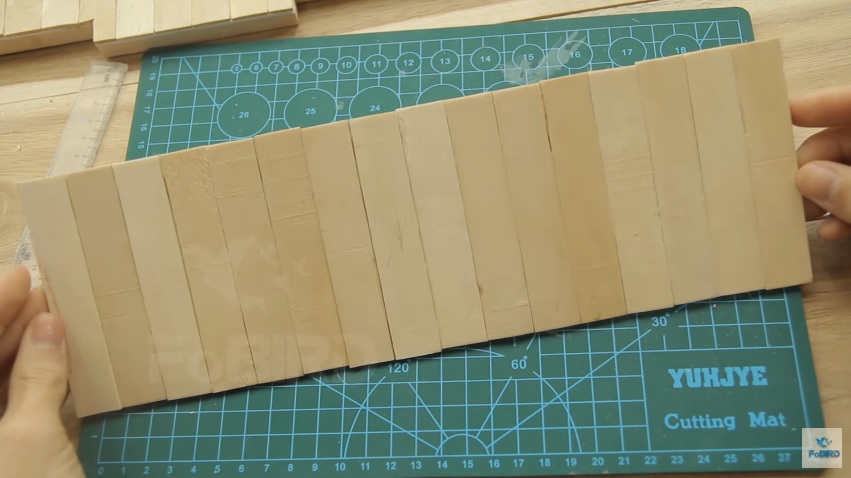
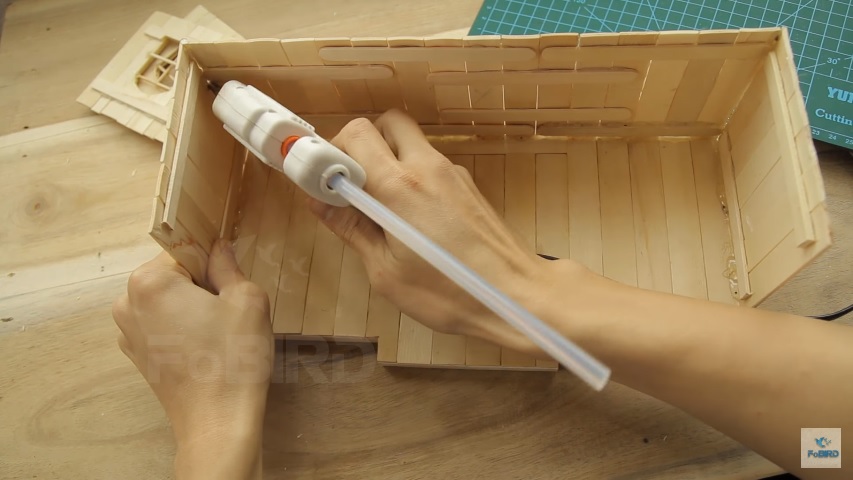
Step 5: Link rectangular rods 2 *150 to create the wall behind the home. Because it is the back, so it does not need to be perfect, I stick with all the 2 *15. Rods.
Step 6: Once you have made ample sheets, you can link them around the floor in step one to become the primary floor.
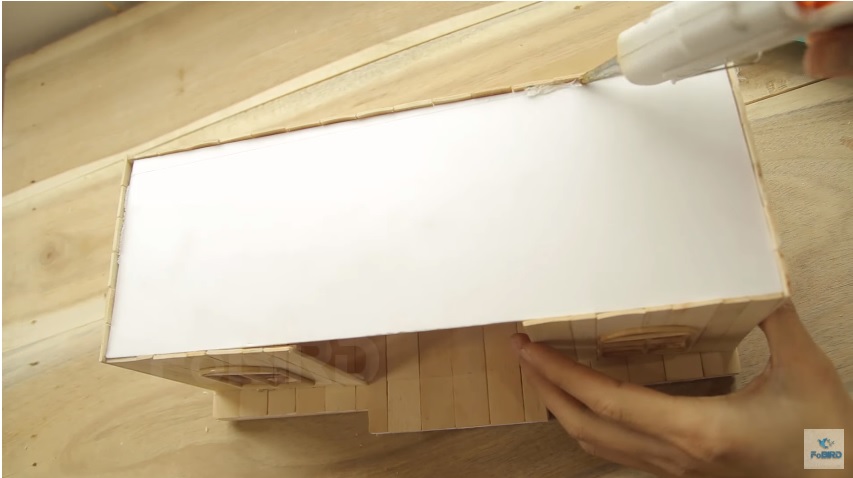
Step 7: link a rectangular board on the primary floor to create a floor for the second floor.
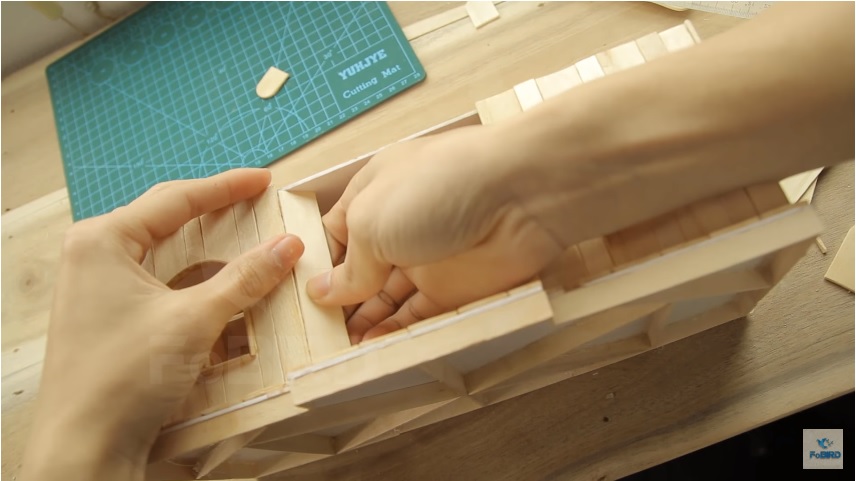
Step 8: Link the door to the first floor door. When this door is linked, use 2 *15.0 to sticks to cut the 2 ends. I link a zig-zag, this is the visual of each person. You can link as you like or model before.
Step 9: Similar to above steps, we link the surrounding walls to create the 2nd floor for the home.
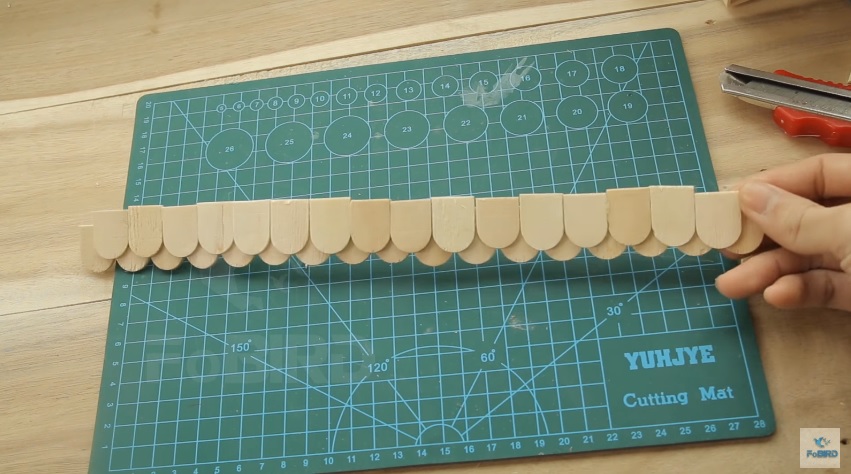
Step 10: Make use the of the circular shapes heads from step one to make a porch for first floor.
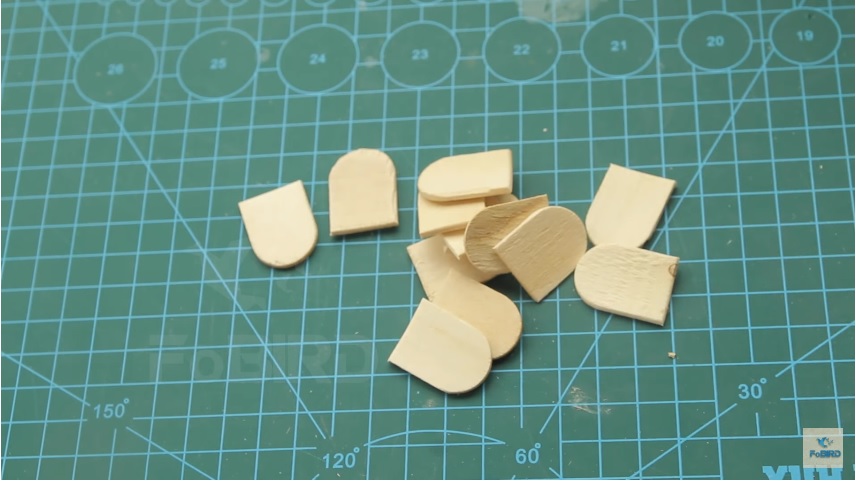
The rounds heads are tied combine like this:
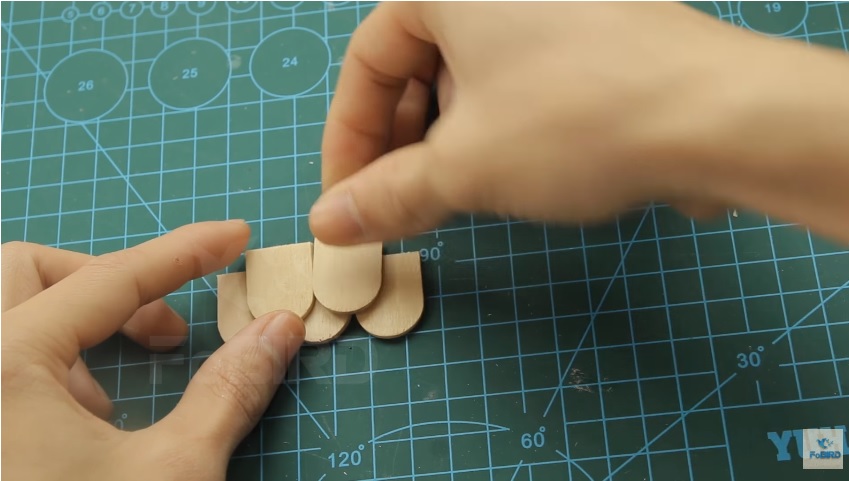
And this is the porch
Step 11: Link the porch to the front of the first floor
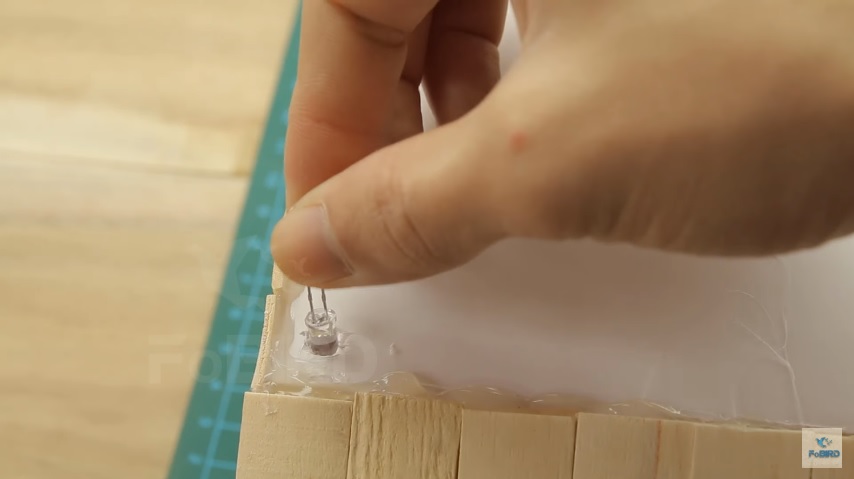
Step 12: use a scissors to punch the 4 holes in the four corners of the model, then link the LEDs
LEDs themselves are excellent LED, diameter 5mm, so the hole must also have the range of diameter.
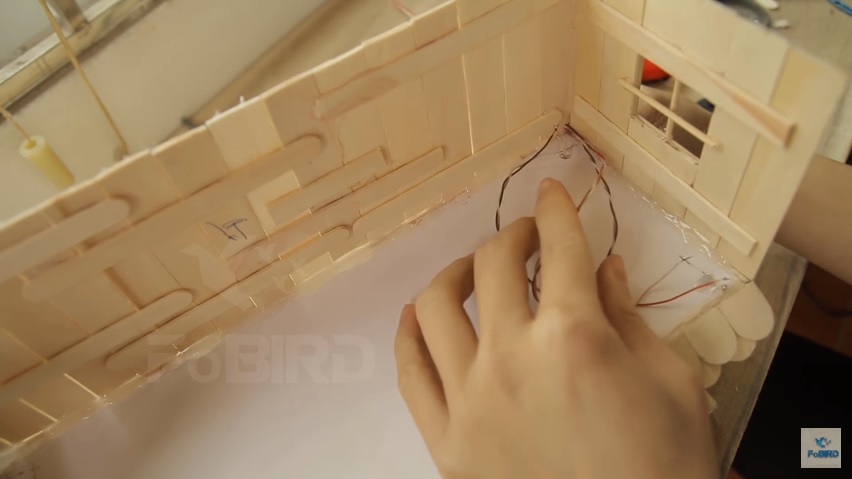
Step 13: After linking the LEDs, we will wire and wire in the power box for the LED. Wandering around and have a tutorial, you can view here.
In general, how to obtain all the models are the same page that led to the link. The just difference is the long, little wires are different to bring the LED to the right position. A battery box can be used for ten LEDs in the way that they guide. In this model, we use approximately twenty LEDs, so we will use 2 handmade batteries. One box for the indoor ball system, the other for the ballroom system.
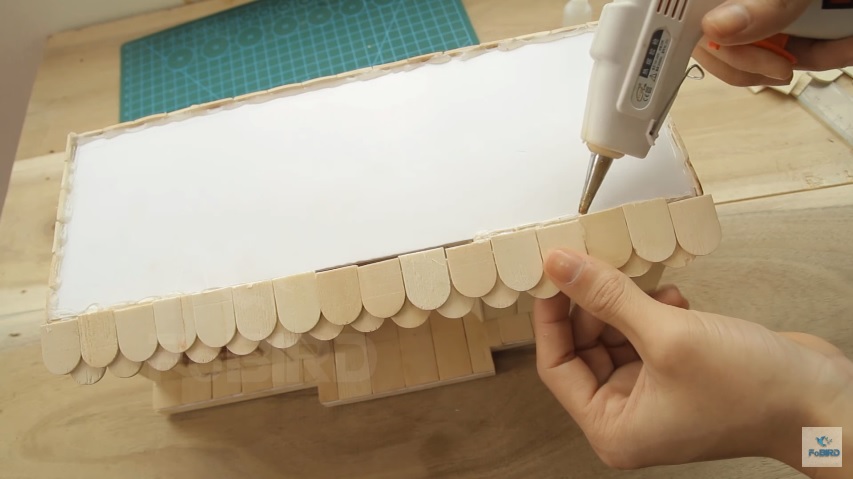
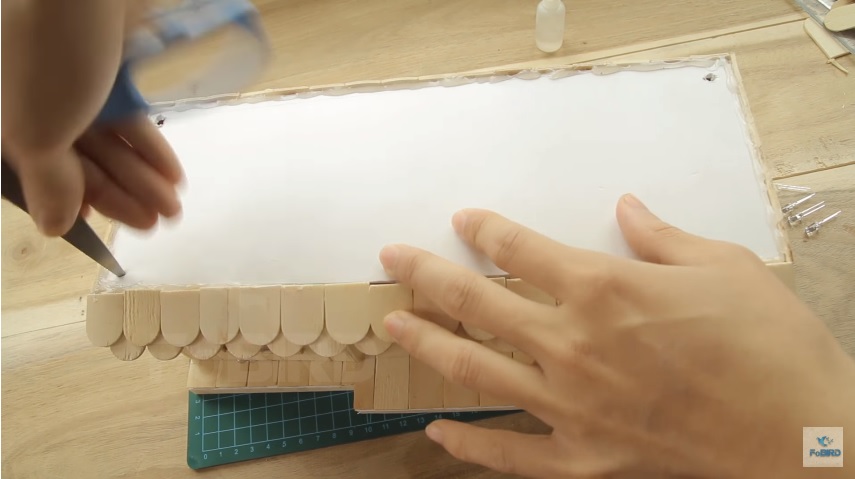
Step 14: Apply the glue stick 2*15.0 bar into the arc
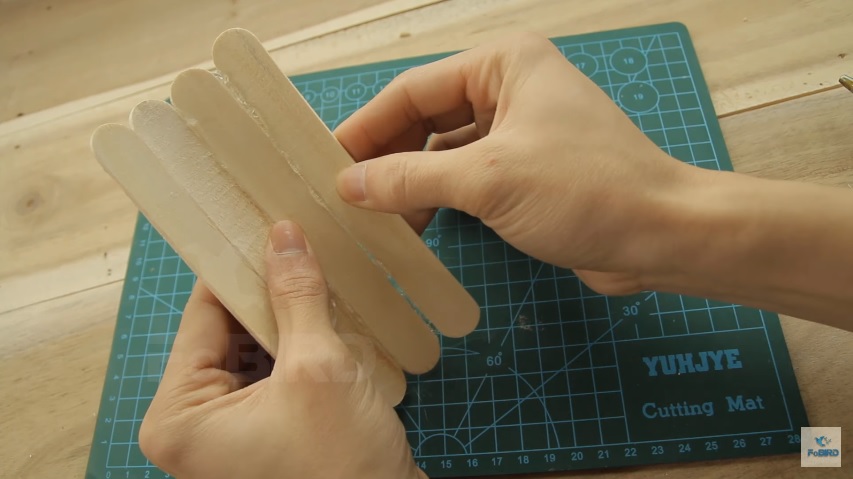
The pair of roofs on the roof is a full roof. Then link them to the second floor
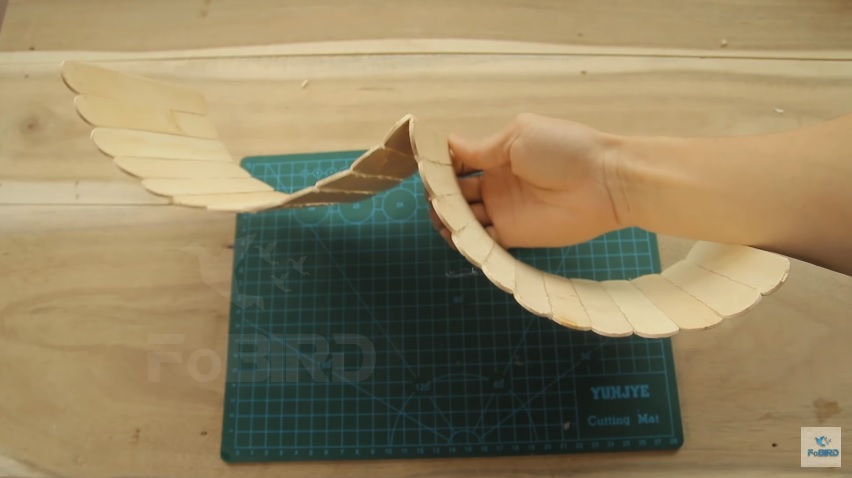
Step 15: Now we use a spatula cut with 2 pointed ends, then link it to the center of the glue to cover the glue, and also create the roof more wonderfully seen.
Step 16: Design this home is blank in front of the second floor. This will make the area of the 2nd floor more open. So, you should make furniture or something to decrease the area inside. Here, I use an ice popsicle sticks were engraved shape to decorate, supporting the 2nd floor of the house less empty. It is simple to stick this stick, and when you purchase the ice popsicle stick you will be given a plus stick if required.
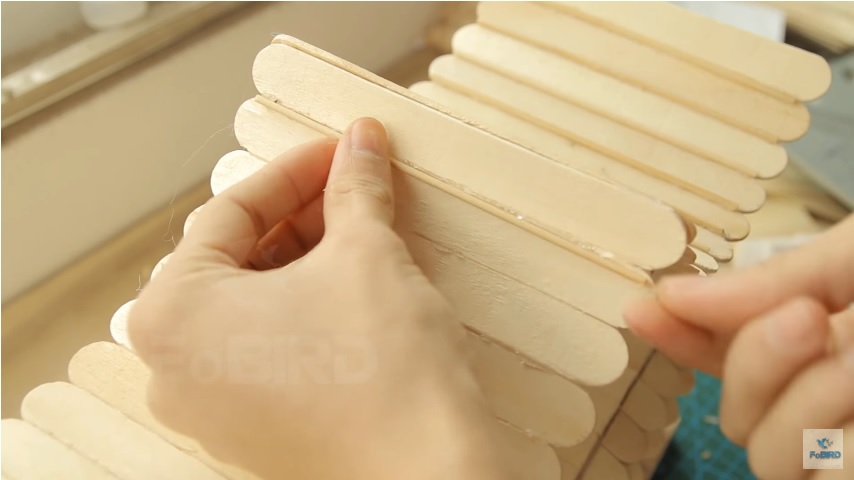
Step 17: Cut the bar 2*15.0 into rectangular parts of 3cm in length.
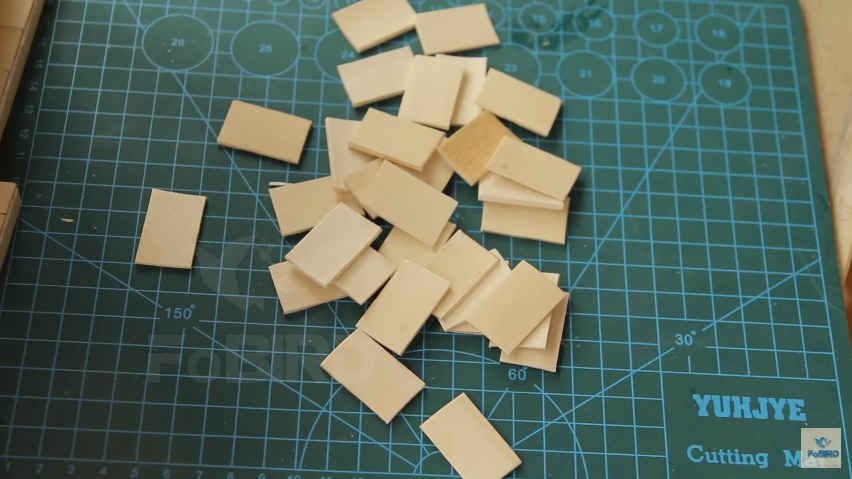
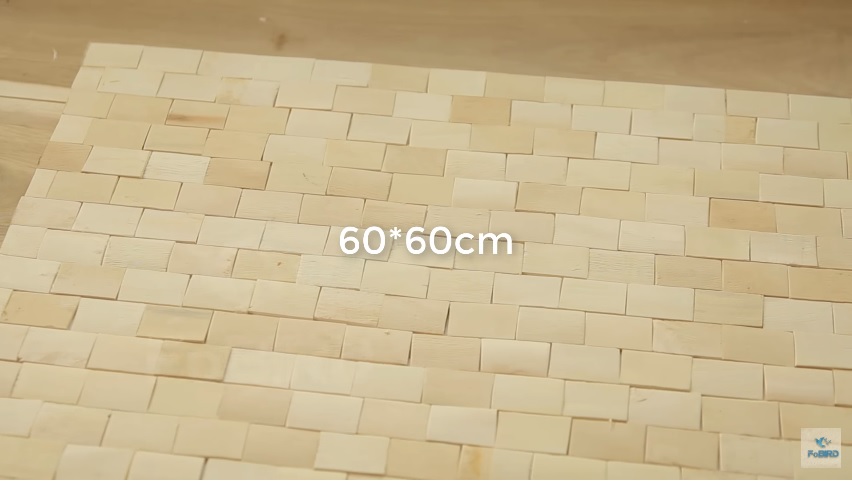
Put the parts back to create a brick yard
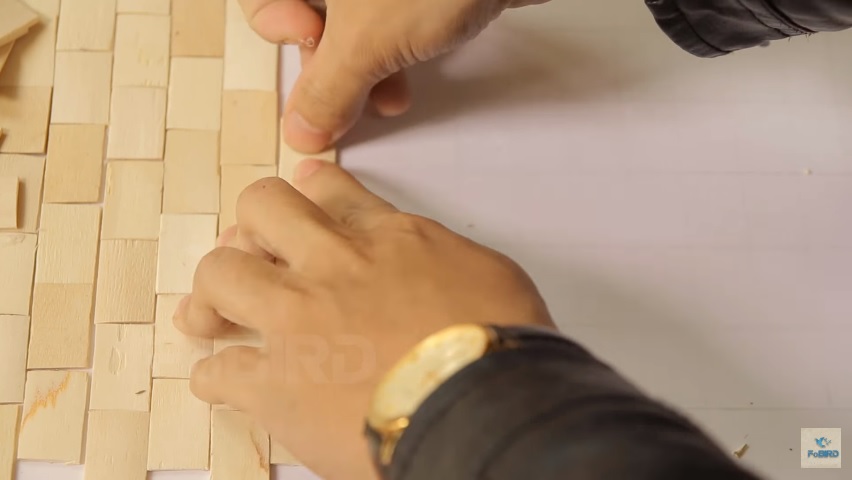
The court yard is broad, here boldly made 60*60cm brick yard.
Step 18: Use a 2*15 bar to create a fence, a pretty bit will be around the yard. This head is 2cm broad, 8cm high, 4cm long. On the fence posts use a meat skewer cut into three little bars and add up.
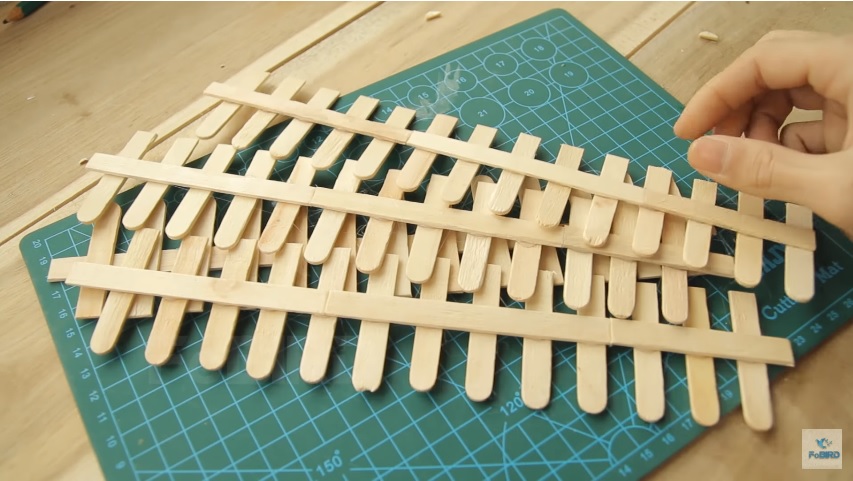
Step 19: Slice the bars 1*11.5cm
Link them to other long bars to make a fence and link the fence around the yard.
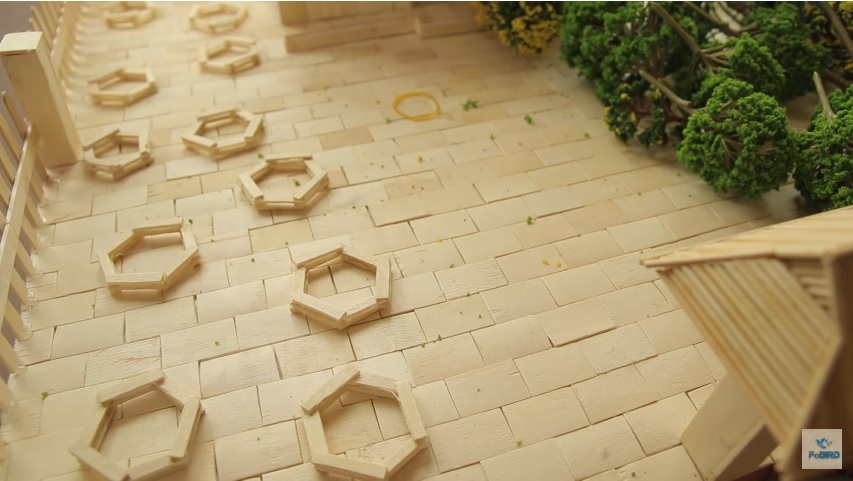
Step 20: Cut the bar 1 *11.5 into a bar approximately 2cm in size. Then slice the 2cm bar to obtain a bar width of 0.5cm and 2cm long. Link the bars to a hexagonal tank. Notice the 2 floors to the flower is charming.
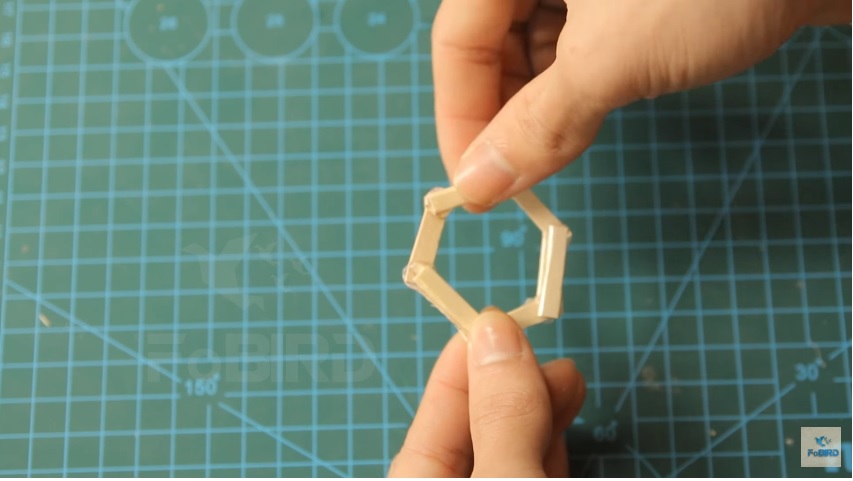
Once done, link the flower baskets to the yard
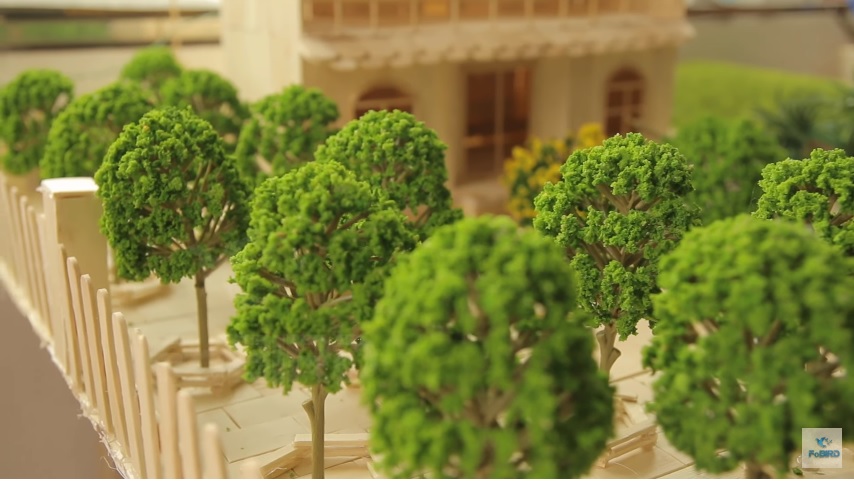
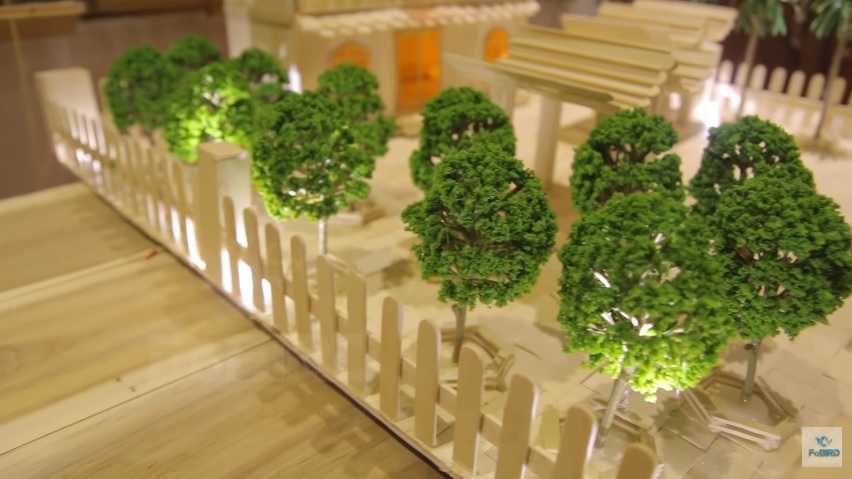
Now link the old green tree to the tank
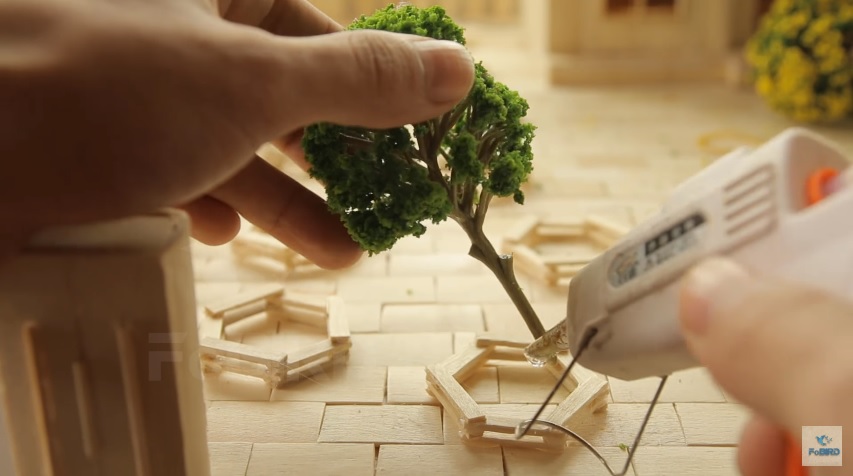
Old trees look extremely natural and wonderful. Once you have planted all the trees, you will view a different scene.
Step 21: Now link to the scene. The scene will remind you of the ancient specs that you will generally encounter in the temple or yard grounds.
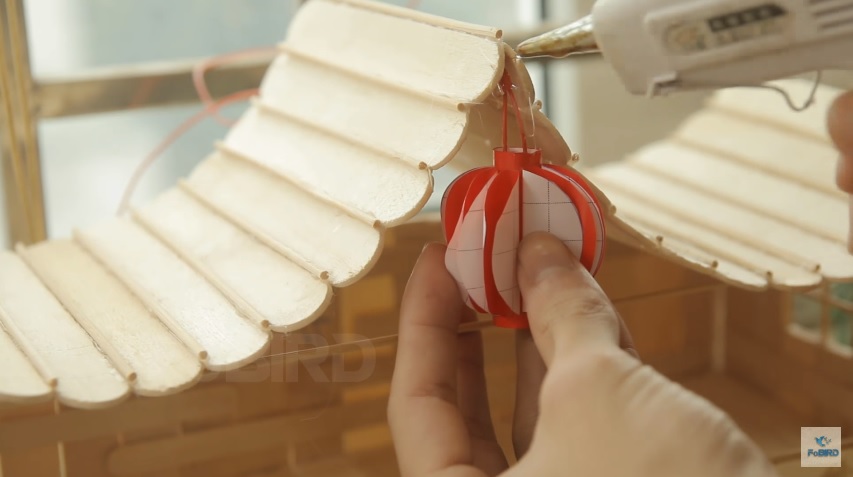
Step 22: Build up the lanterns on the roof. This lantern is pretty simple to do, look at the image you will do. Materials for creating lanterns are red handmade paper. In his lantern a red LED is linked to the power of the battery box in the home. The power of the yard to separate out.
Step 23: Energy in your yard arrange them in the four midpoints and corners of the 4 fences. That means at least eight balls. These balls will direct the head to the closest tree, in order to make a light effect on the tree when the ball is turned.
The shade on the tree will look this: (This image is not fully turned off the lights in the room, so it does not stand out). When turning off all the power in the room, the effect will be extremely best.
https://www.youtube.com/watch?v=YyVonRU38oI
By: FoBIRD.com