Popsicle Stick House
How to Make a Popsicle Stick House – Step by Step for Beginners
Hello everyone! 👋
FoBIRD is finally back after a short break! In this article, we’ll walk you through how to build a stunning architectural house model out of popsicle sticks — with detailed step-by-step instructions. Get ready to unleash your creativity with FoBIRD as we introduce our newest miniature house design!
Materials You’ll Need:
– Popsicle sticks (1 x 11.5 cm)
– Transparent mica sheets (for windows)
– Printed layout or sketch of the house
– Superglue
– Miniature tree pots
– Decorative grass or greensward
– Pruning shears (to cut sticks)
– Craft knife (cutter)
– Tweezers
– Sandpaper (optional)
Instruction to make a popsicle stick house for beginners
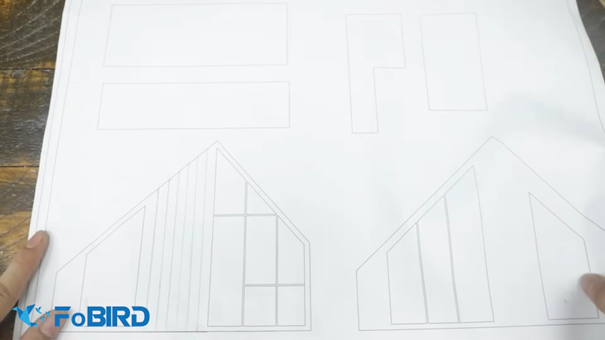
- Draw a Detailed Sketch
Create a blueprint of your house. You can draw it by hand or use design software like AutoCAD for precise measurements.
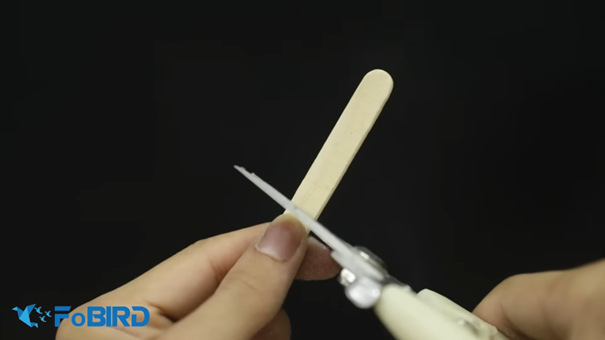
- Prepare the Popsicle Sticks
Use pruning shears to cut off the rounded ends of the popsicle sticks, then cut them in half.
Tips for smooth cutting:
Mark the desired length before cutting.
Hold the shears firmly and cut straight down at a 90° angle.
Sand the edges to avoid splinters and get a cleaner finish.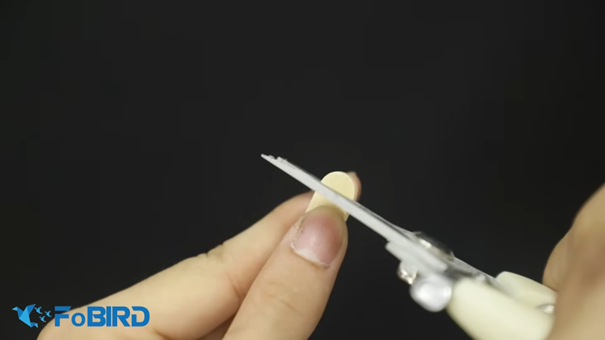
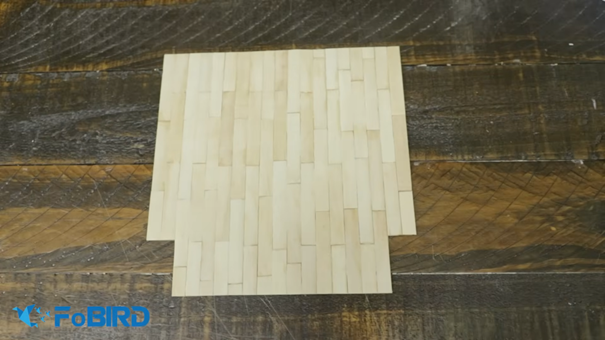
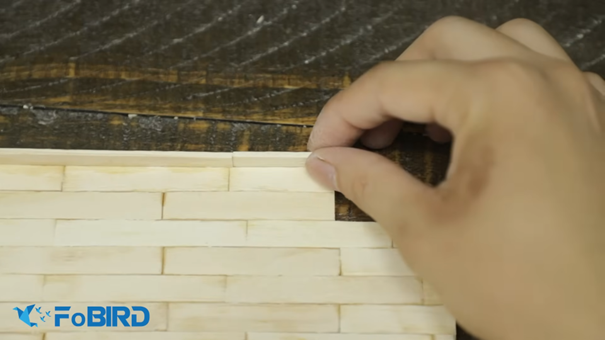
- Build the First Floor
Lay the sticks side by side in an alternating pattern to mimic real wooden flooring. Apply a small drop of glue where each piece connects.
(Tip: Be careful with glue to avoid sticking your fingers!)
Optionally, you can glue extra sticks around the edge to make the floor raised and polished.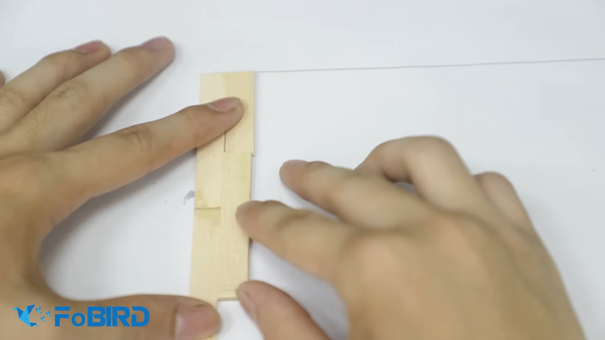
- Build the House Walls
- Use popsicle sticks to cover the edge of the floor (optional)
This step is optional, but you may want to raise your model a little bit high, also to cover the cuts and give it a cleaner, more polished look.
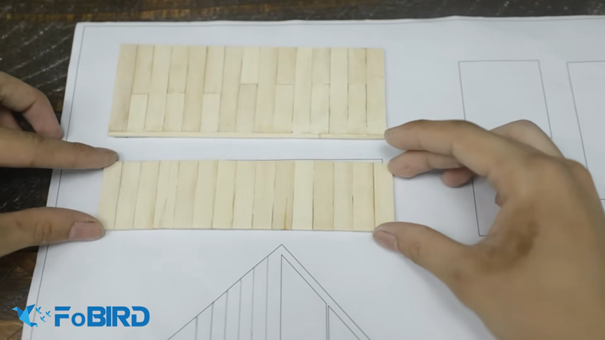
- Making house walls:
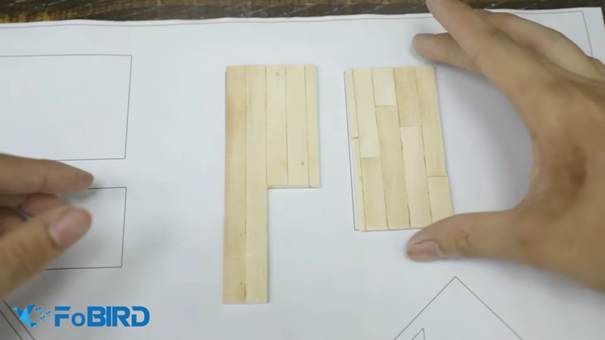
Repeat Step 3, but this time we will need a 4x15cm and a 6x15cm wooden panel to make the house’s walls
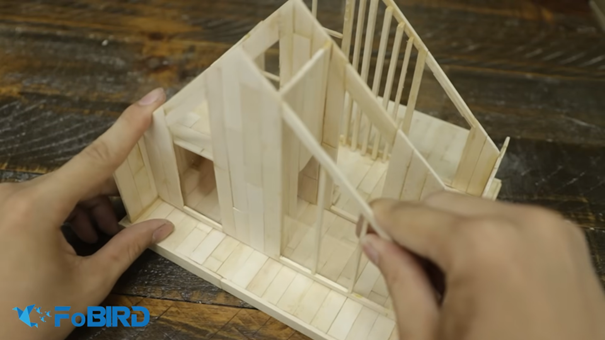
- Making the middle wall:
You need to assemble the sticks into a house shape with two side edges measuring 4 to 6 cm each, then create the triangular roof with edges between 11 and 15 cm, and a height of 15 cm. You can leave some space to serve as doors.
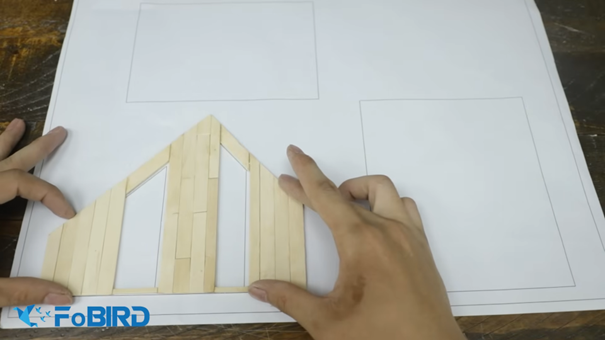
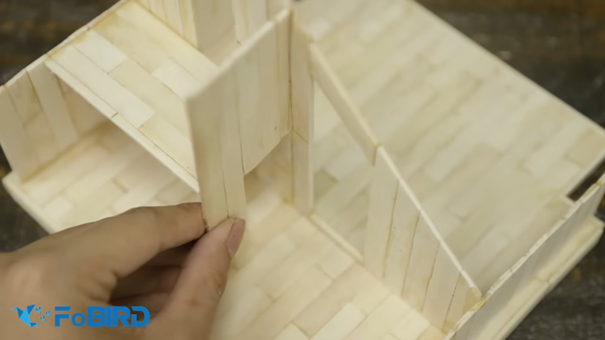
- Attach the house-like wooden panel from Step 6 in the middle of the first floor at a 90-degree upright, and dividing it into 2 equal parts.
- Making the attic:
To make the attic, we need to prepare a 5x9cm panel for the floor and an L-shape one for the side wall.
- Next, attach them on the back half of the house model to create an attic floor
Mark the position of the attic at a 6cm high from the first floor. Position the side wall horizontally and place the L-shaped floor panel vertically to define the attic’s layout within your model. Make sure the panels fit snugly and are securely glued to maintain stability and create a realistic attic setup.
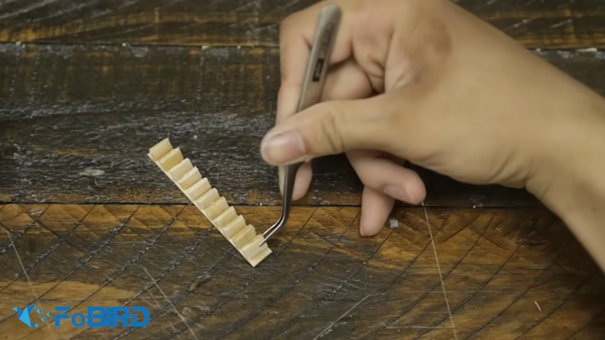
- Making the staircase
To make the staircase, firstly, you should measure the stair to your desirable length, then mark the stick with pencil. The stair often starts by the door and points upwards. It should be positioned close to the wall as well.
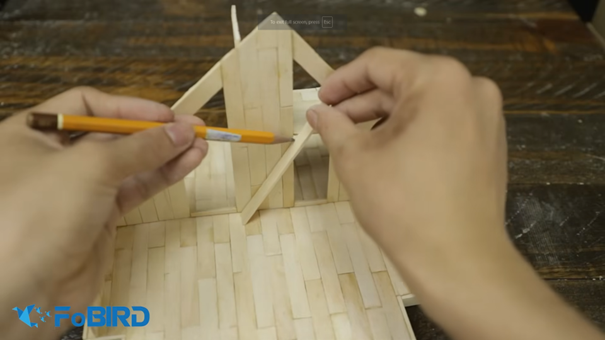
- Cut the stick following your marked spot
- Next, use tweezers to carefully align small rectangular wooden pieces on the stick at a slight tilt, then secure them with glue to complete the staircase.
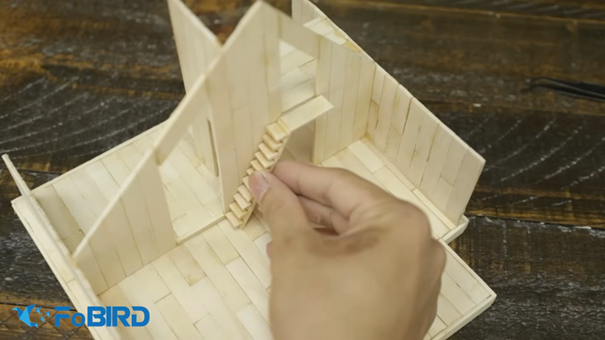
- Attach the staircase
Finally, carefully attach the miniature staircase close to the front side of the middle wall. This will create a tiny stairway leading up to the attic floor. Make sure it’s securely glued in place so it stays stable. You can also add small details like a handrail or support beams to enhance realism. Once attached, double-check the alignment to ensure the stairs fit neatly and look proportional within your model.
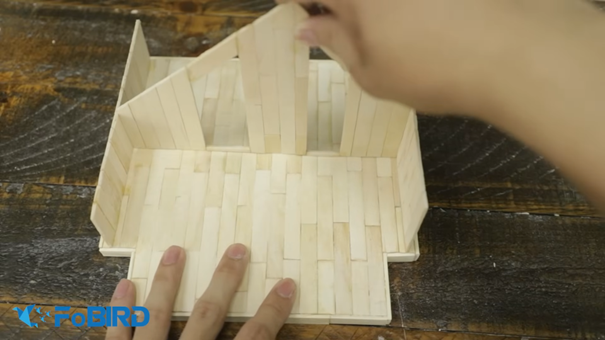
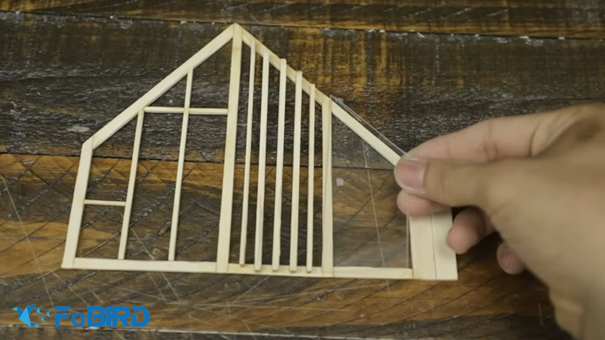
- Making front and back walls:
Repeat the process to create two more house-shaped panels, matching the measurements and sketches from the first one. At this step, you can freely add more details for the doorframes and windows. When making them, you may need to carefully cut popsicle sticks into smaller strips ranging from 2 to 5 mm wide. These thin pieces will help you build detailed frames that fit precisely into the panels. Take your time to smooth the cuts with sandpaper as well for a polished look.
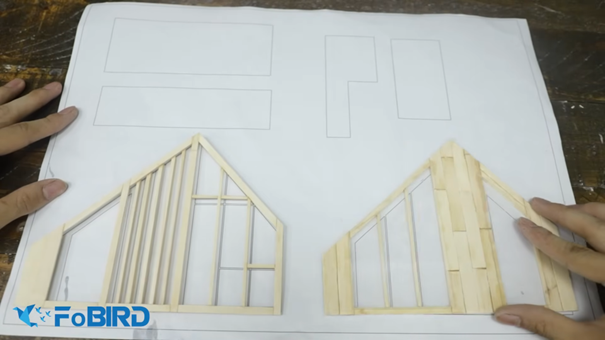
- Add transparent mica sheets to the inner side of these panels to imitate glass doors and windows
- Place these two wooden panels on the front and the back side of the house, then we have generally finished a basic house frame.
- Making the roofs
Follow Step 2-3 to make the house’s roofs, with measurement is 11x15cm and 15x15cm respectively. You can enhance the firmness of the roofs by doubling the layers. After that, cover the layered roof surfaces with thin wooden strips to create a realistic texture and add durability.
Furthermore, using narrow strips glued closely together can simulate shingles or wooden slats, which enhancing both the look and sturdiness of your miniature roof. You should carefully align the strips neatly and overlap them slightly for the best effect. This layered approach will give your miniature house a sturdy, detailed roof that stands up well to handling.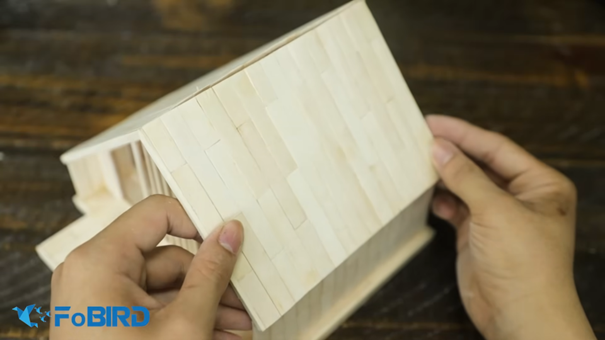
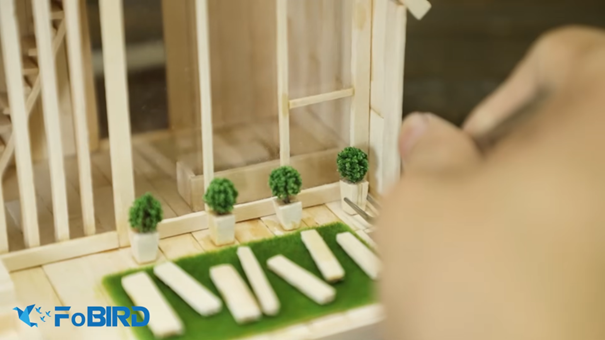
- Decoration:
For the final touches, decorate your miniature house with tiny furniture pieces, miniature plants, and small tree pots to bring your model to life. Adding realistic touches like miniature sofas, tables, and beds, along with greensward or grass mats and delicate trees or flower pots, can greatly enhance the charm and authenticity of your project.
Well done! You have completed a truly unique and stunning house model. I hope you have enjoyed many exciting experiences with us and found new inspiration for your next handmade crafts.