-
×
 Popsicle stick house with LED light template - ver 2.0
1 × USD11.80
Popsicle stick house with LED light template - ver 2.0
1 × USD11.80
Subtotal: USD11.80
Welcome to FOBIRD!
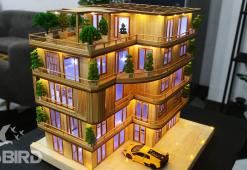
In today’s DIY project, we’re building a popsicle stick house — but not just any house. This time, we’re adding a creative twist: a secret opening roof that reveals the full interior.
In this step-by-step guide, you’ll learn how to craft a detailed miniature stick house using simple materials. From the walls and windows to tiny furniture and finishing touches, we’ll walk you through every part — and yes, you’ll even learn how to make the roof lift up to showcase the entire inside layout.
Whether you’re a beginner or a seasoned model-making fan, this is a fun, hands-on project you’ll love to build and proudly display.
Let’s get started!
🧰 Bonus: You can download the free printable PDF plan at the end of this guide to follow along easily.
Materials You’ll Need:
– Popsicle sticks (1 x 11.5 cm)
– White wooden sticks with a diameter of 2.5mm
– Small wooden sticks with a diameter of 1.6mm
– Transparent mica sheets (for windows)
– White formica sheets (for floors, roofs and walls)
– Printed layout or sketch of the house
– Superglue
– White glue
– Miniature bushes
– Decorative grass or greensward
– Pruning shears (to cut sticks)
– Sandpaper for smoothing out popsicle sticks (optional)
Instruction to make a Popsicle Stick House with a Secret Roof
Create a blueprint of your house. You can draw it by hand or use design software like AutoCAD for precise measurements.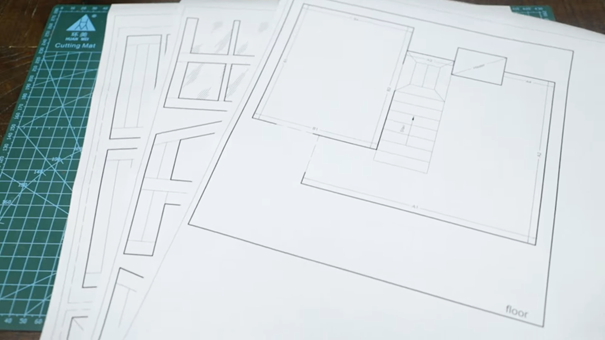
Prepare a Formica sheet (24 x 24 cm), then spread an even layer of white glue across the entire surface.
(Tip: Be careful with glue to avoid sticking your fingers!)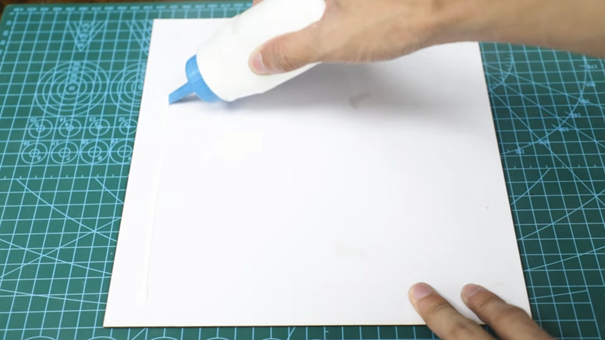
Place the popsicle sticks (1 x 4 cm) next to each other in a staggered pattern, like real wood floors. Use a tiny drop of glue where each stick connects.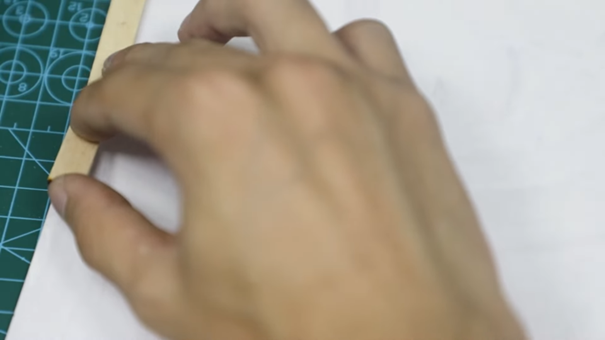
And that’s it! You’ve created a realistic wooden floor all on your own!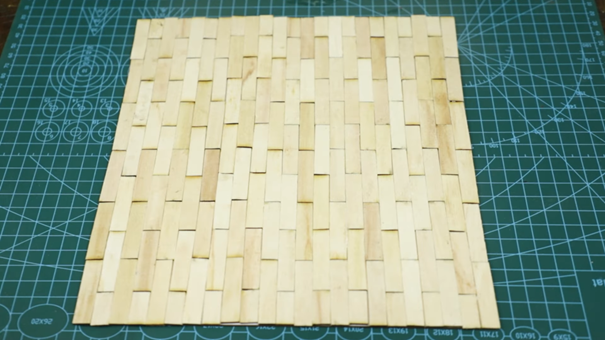
Repeat steps 2 and 3, this time using another Formica sheet as the base. Attach the sticks according to your sketch or floor plan, making sure to follow the layout carefully.
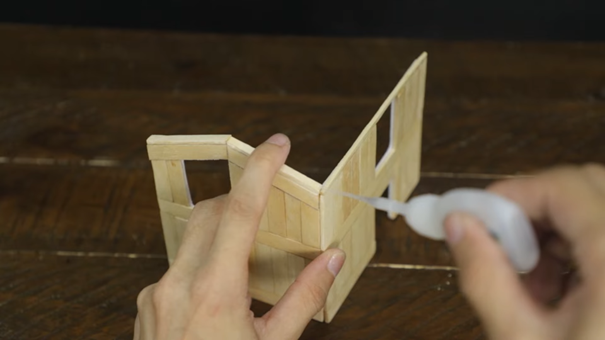
For the windows, you can use a transparent mica sheet — just cut it to size and glue it in place from the inside. This will make your model look like it has real glass windows, which adds a nice touch of realism.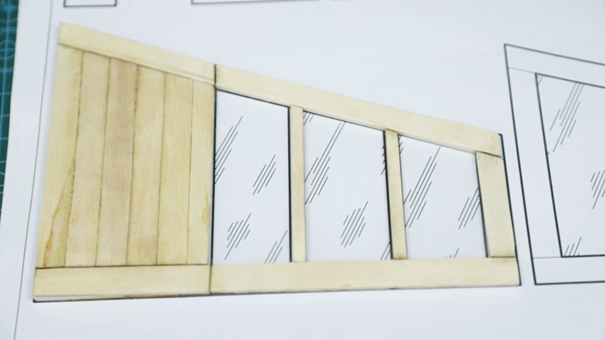

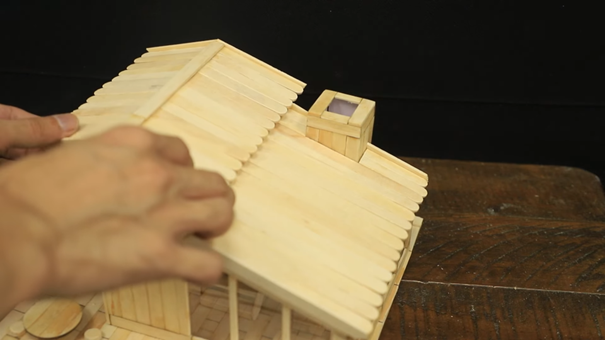
Grab some sticks and start building the chimney, a square cylinder with a 4 x 3 cm width and a height of 11 cm. Use superglue to join the sticks at the corners, forming a rectangular outline. Make sure each layer is aligned properly to keep the structure straight.
Next, let’s add two more windows on each side of the chimney. Make sure they’re evenly spaced and aligned with the existing design. For the window panes, use pieces of transparent mica sheet, trimmed to fit each opening. Glue them in place from the inside, just like before, to give a clean, glass-like finish.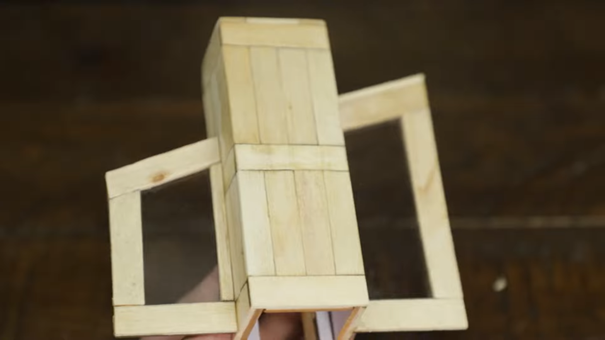
Cut and prepare wooden panels to form the exterior walls of the house. Ensure that each panel fits according to your house dimensions. While assembling the front wall, remember leaving a designated space for the door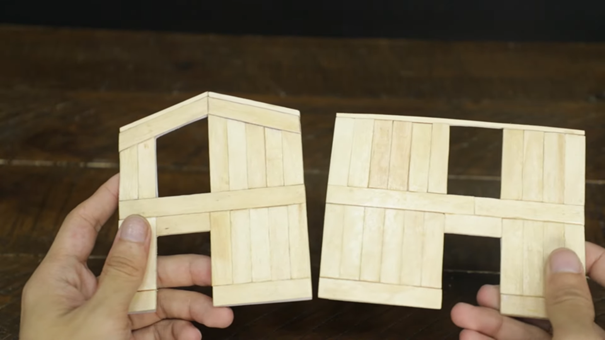
Create a smaller flooring section measuring 10 x 12 cm. Use wooden sticks arranged in the same alternating pattern as the first floor from Step 4.
This panel will serve as the second floor, specifically designated for the bedroom area. Ensure all sticks are securely glued and edges are aligned to maintain stability. Optionally, you can glue extra sticks around the edge to make the floor raised and polished.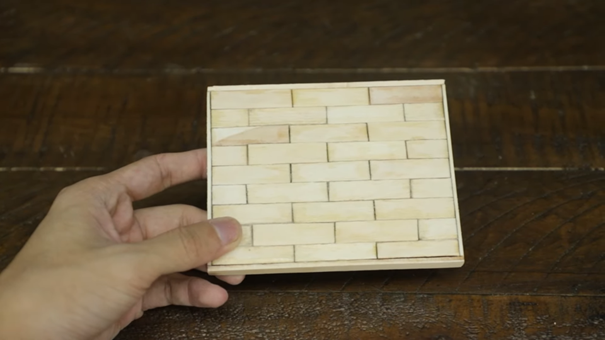
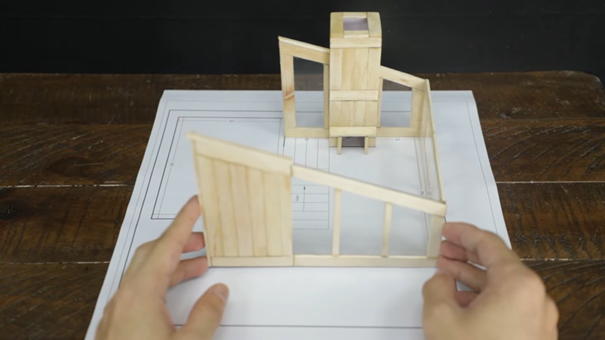
Once the second floor panel (10 x 12 cm) is complete, attach it securely on the half of the main structure, aligning it carefully with the existing walls. Apply glue evenly along the contact edges to ensure a stable bond.
Next, attach an additional wall panel with a window to form the upper section of the model. Ensure the wall aligns properly with the floor panel and adjacent walls. Press firmly and allow adequate drying time to maintain structural integrity.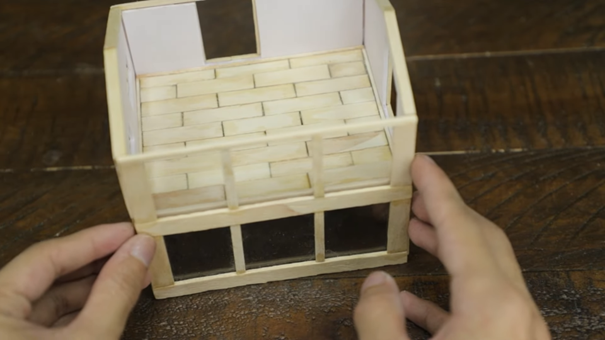
Prepare a popsicle stick with both ends carved into a triangular shape, making sure both ends are smoothen by sandpaper. This will help it fit securely into angled joints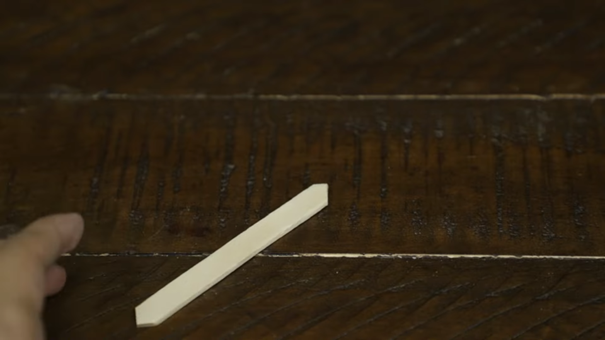
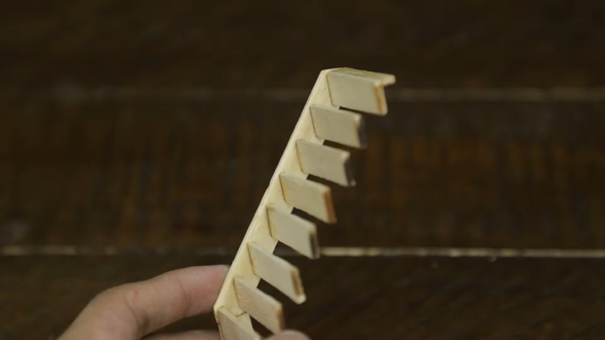
Attach several wooden pieces, each measuring 1 x 4 cm, to represent the staircase. Position them in a stepped arrangement, spacing them evenly to resemble real stair steps.
Use a small amount of glue on each piece to secure them in place. Ensure the alignment is consistent to maintain a realistic and clean appearance.
Once the stair steps are in place, attach a floor panel above the staircase to represent the upper landing or second floor extension.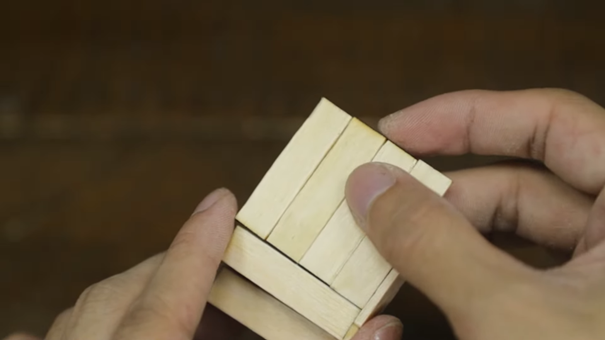
Carefully position the completed staircase against the main structure, aligning it with the floor opening or landing area. Apply a small amount of glue along the bottom and back edges of the staircase.
(Press it gently but firmly into place, ensuring it is straight, flush with the wall, and properly aligned with the second-floor panel).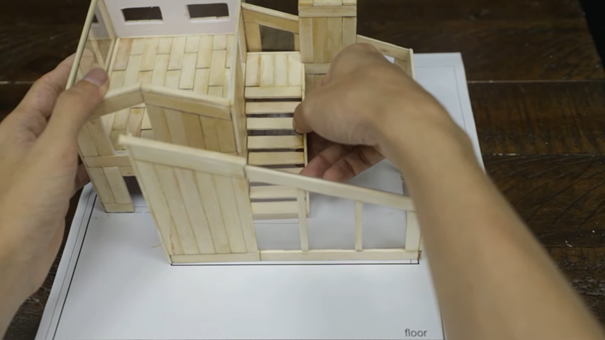
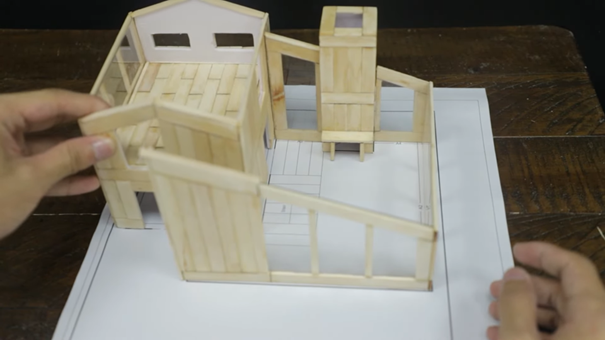
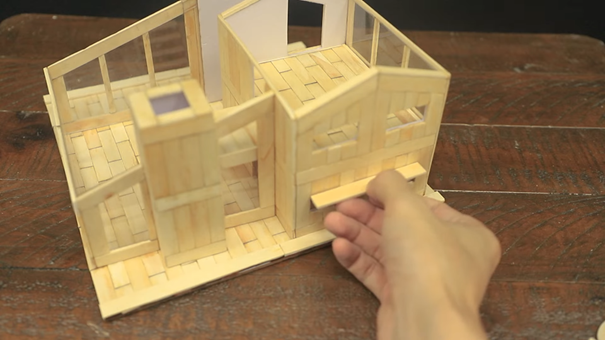
Prepare the wooden floor panel created earlier to serve as the base. Carefully position the house model on top of this panel, aligning it toward one side to leave space for adding a garden and other decorative elements.
(Ensure the model is secured firmly in place using glue or adhesive, while keeping the surrounding area open for landscaping).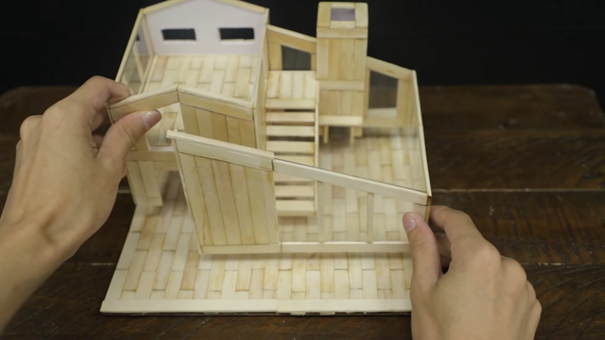
You can add more features to your model, such as a tiny balcony. To create the balcony, glue together two popsicle sticks, each measuring 4 cm by 1 cm, placing them side by side.
Slightly raise the balcony platform by covering the side edges with the same type of sticks. This will definitely give the balcony a lifted appearance.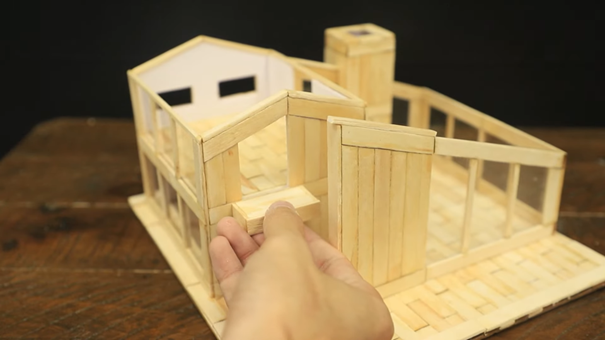
Once the platform is in place and secure, add the railing using small vertical wooden sticks (2.5mm)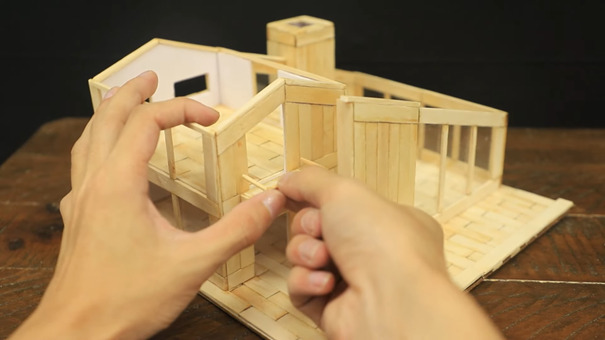
Enhance the realism of your model by incorporating miniature furniture pieces such as sofas, tables, and beds. Use scaled measurements to match the proportions of your house layout.
(Remember to secure these furniture with glue to keep them all in place)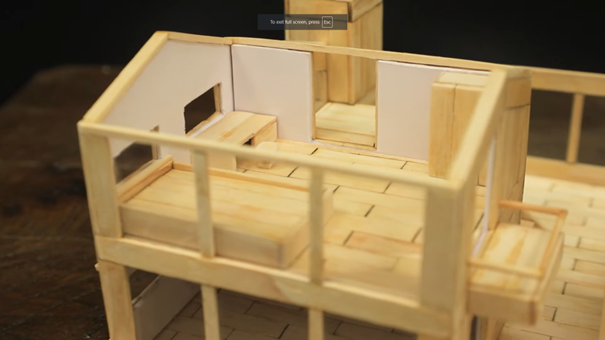
Trim one end of each popsicle stick to create a clean, straight edge. Then, lay the sticks side by side in parallel, forming a flat surface.
Once the panel is complete, cut out a small section to leave space for the chimney column. Make sure the cut aligns with the position of the chimney in your layout, so everything fits together neatly.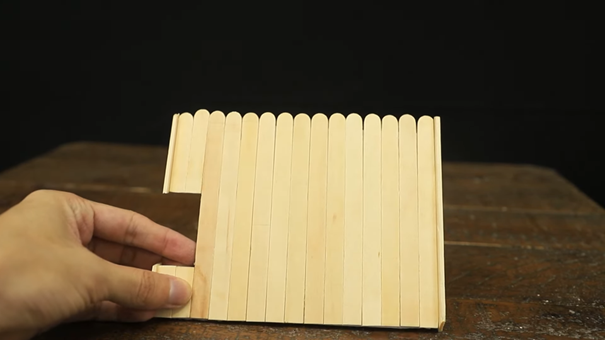
Repeat the same process to create another roof panel with the same pattern. Once completed, you can use smaller wooden strips to cover any visible cuts or joints. This will help create a cleaner look and add a more finished, realistic appearance to the roof.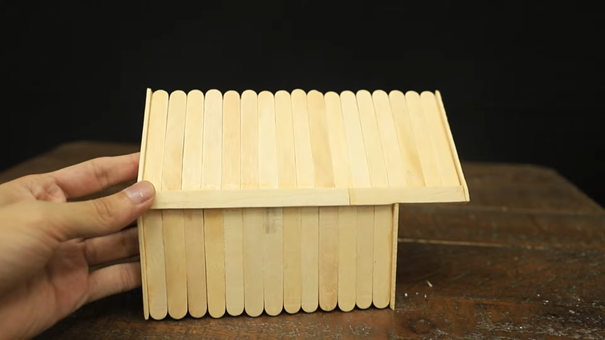
By adding decorative elements such as miniature trees and bushes, you can elevate your house model, making it more detailed and lifelike.
Place them strategically around the house, along pathways, near windows, or in the garden area to bring your model to life and add a natural, finished touch.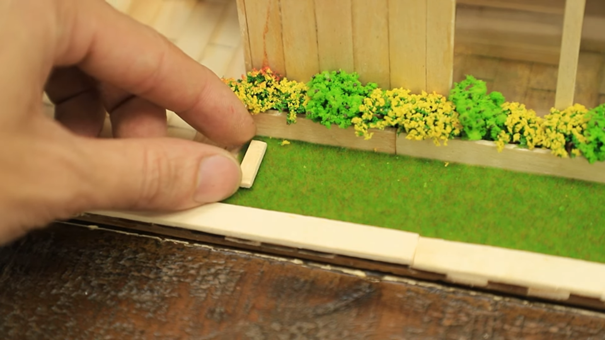

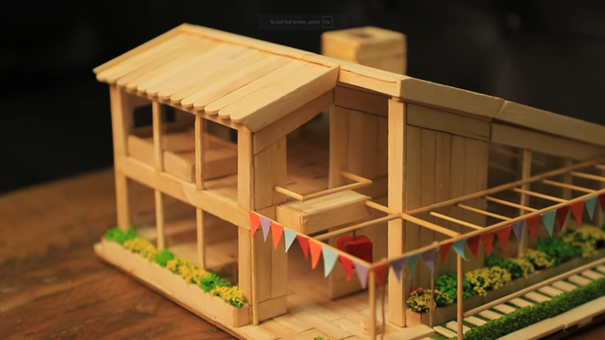
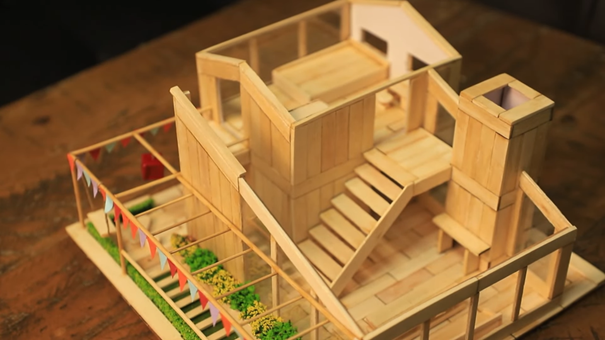
Well done — your DIY popsicle stick house is complete!
From the structure and flooring to the chimney, windows, and tiny furniture, every element comes together to bring your miniature stick house to life. Opening the roof reveals the full interior — carefully crafted rooms, realistic decorations, and all the small details that make this DIY house model truly unique.
Now your craft project is ready for display, whether on a shelf, in a classroom, or as part of your collection.
Thanks for building along with us — we hope this inspired your creativity, and we can’t wait to see you in the next project!