Handmade
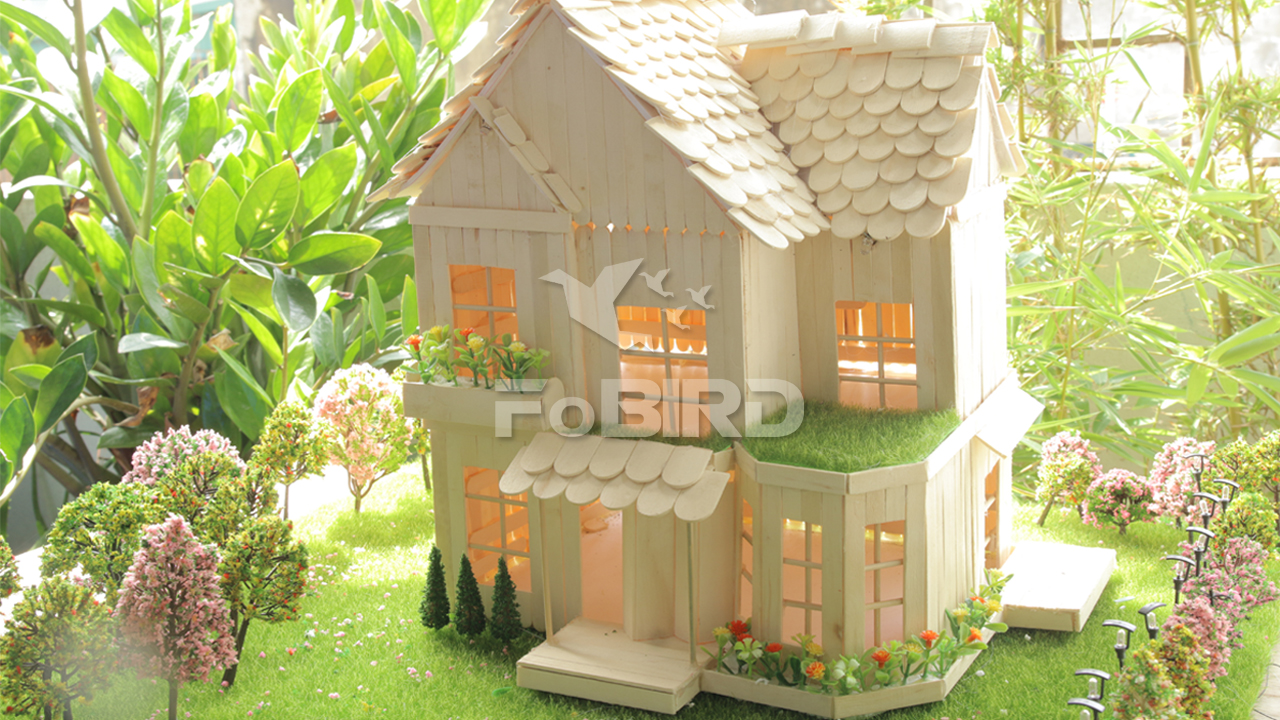
How to make a Popsicle Stick House
Popsicle sticks are also called as craft sticks, and they are fun to work with. Instead of throwing away your popsicle sticks after enjoying ice cream or other frozen treats, recycle them in a range of craft projects. Making a house of popsicle sticks is a fun projects for children, and it costs next to nothing. Take a look 3 homemade popsicle stick house designs, download the templates and know how to make a popsicle stick house. Hang out with friends and complete an artistic projects. Most of the materials you will need can be found in households.
How to make a popsicle stick house and garden
Material
Download Popsicle stick house template
- Glue gun and glue sticks
- Popsicle sticks
- Piece of lightweight cardboard
- Tree model
- Plastic grass mat
What you do
Step 1: Make 2 rows of eleven popsicle sticks next to each other, tip to tip. You now have fifteen pairs of sticks.
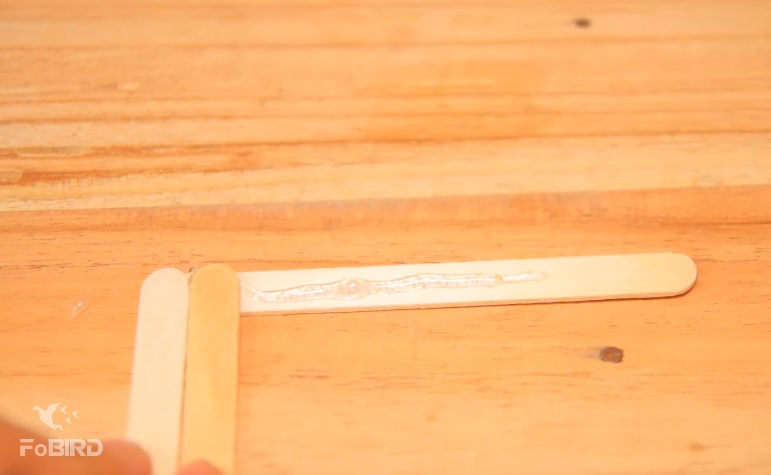
Step 2: Take one new stick and put glue on the full flat side.
Step3: Locate the glued stick on top of a pair of sticks. The center of the glued stick should be where the 2 sticks meet, glue side down. Grip the sticks in place while forcing down.
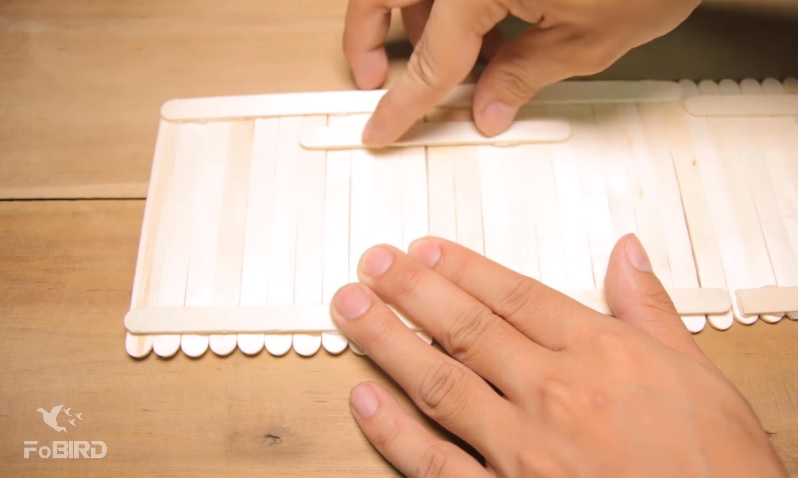
Step 4: Put glue on the full second side of the stick that is glued on the primary pair.
Step 5: Place the next pair of sticks on the top of the glued stick, again with the ends of the 2 sticks in the center of the glued stick.
Step 6: Repeat steps two to five until all fifteen pairs of popsicle sticks have been glued down. You now have thirty rows of sticks, alternating pairs and singles. This is one wall.
Step 7: Repeat steps one through six until all 4 walls are made.
Step 8: Grip one wall upright with a pair of sticks on the bottom. Put glue on the finish of the flat side of one of the fifteen outer sticks (although you have thirty rows, there are just fifteen outer sticks).
Step 9: Grip another wall with a one stick on the bottom.
Step 10: Glue the 2 walls combine, forming a corner. Press down.
Step 11: Repeat steps eight and nine attach all 4 walls. Be sure to substitute between having paired and single sticks on the bottom.
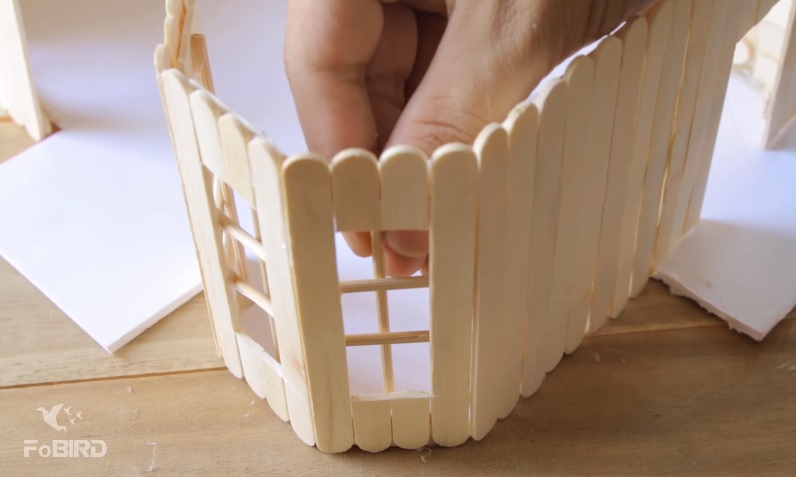
Step 12: You now have a square. You may want to put a big heavy book on the home until the glue dries. This will press the sticks in location.
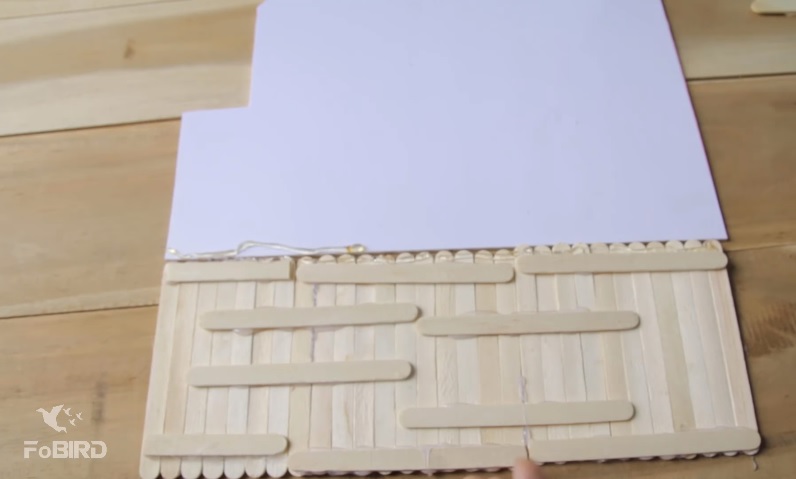
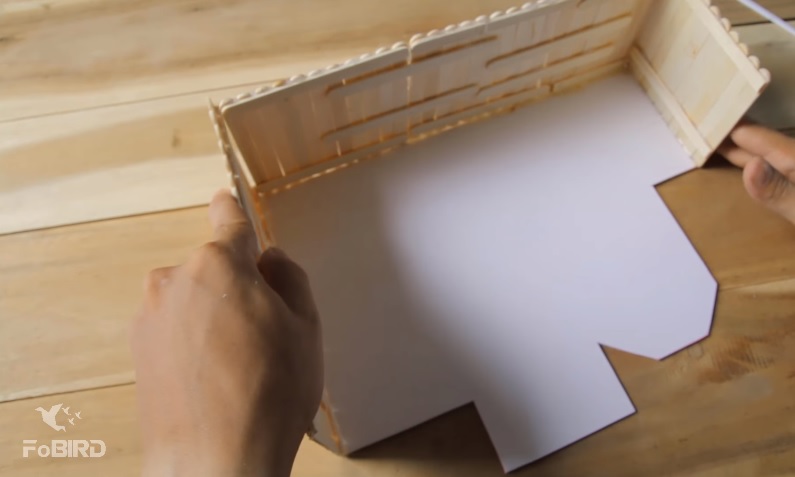
Step 13: Cute a piece of cardboard so that it is twice the width of the home.
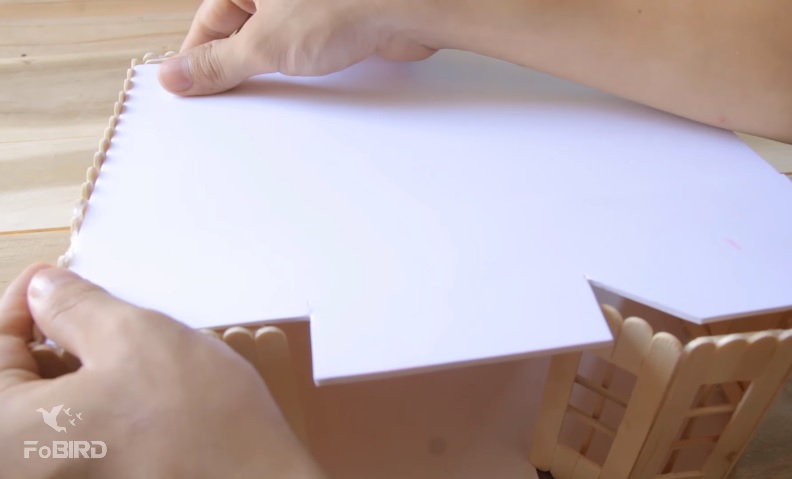
Step 14: Fold the cardboard in half and then let it unlock. You now have a V-shaped section of cardboard. This will the roof of popsicle stick house.
Step 15: Glue popsicle sticks along the full length of the roof.
Step 16: Glue the roof onto the home after the popsicle sticks have dried.
https://www.youtube.com/watch?v=ZjP5YNefGzM
Popsicle stick craft house designs
Amazingly, popsicle sticks are also famous as craft sticks and they are forever fun to work with, no issue what is your age. So, instead of throwing away your popsicle sticks after eating frozen treats or ice creams while enjoying with family members or friends, is not it a best idea to recycle them and create some of the top popsicle sticks craft house designs or other simple craft projects. Take a glance at these remarkable popsicle house designs stick craft and ideas to view what you can create!
Village house design
Are you loving of living in a lush and muddy place? Village house pop stick craft design presenting various colors of village life in a one place is worth looking at, agree! For this, you need to create a ladder of wooden sticks, locate few pots and arrange popsicle sticks at a height offering it a look of little cute room.
Castile stick house
Made by gluing popsicle sticks combine, this castle home is the best craft for everyone to make. The house looks so strong that it simply grabs the focus of the guests at your house. If you favor, you can locate few pebbles around the castles for a best look. And in order to include more charm try some toilet paper roll craft with it.
Popsicle stick house with farm
Wet bet- older children will truly enjoy building stuff with one of these best popsicle stick craft home designs. You just need to eyeball it with roof, gluing 2 more walls combine by adding a plus stick in length. You will notice that roof will fit snugly on peak of the home. And, add a fence and decide to paint the farm home so that decorated popsicle sticks look remarkable.
Popsicle stick wooden play house
This is a amazing project for those who like playing with popsicle sticks. This home design is complete with a roof, two-three windows and a chimney. By including more sticks, you can give best support to the wooden home. We assure you – children will never be bored with this wonderful craft project.
Popsicle stick birds house
You will like it! If you have decided to make a bird house out of Popsicle and few glue sticks, it is vital to leave spaces or use half-sticks to make space of doors and windows. For chimney, cut 2 wide craft sticks into different shapes and lay out birds on peak of it. It is simple fun craft sample especially for children.
Icy popsicle house design
Popsicle sticks can be taped, glued or even friction-fit combine to make all sorts of chill objects and designs, but this popsicle stick craft house design is wonderful. You can simply make it by gluing combine popsicle stick without leaving even a little area.
Dollhouse Using Popsicle Sticks
Building a dollhouse out of popsicle sticks is a remarkable project to make for child or to decorate your house. The level of extravagance and design is unlimited once you begin. After the dollhouse is done, dolls, furniture and other miniatures can be included to give this dollhouse a best look.
What you need to make dollhouse
- Craft glue
- Popsicle sticks
- Box cutter
- Ruler
- Tape
- Graph paper
- Utility cutting board
- Fabric and paint for decorating
Design
First you need to plan how many rooms and area of the doll home. The use of pretty cardboard boxes can be applied to plan the layout and size of the dollhouse. Bear in mind the size relationships of ceiling heights and room sizes. It will be simplest if you base the ceiling height by the length of the sticks.
Use the little boxes or use the graph paper to design your layout. Remember to place door and windows to adjoining rooms. Use a graph paper will provide you a template to build from and check lengths.
Build wall sections
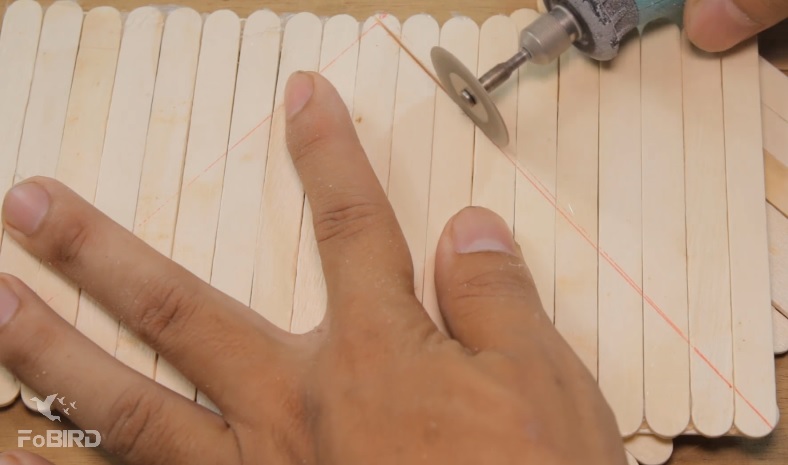
From trim off the rounded ends of a amount of the sticks keeping the lengths equal. You can trim extra as construction continues. Layout sticks side by side and support by gluing 2 sticks as cross helps.
Place single support piece at the edge and locate the other one stick width from the edge on the other end. This will make a table to slide into the next wall section to make a longer wall.
By laying the wall areas over the graph paper template you can view if you need to make shorter wall sections. If required, shorter walls can be made by trimming the support pieces.
Cut doors and windows opening and support the ends by gluing little pieces across the bottom and top of the cut opening. After one side of a wall section is done, a layer of sticks on the opposite side will provide you a finished wall.
Wall, floor, window, door shutters and roof areas can be created in the same fashion. 3 or 4 sticks glued combine can be used for roof or rafters supports.
Decorating
Cloth glued to the floor and wall sections can be used a wallpaper or carpeting. Painting or other decorating specs can be done before or after construction. For simple access, it is advisable to decorate or paint surfaces before construction.
Construction
By using glue and sliding the tabs into an adjoining wall, you can make your walls. For corners, a bent piece of cardboard protected with glue and slide into the perpendicular wall will provide support. Apply glue line along the ceiling and floor or on the bottom of the wall section will grip these sections combine. Use of tape can hold the sections combine until the glue dries.
After the dollhouse is dry and finished, you can next build or buy furniture and decorating items to furnish the rooms.
By: FoBIRD.com