Wooden stick house
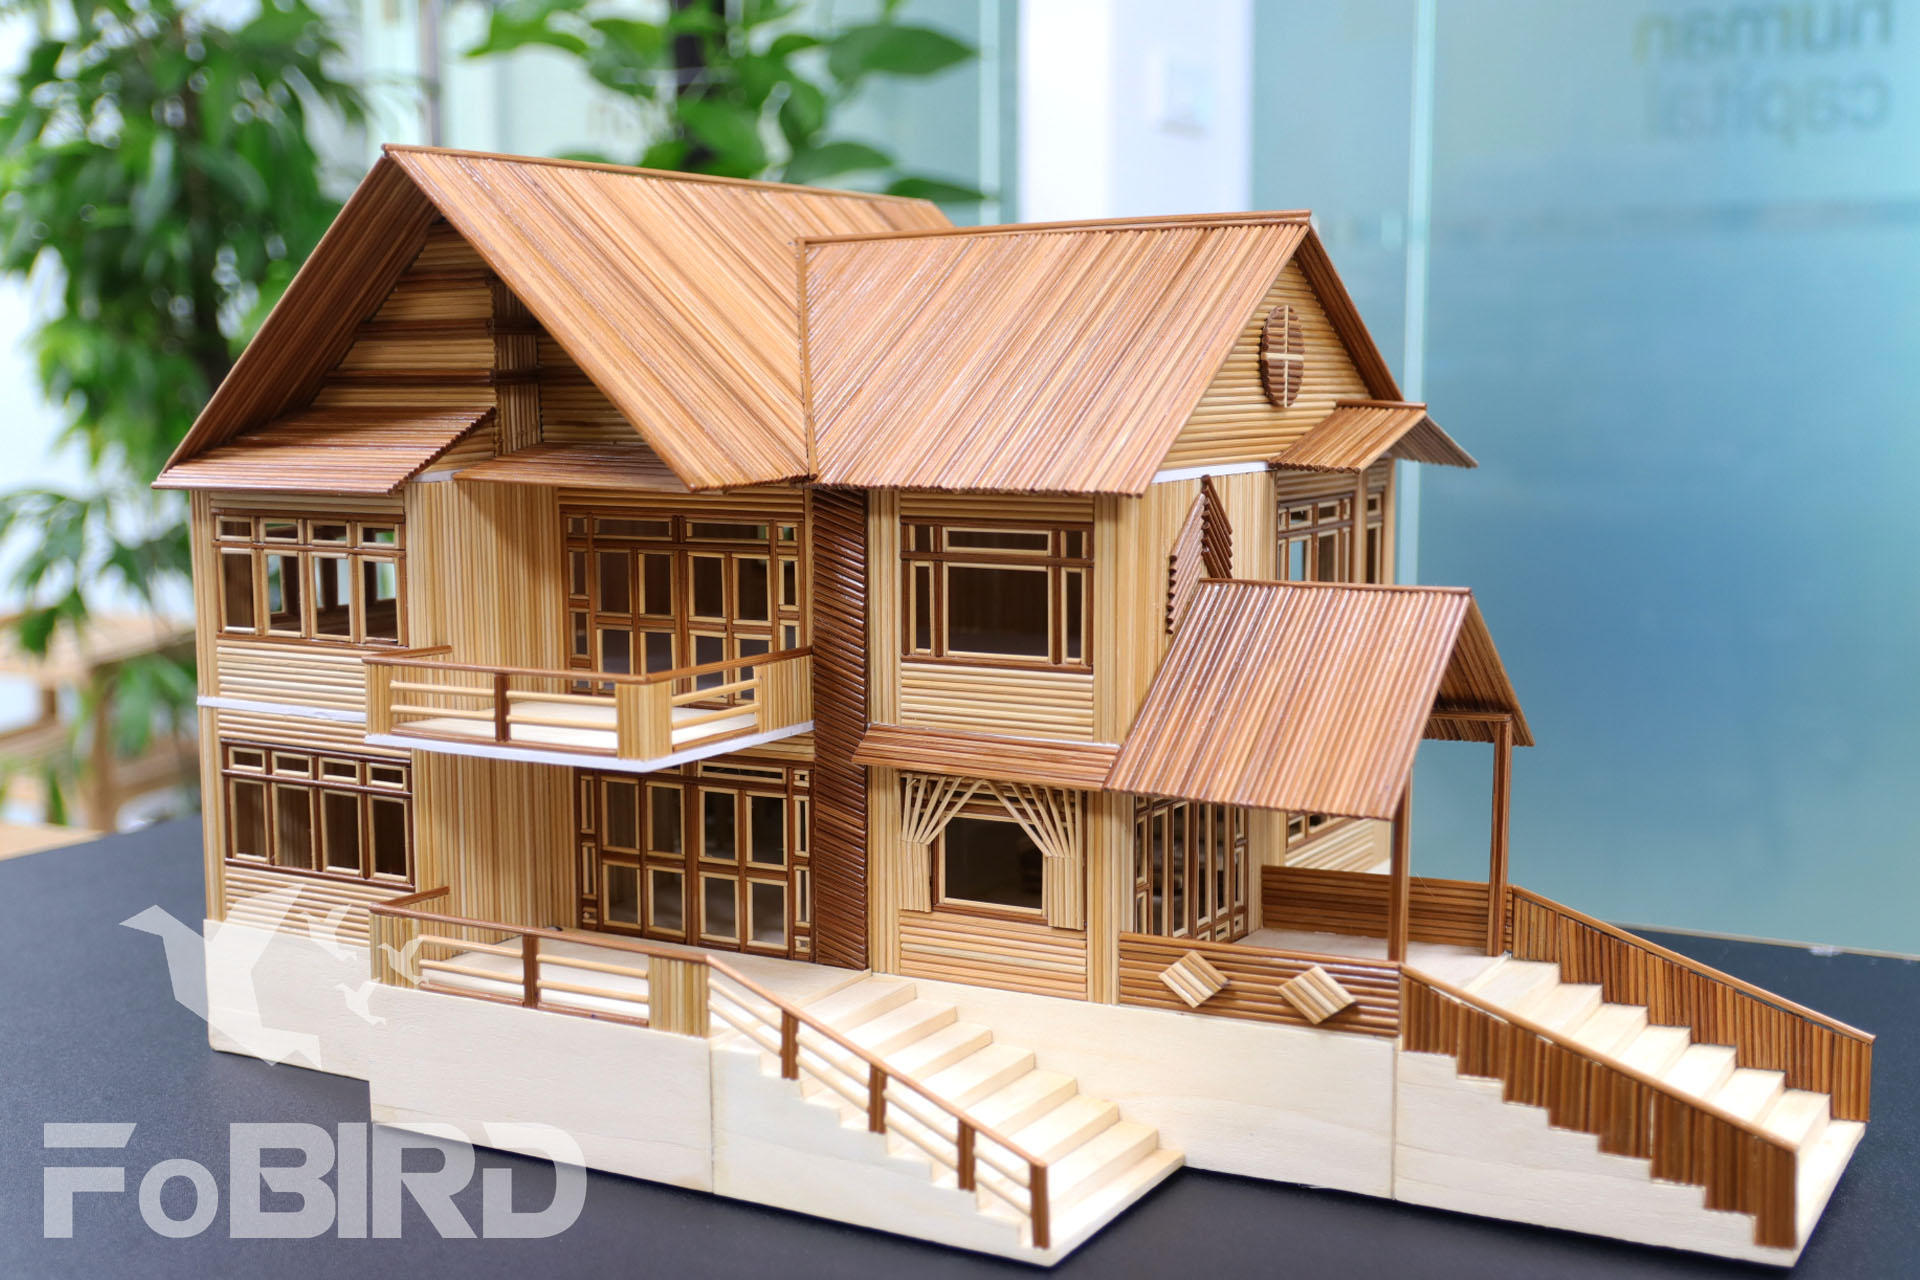
DIY Miniature Modern Mansion house with funitures
This is one of the classic designs that appeared on the internet about 8-9 years ago. However, nobody knows the real designer behind this masterpiece. Many have put their skill to the test but the results always lack delicacy. The measurements are off, which leads to an unbalance in the final products.
It would be such a shame if we leave this beautiful design waste away through time. So, we decide to redo this model once again, but with innovations. The final product is what you can see in the pictures below. During the process, we have omitted some details that we found excessive. The omission brings about a finer model, and the craft is even simpler. So much so everyone can do it.

To craft this wooden stick villa, you will need:
- Detailed sketch of the model (find it at the end of the article)
- White wooden sticks with a diameter of 2.5mm
- Brown wooden sticks with a diameter of 2.5mm
- Small wooden sticks with a diameter of 1.6mm
- Thin wood paper
- Hard cardboard
- A thin mica glass plate
- Superglue
- Glue gun and glue stick
- Special scissor for cutting wooden sticks
- Polishing spray paint
Follow these steps to build a 2-floor wooden stick villa:

Firstly, we need a detailed sketch where every measurement is considered. Before starting making walls, prepare the hard cardboard and make a floor.

Making walls is very easy, all you need is a ruler that is secured on a board or a cutting mat. Cut wooden sticks according to the measurements that the sketch requires and place them neatly along the side of the ruler. Remember to use superglue for this step. Some walls don’t include any extra detail but some do. The details can be windows or doors. For these spots, we combine small and brown wooden sticks for a better effect.

The sketch has a 1:1 scale measure compared to the real model. This is Walls 2, all you have to do is combine the walls by following the order in the sketch. Very simple isn’t it?

Keep in mind that it is crucial to place the wall at 90degree with the floor that you have prepared. Glue them together tightly.

After building the surrounding walls, you have a frame.


Next, add a layer of thin wood paper to finish the floor.

A perfect villa should include furniture like tables, chairs, closets, etc. Use wooden sticks to make these cute accessories to decorate your massive villa.

Use small wooden sticks to make curtains for windows. They make the windows less plain.

On the next step, after having built in Led lights for the first floor, move on to the second floor. The same as the first floor, we build walls to achieve a frame.

The outside of the house also is very important. Use brown wooden sticks to make the eave and decorate the porch.

Now we use hard cardboard, white wooden sticks and brown wooden sticks to make the roof. The cardboard helps as a frame for the roof. Stick wooden sticks on to cover it.

Now we carry on and craft the balconies for both floors.

After finishing the balconies, make covers for windows.

Now are the finishing steps. To make the step, we use cardboard for a frame and thin wood paper to decorate. That way, the step will share the same color as the porch. For handrails, we use brown wooden sticks. And there we go!

Last but not least, spray polishing paint on to protect the model from must. It looks more beautiful as well.

Now that you have completed the process, you have a gorgeous villa made of wooden sticks as shown. It is so simple to craft it but the final product is extremely elegant and luxurious. There is no doubt that everyone has to take a second glance at the house since it is so well-crafted.
We have shown you every step and trick to build a 2-floor wooden stick villa. Here are the sketch and a video for better instruction. Hopefully with these materials you can make yourselves an epic wooden stick villa. Good luck!
https://www.youtube.com/watch?v=_5cSDzpWR0A&t=411s
By: FoBIRD.com

